This guide will walk you through the process of configuring Google Branding for your OAuth application. By completing these steps, you define how your application appears to users on the Google consent screen.
Configuring Google Branding
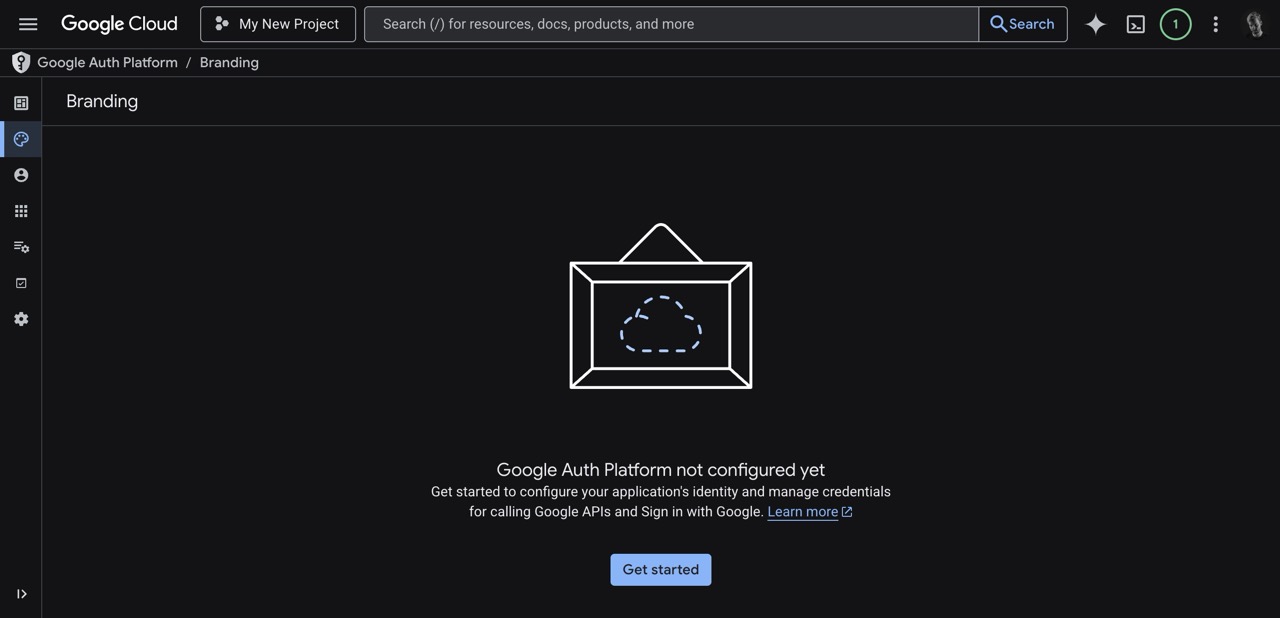
Step 1: Get Started
- Navigate to Google Auth Platform / Branding.
- If your platform is not configured yet, you will see a welcome screen. Click on the Get started button.
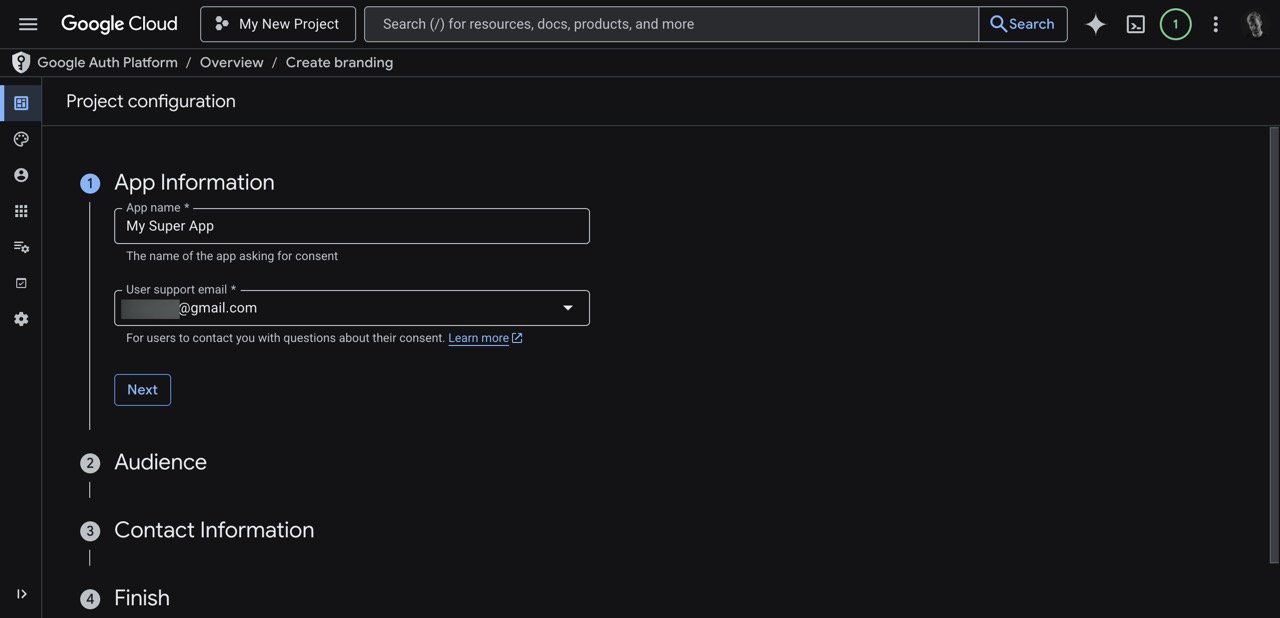
Step 2: App Information
- You will be taken to the Project configuration page.
- Under App Information:
- Enter your App name (e.g., My Super App). This is the name users will see when asked for consent.
- Select a User support email from the dropdown menu.
- Click Next to proceed.
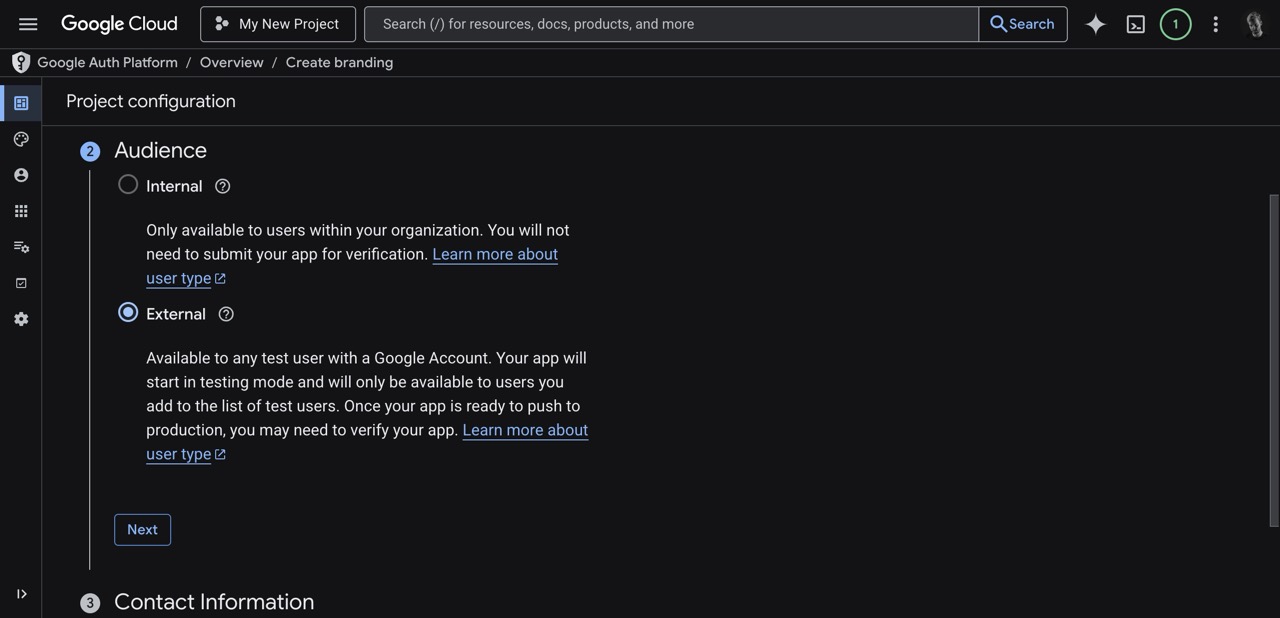
Step 3: Audience
- Under the Audience section, choose the user type for your application.
- Select External if your app will be available to any user with a Google Account.
- Click Next.
Step 4: Contact Information
- In the Contact Information section, provide the Email addresses you want Google to use to notify you about any changes to your project.
- Click Next.
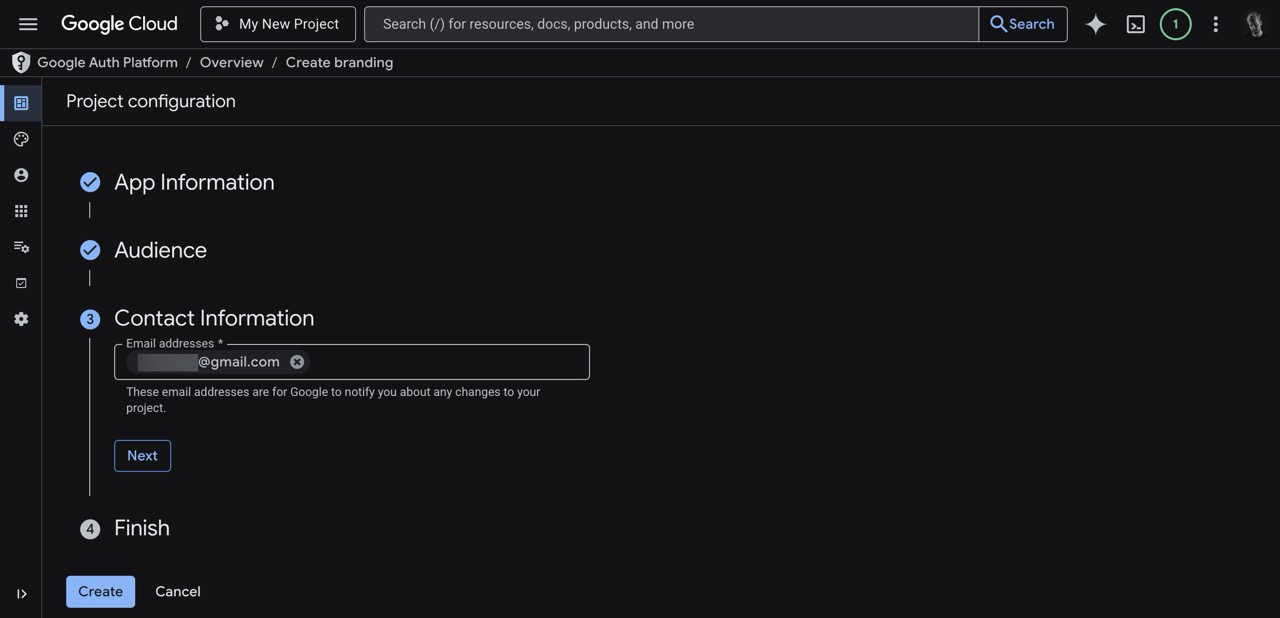
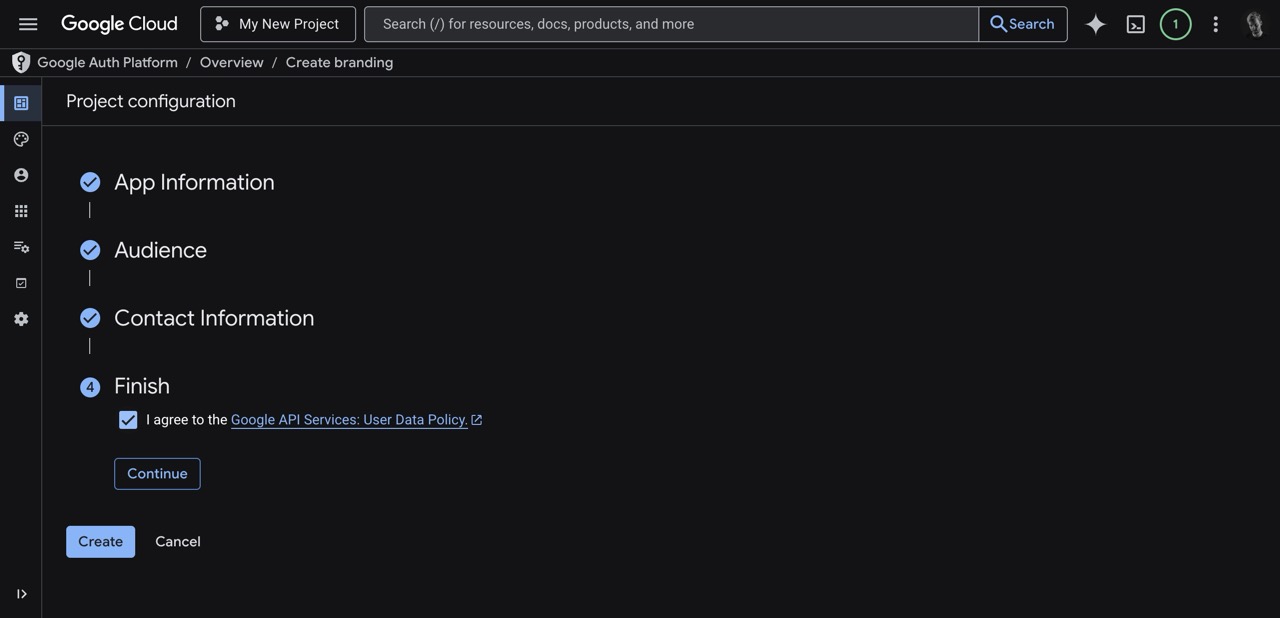
Step 5: Finish
- In the Finish section, review the policies.
- Check the box that says I agree to the Google API Services: User Data Policy.
- Click the Continue button.
- Finally, click the Create button at the bottom to save your branding configuration.
Step 6: Add Logo and App Domains
After creating your initial branding configuration, you must revisit the Branding page to complement your application's appearance with a logo and necessary domain links, and double-check all the information you added.
- Go back to the Branding page.
- Under App logo, click Browse to upload your application's logo.
- Under App domain, provide functional URLs for your:
- Application home page
- Application privacy policy link
- Application terms of service link
- Under Authorized domains, click Add domain and ensure your application's main domain is added.
- Review and double-check all the other information (such as your App name and Developer contact information).
- Click the Save button at the bottom of the page.
Well done!
Your Google Branding is now configured successfully. Your users will now see your app's name and details when presented with the Google consent screen.
Any Questions?
If you still have questions, please contact our support team and we'll get back to you within 24 business hours.