Before We Get Started:
You must be a RapidIdentity Administrator to complete the integration process.
Step 1: Start the Integration Flow in Edlink
- Click the integration link provided by your learning app.
- Create an Edlink account if you don’t already have one.
If you’ve connected an app to Edlink before, log in with your existing account.
- Navigate to the SSO tab, then click RapidIdentity from the list of available data sources.
- Choose your preferred data storage region.
- Enter your RapidIdentity URL in the Custom URL field.
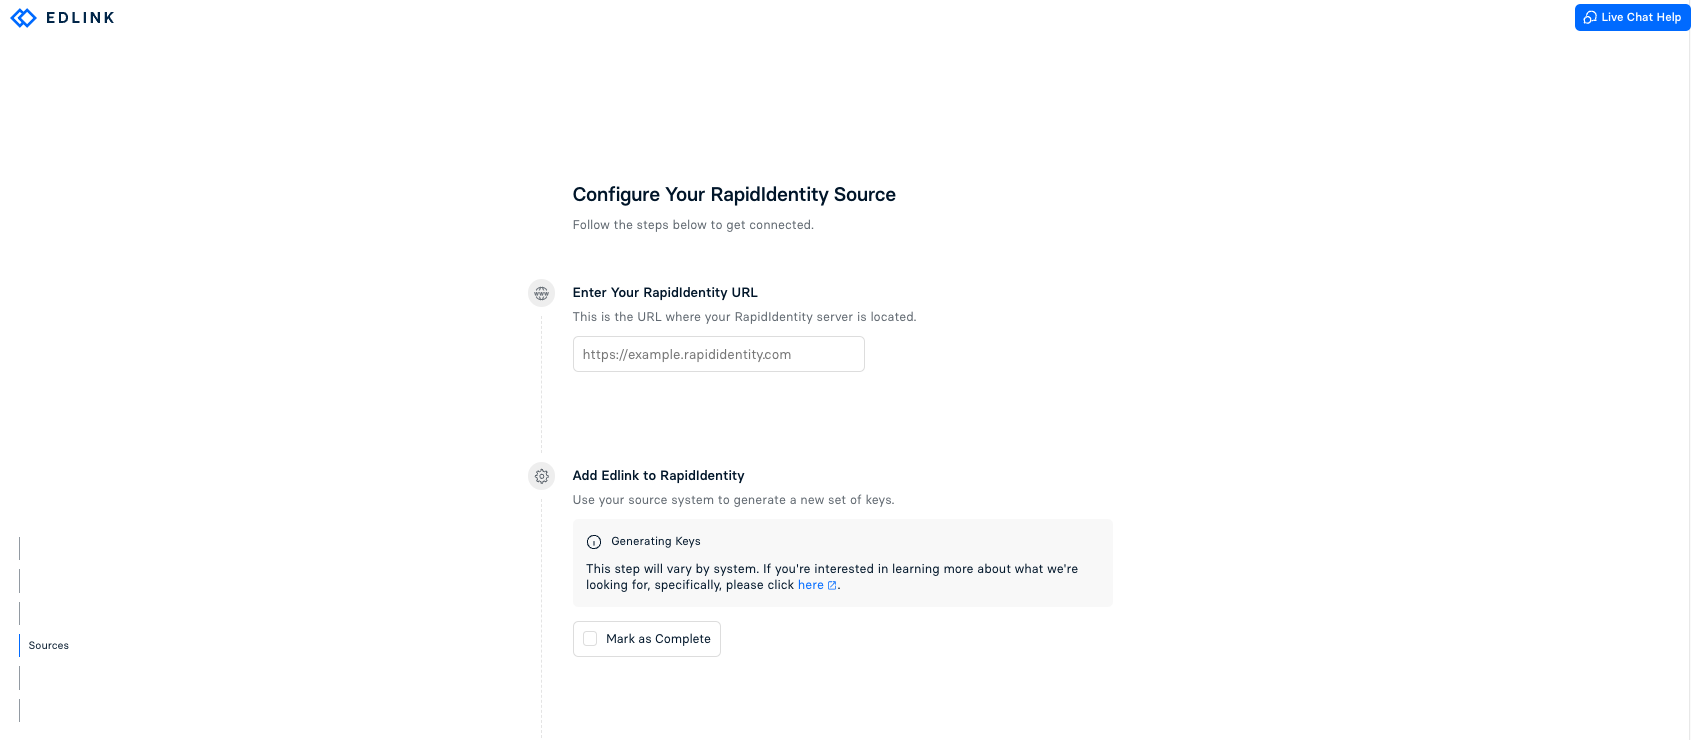
Note: You will need to add Edlink to RapidIdentity and generate OAuth 2.0 and OneRoster Client IDs and Client Secrets to complete this integration. The process may vary between systems. For more details, click here or here.
Step 2: Complete the Integration
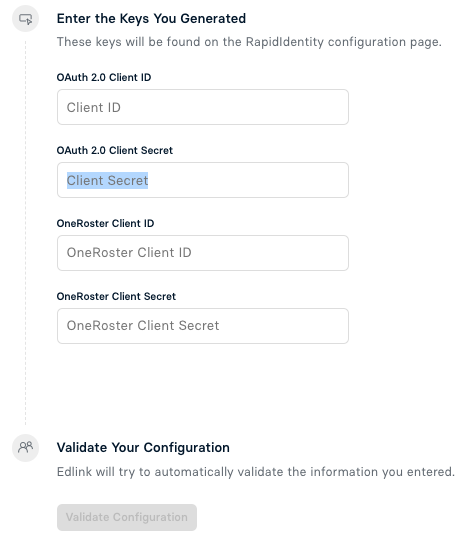
- Enter the OAuth 2.0 Client ID and Client Secret you generated from RapidIdentity into the respective fields in the Edlink integration.
- Enter the OneRoster Client ID and Client Secret you generated from RapidIdentity into the respective fields in the Edlink integration.
- Click Validate Configuration, then click Continue Setup once your configuration is validated.
How Can I Use RapidIdentity to Sign Into Another Student Information System?
To enable this functionality, ensure both your Student Information System and RapidIdentity are connected to your Edlink dashboard. Once set up, reach out to our support team to request this feature. We’ll be happy to assist you!
Well Done!
Your RapidIdentity source is now connected to Edlink. Once validated, your organization’s data will sync with the Edlink dashboard within 24 hours.
Any Questions?
If you have any questions or encounter issues, please contact our support team. We’ll respond within 24 business hours.