
This guide focuses on Edlink's recommended hybrid integration (API + LTI 1.3). However, it is also possible to configure your app using an LTI Advantage–only setup.
Please confirm with the learning app that an LTI-only source is something they support before proceeding.
Check out the following guide to get your LTI Advantage source set up in Edlink:
This process should be completed once you have finished integrating with your learning application. To learn more about connecting your Brightspace instance, check out this guide:
Step 1
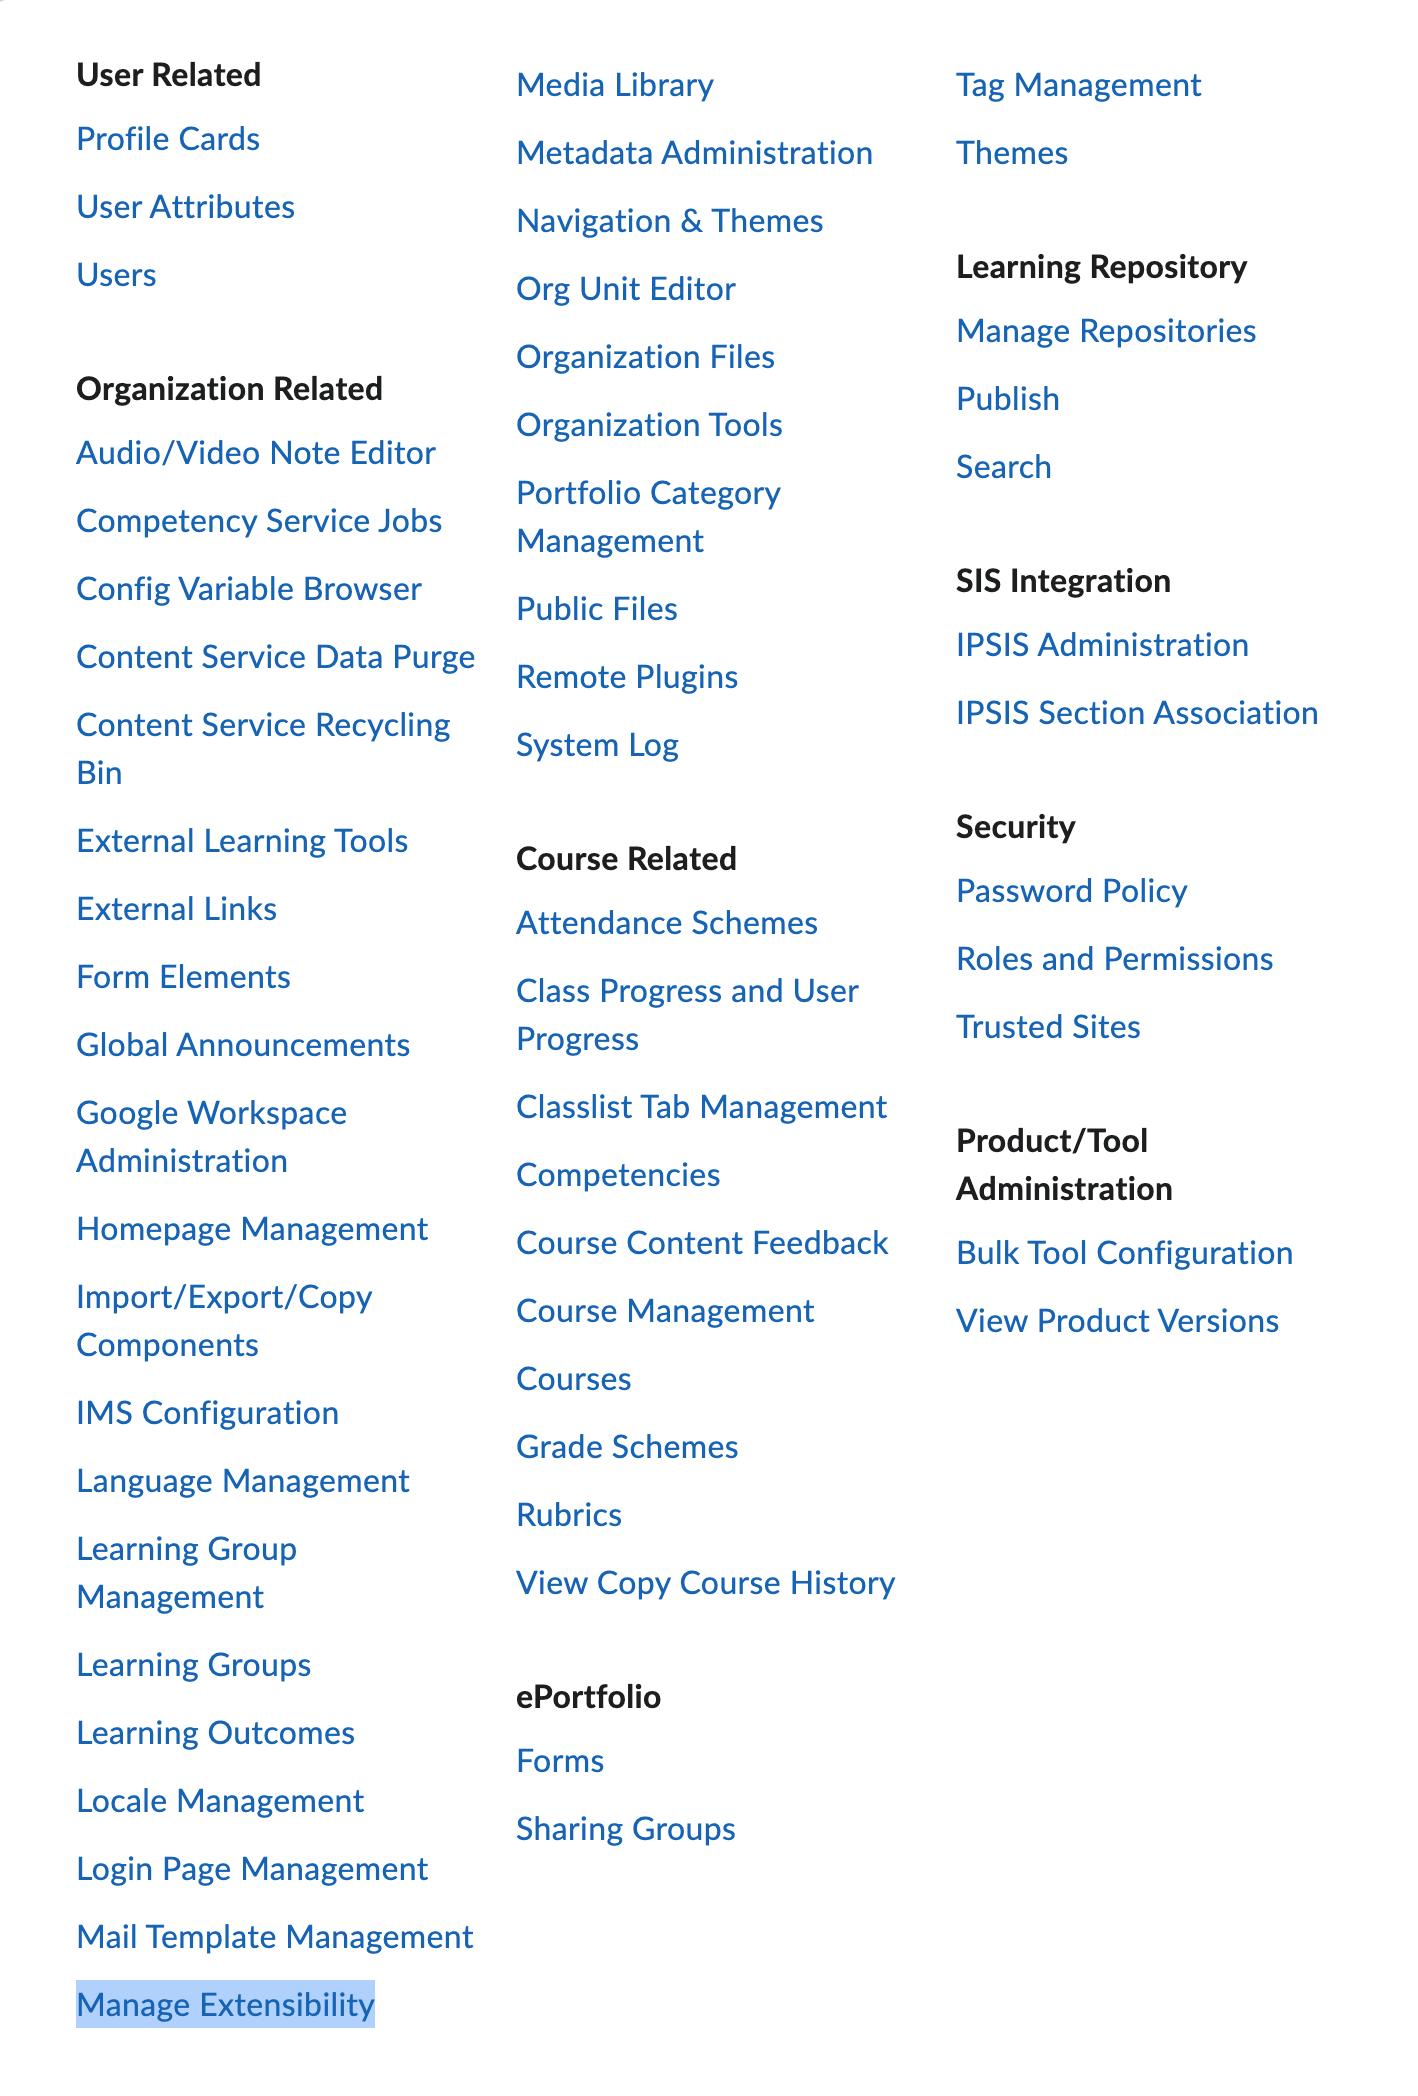
In Brightspace, click the Settings icon in the top right corner and go to Manage Extensibility.
Step 2
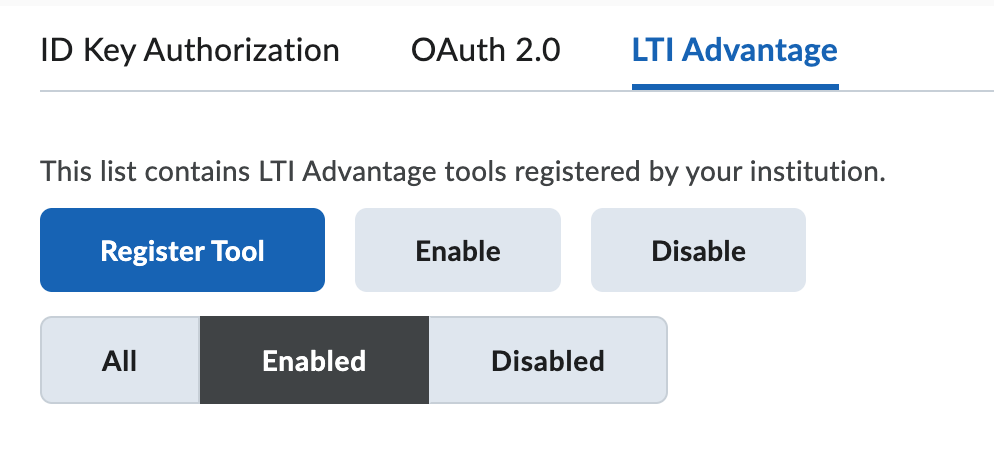
Click LTI Advantage in the top right corner.
Step 3
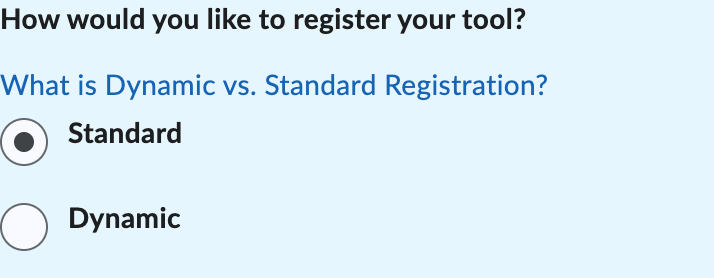
Click Register Tool → Standard.
Step 4
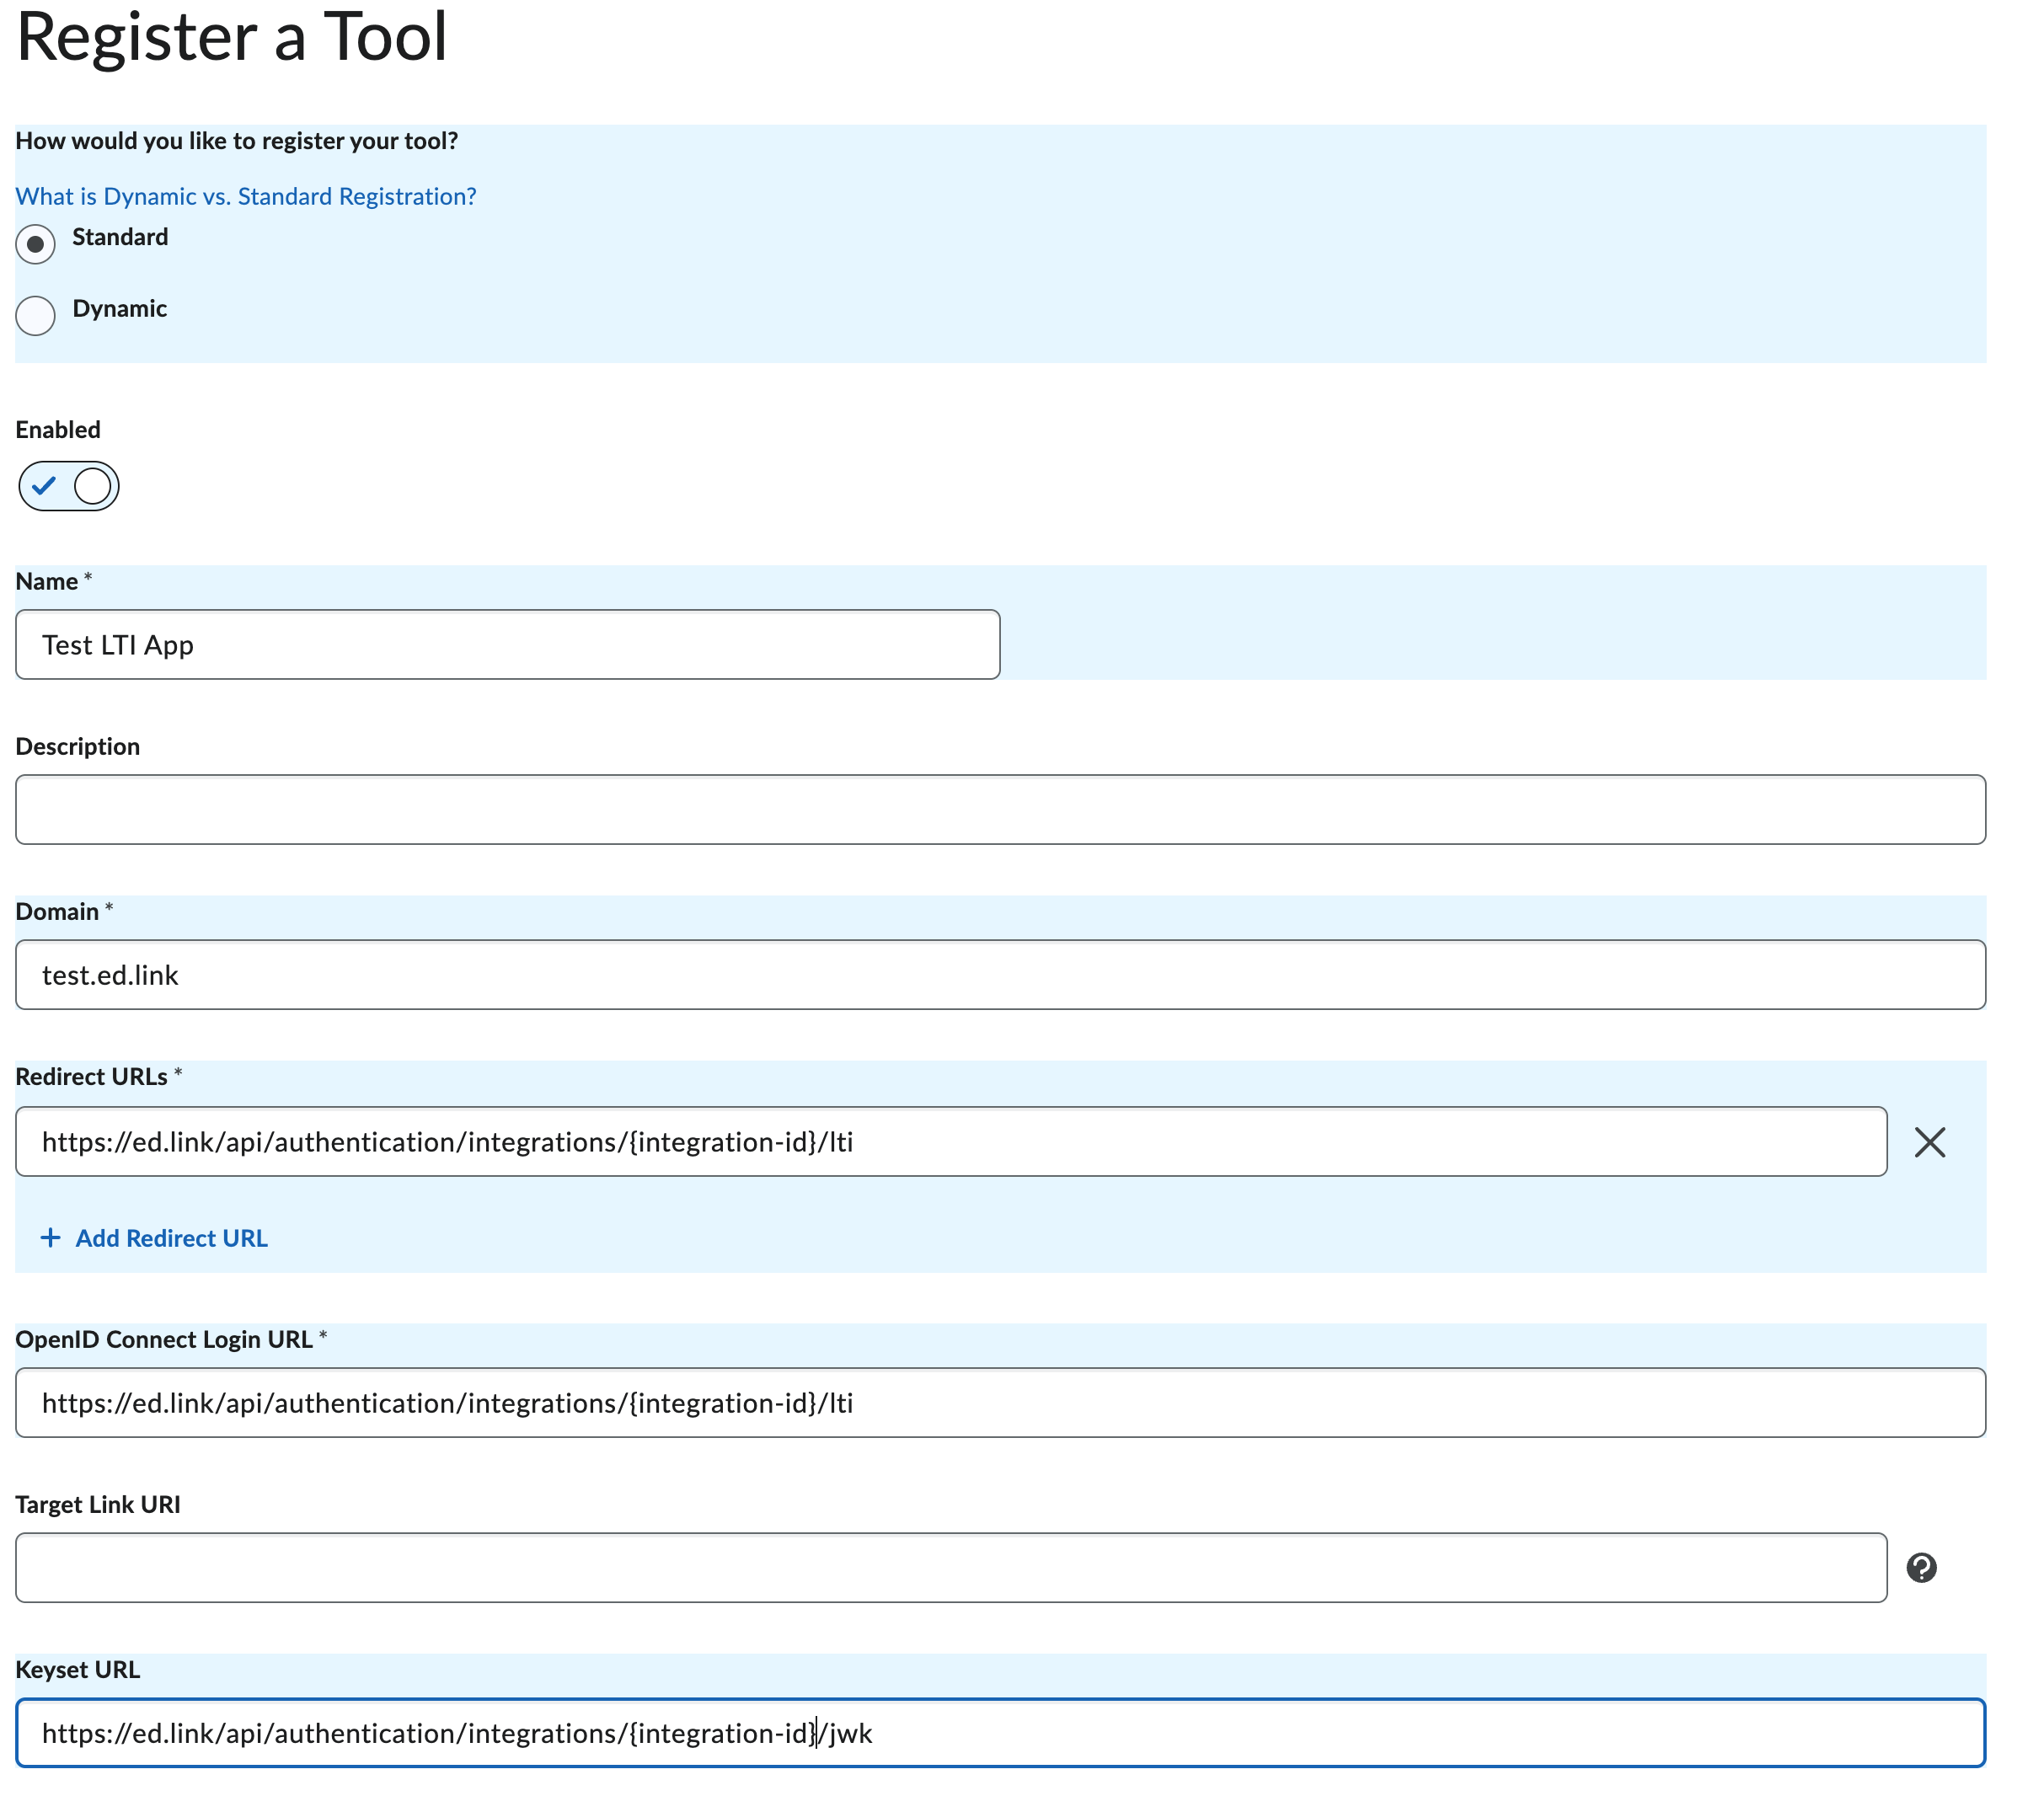
Your Configuration JSON and Keyset URL can be found in the Edlink dashboard. For help finding these values, check out this guide:
Fill out the fields:
- Name: Enter the name of your learning application.
- Domain:
{learningappname}.ed.link - Redirect URLs:
{Configuration JSON} - Target Link URI: Leave blank.
- Keyset URL:
{Keyset URL}
Step 5 (Optional)
Enable Deep Linking if your learning application supports grades and assignments passing back to Brightspace.

Step 6
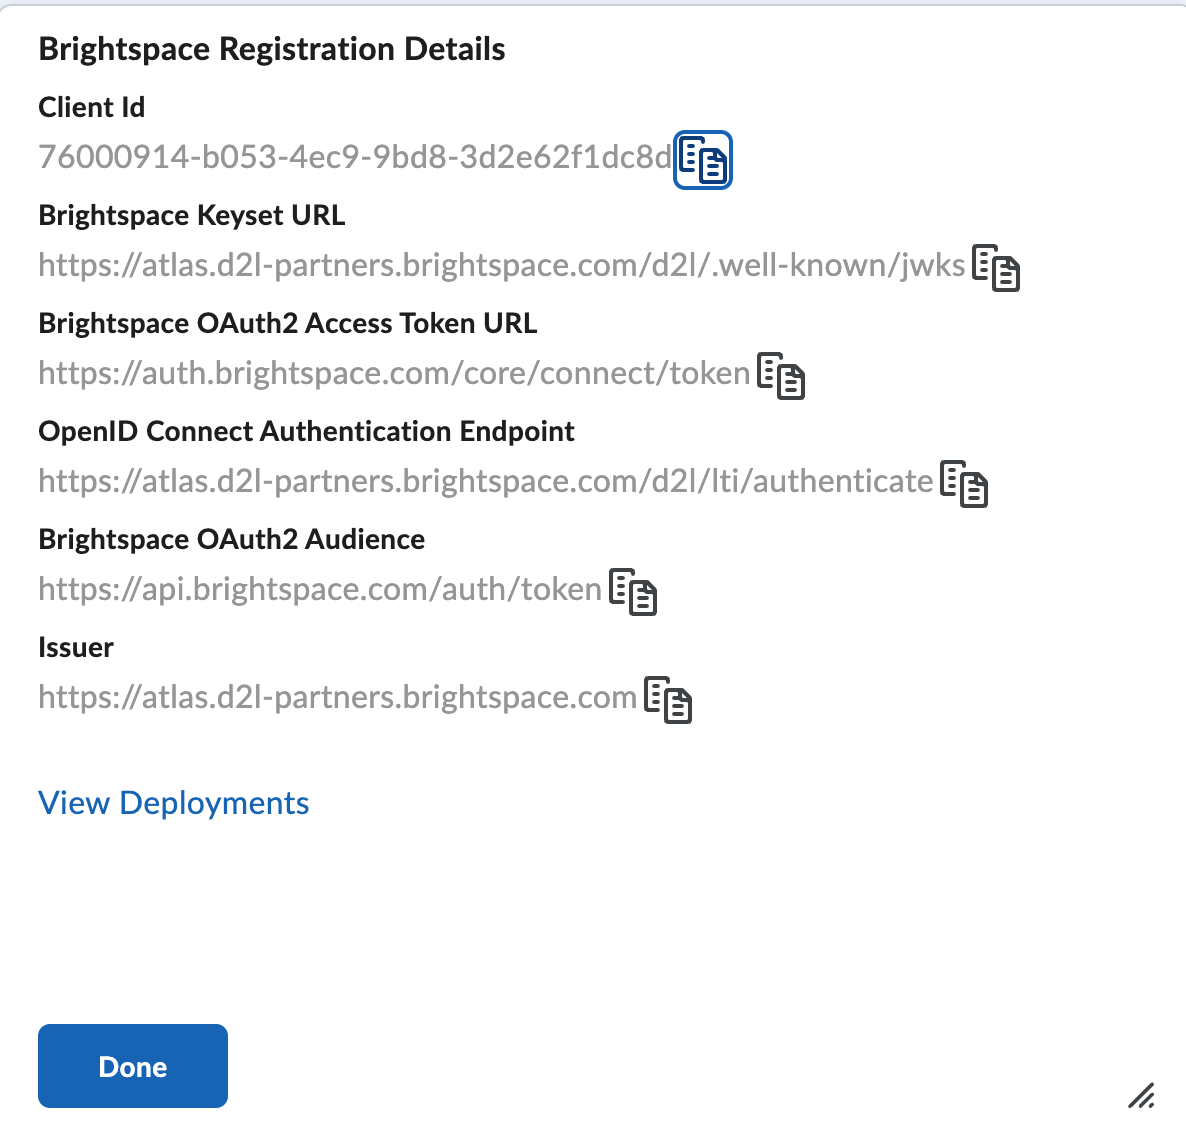
Click Register. A Brightspace Registration Details box will appear.
Copy the Client ID — you'll need to enter this in Edlink.
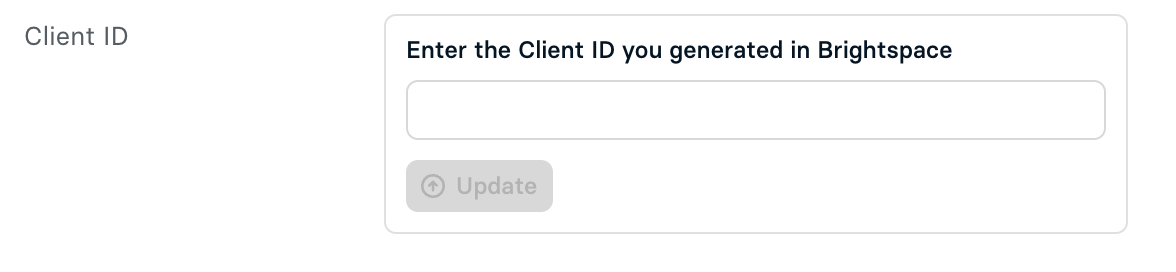
Then, paste the Client ID into the Client ID field within the Edlink dashboard and click Update.
Step 7
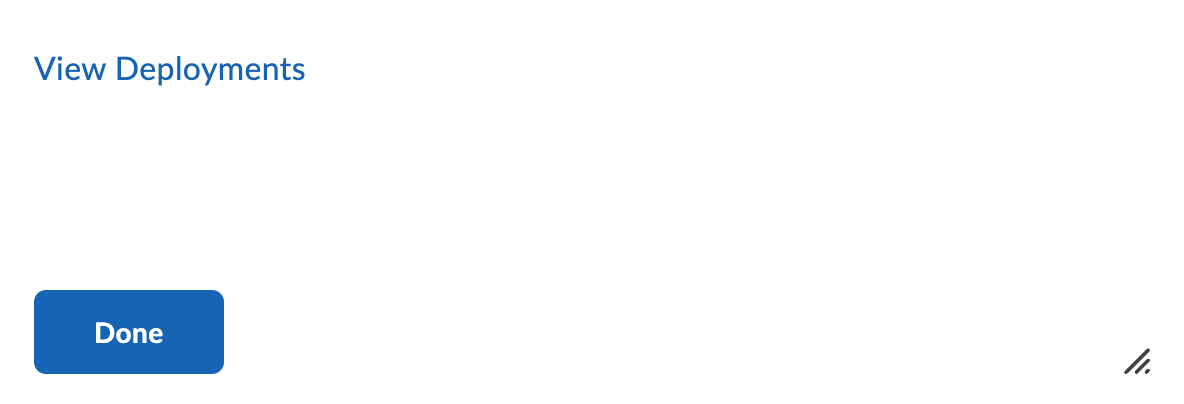
In the Registration Details box, click View Deployments, then click New Deployment.
Step 8
Fill out the deployment details:
- Tool: Select the tool you registered in the previous steps.
- Name: Enter the name of your learning application.
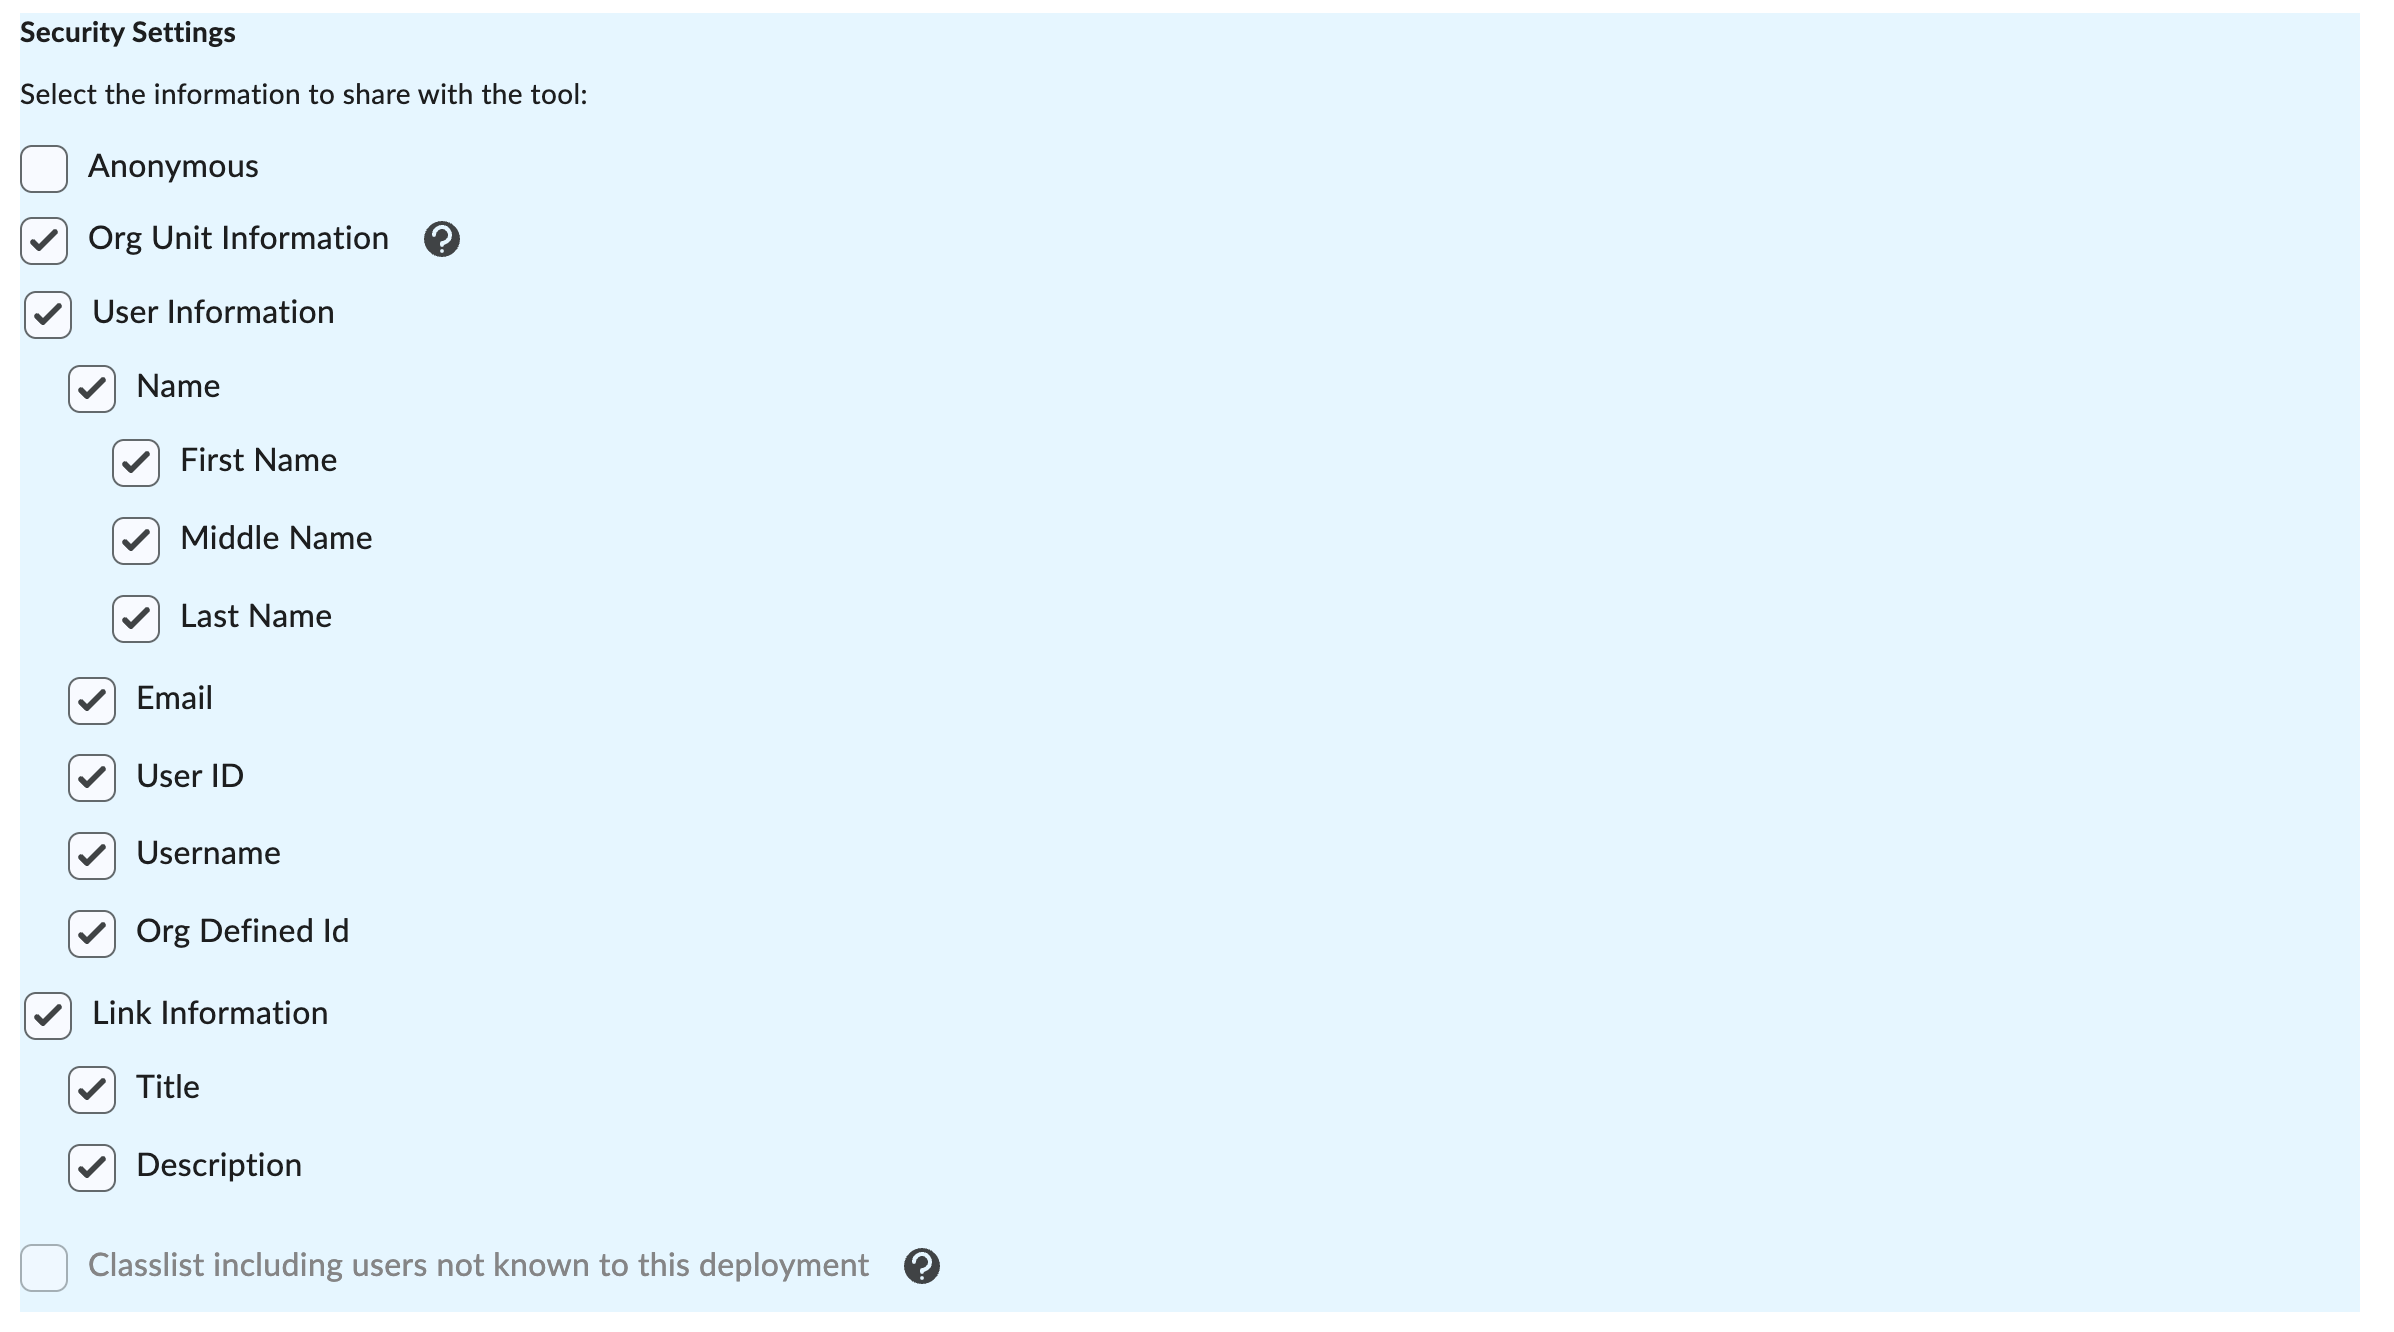
- Security Settings: Check all required boxes.
Enable Deep Linking if you enabled it earlier.
Enable Open as External Resource if you want the app to open in a new window.
Step 9
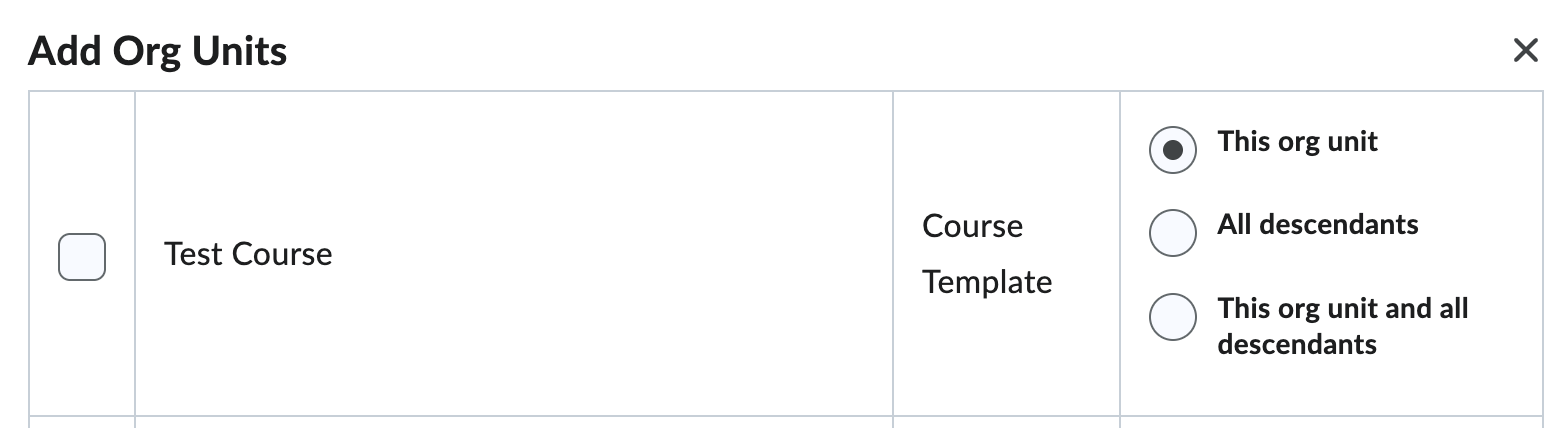
Click Add Org Units and select any classes or organizations that should have access to the learning application.
Click Add at the bottom.
Step 10
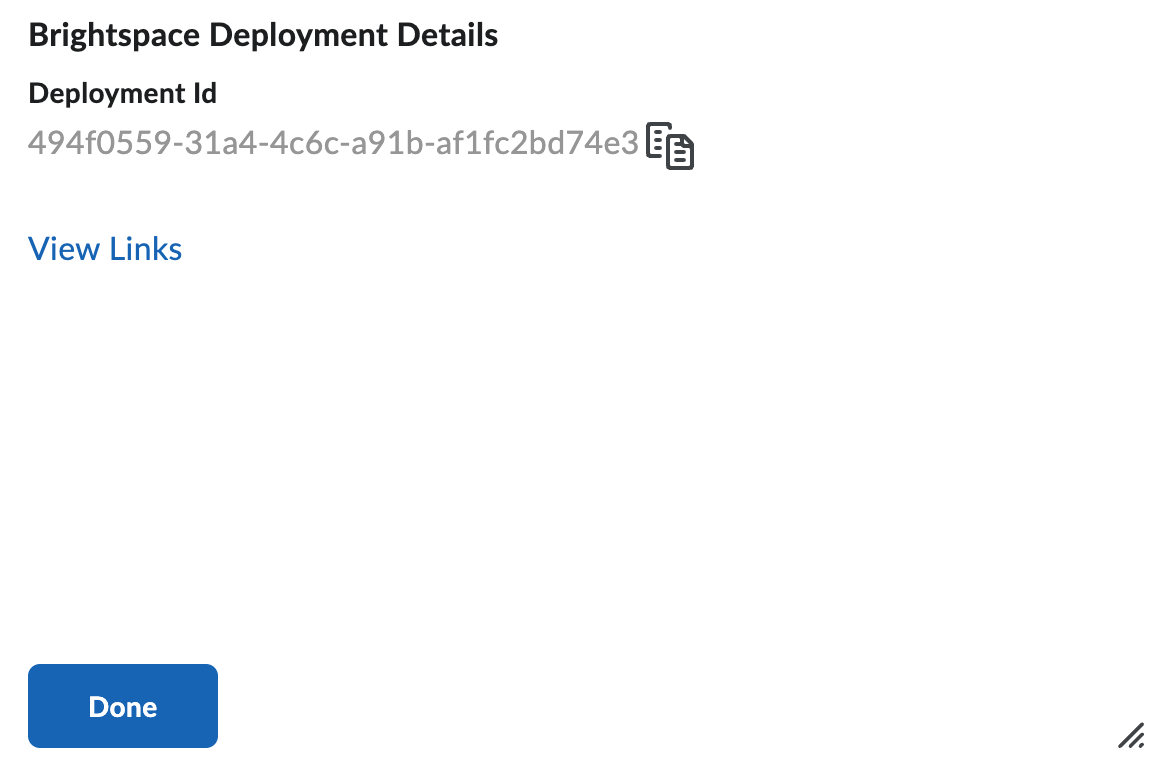
Click Create Deployment. A new box will open — click View Links.
Step 11
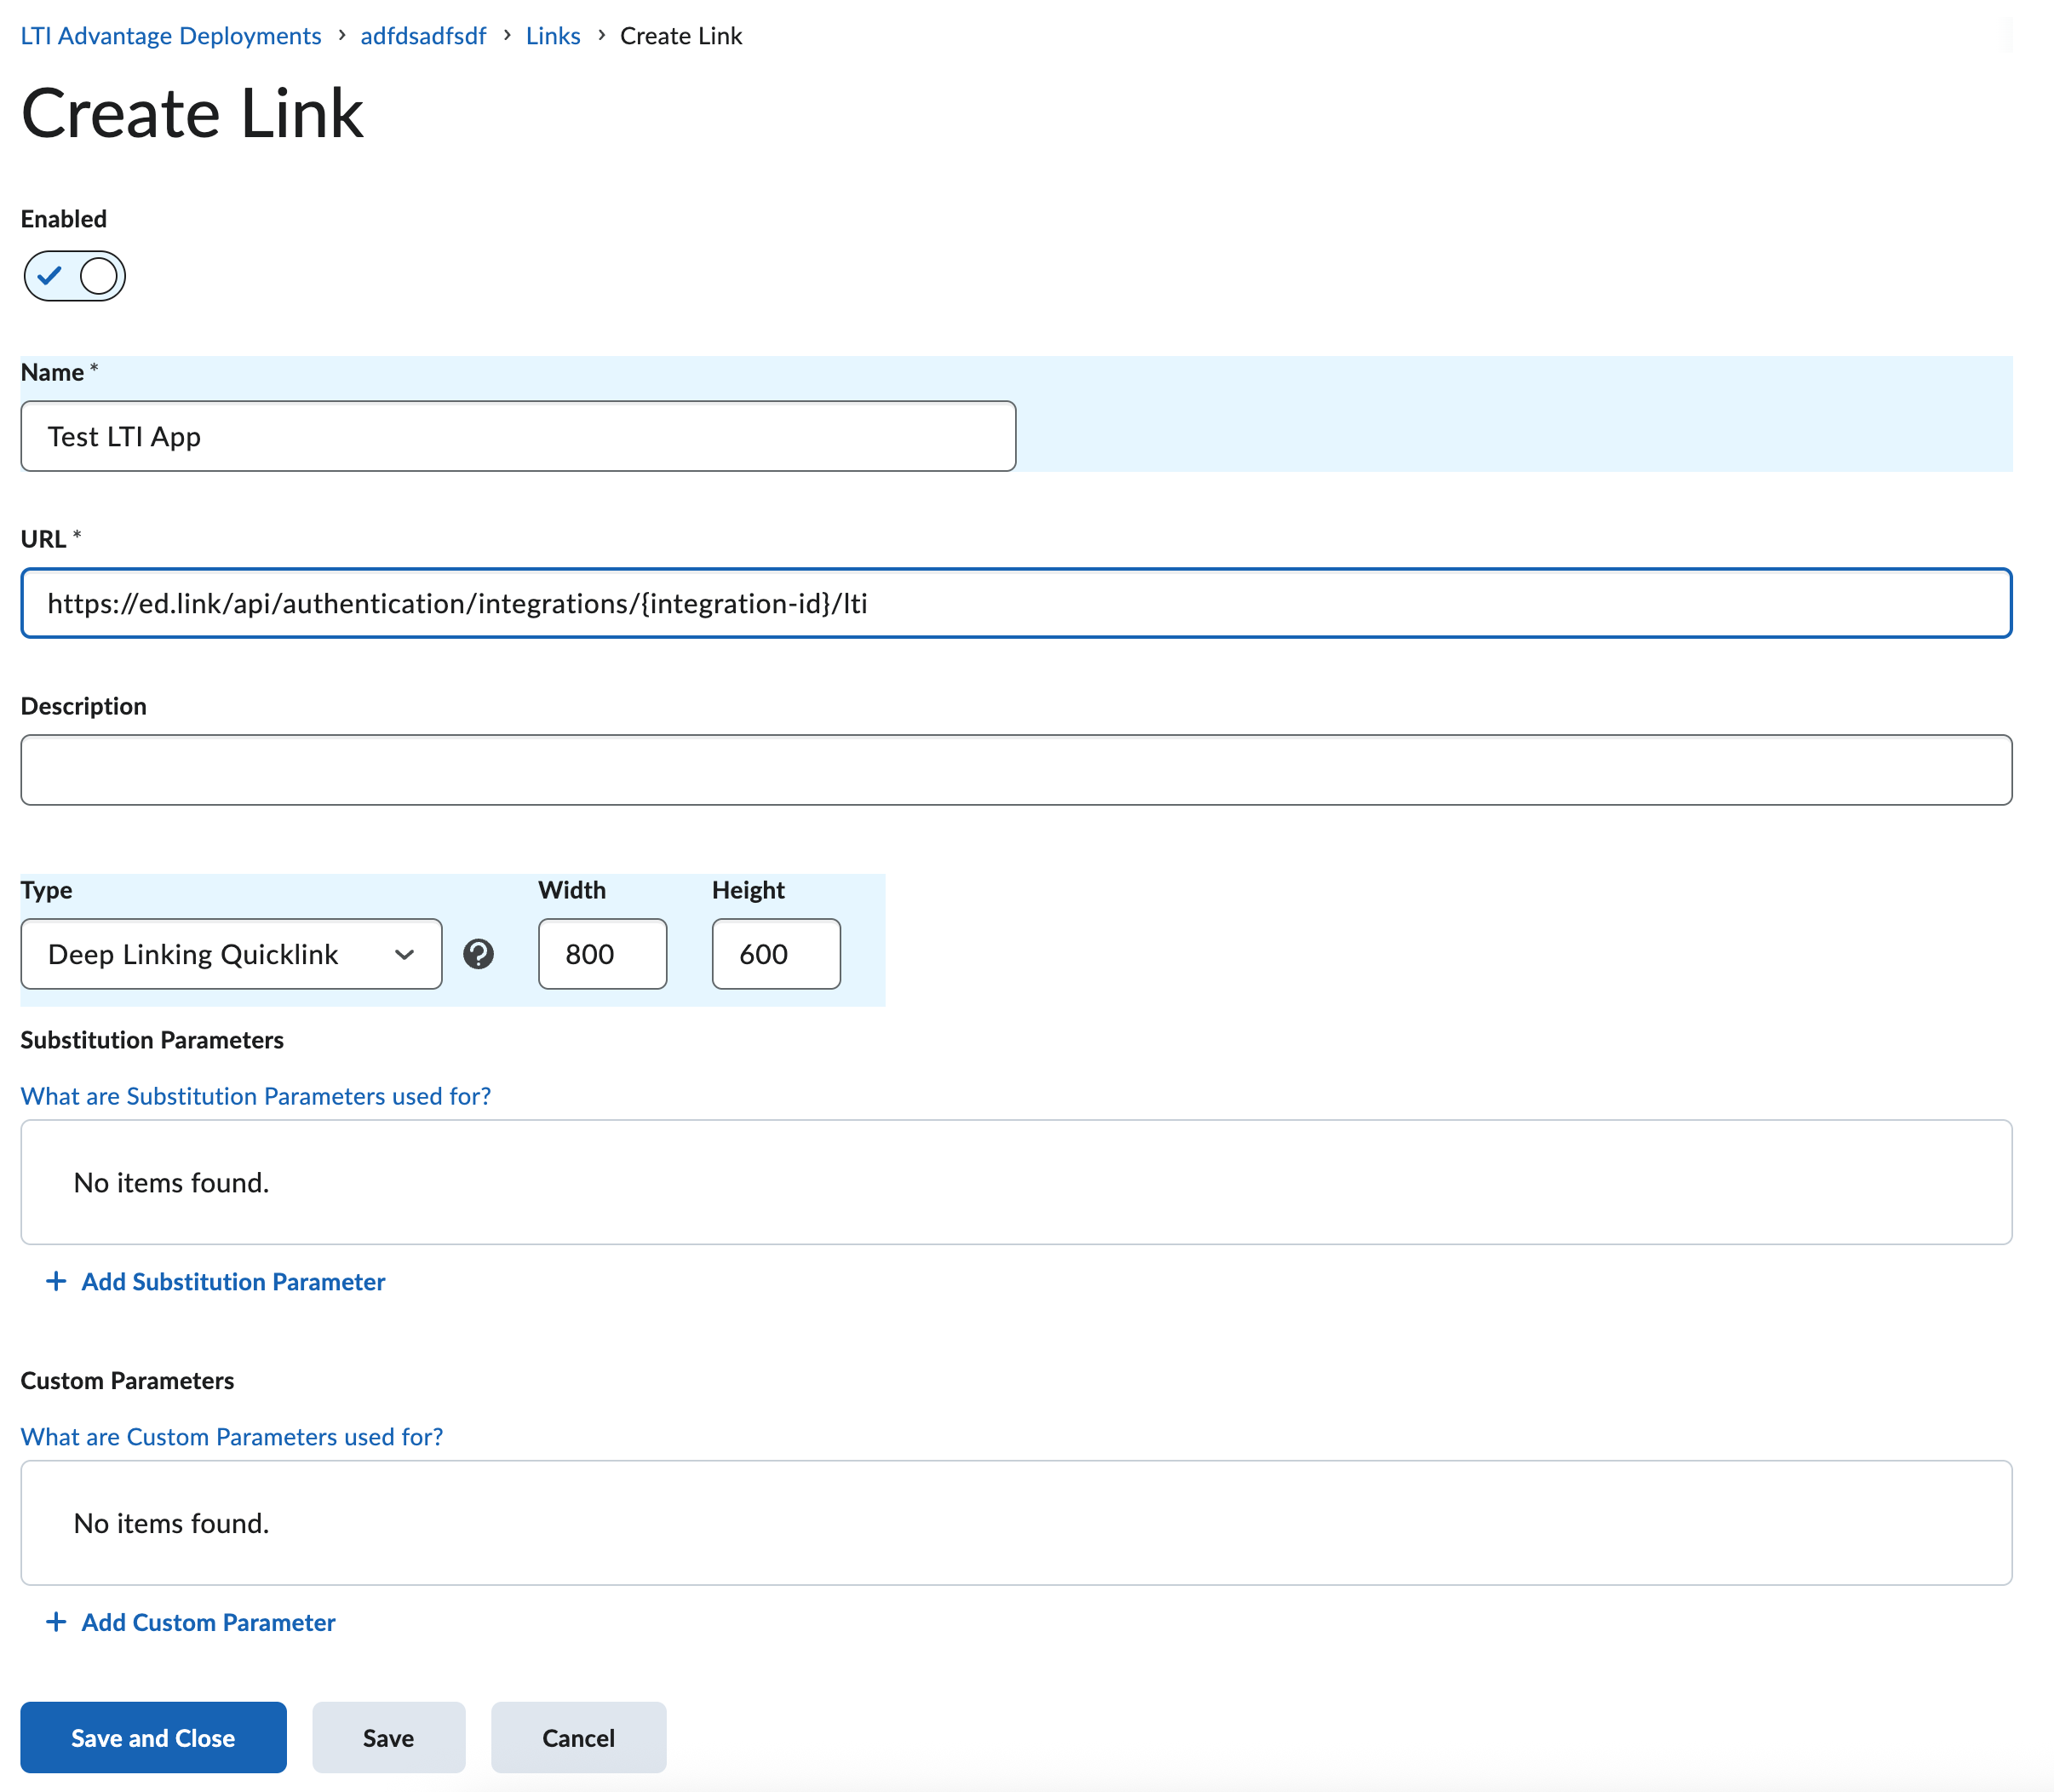
Click New Link and fill out the fields:
- Name: Name of the learning app.
- URL:
{Configuration JSON}(same as in Step 4). - Type: Select Deep Linking Quicklink if Deep Linking is enabled; otherwise, leave as is.
Step 12
Click Save and Close.
Well Done!
You should now be able to add your new LTI learning application to a course in Brightspace!
Any Questions?
If you have any questions or run into any issues, please contact our support team. We'll respond within 24 business hours.