How to Set Up Your Edlink-Connected LTI 1.1 App in Blackboard
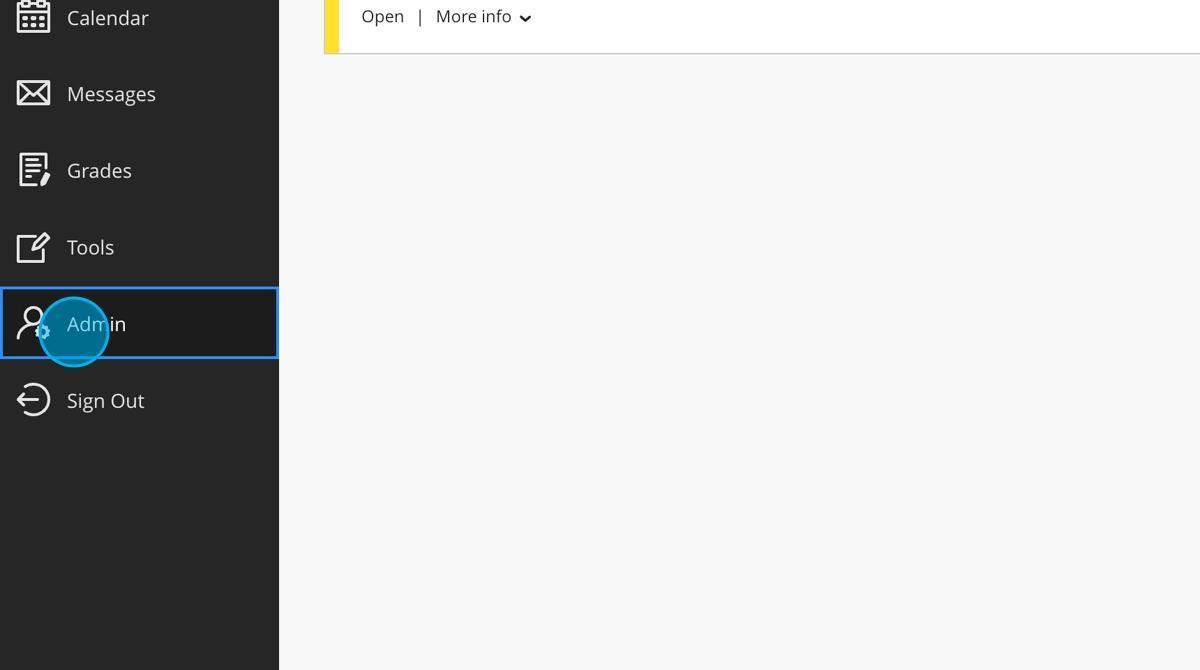
Step 1: Click "Admin"
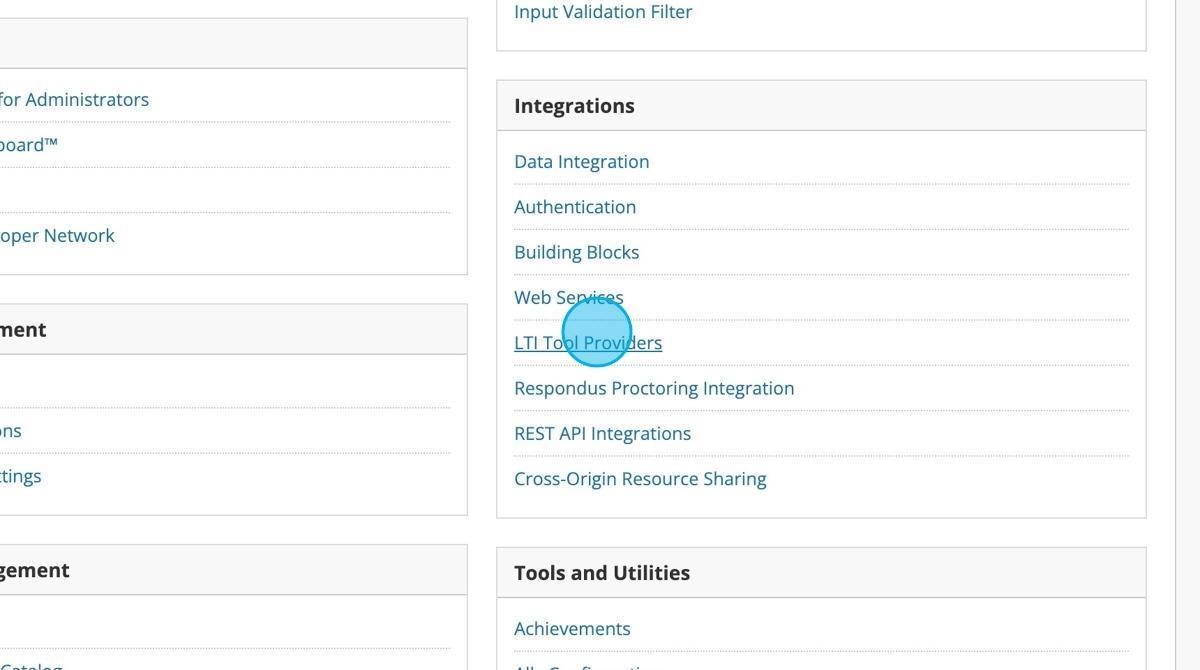
Step 2: Click "LTI Tool Providers."
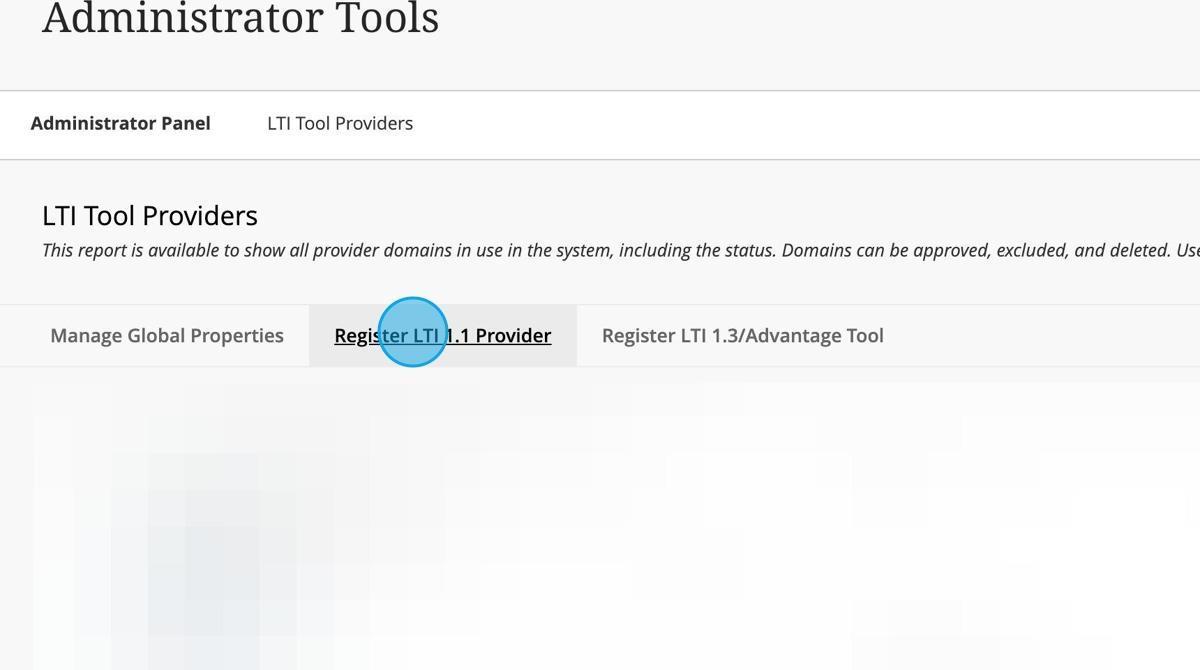
Step 3: Click "Register LTI 1.1 Provider"
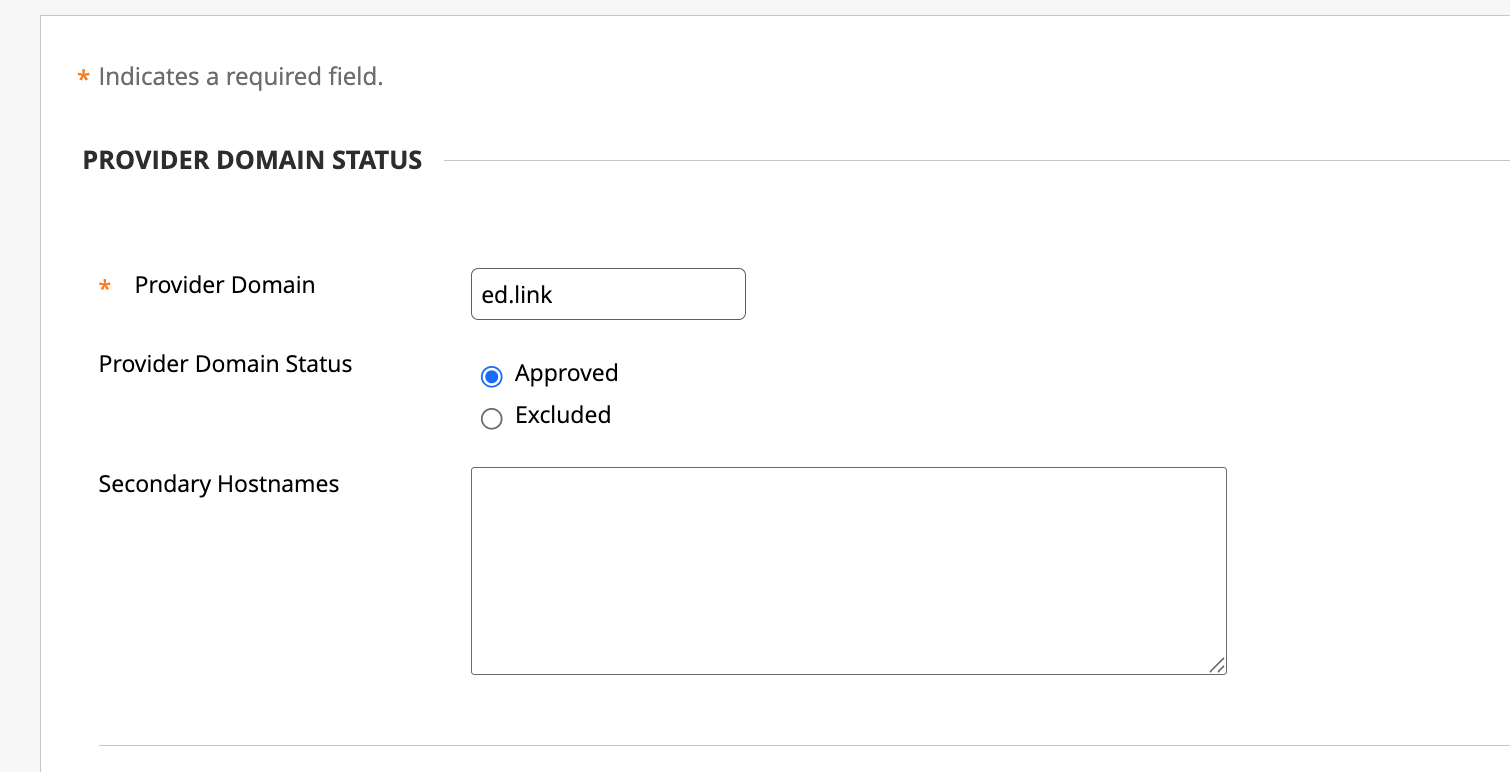
Step 4: Type "ed.link" in the "Provider Domain" field.
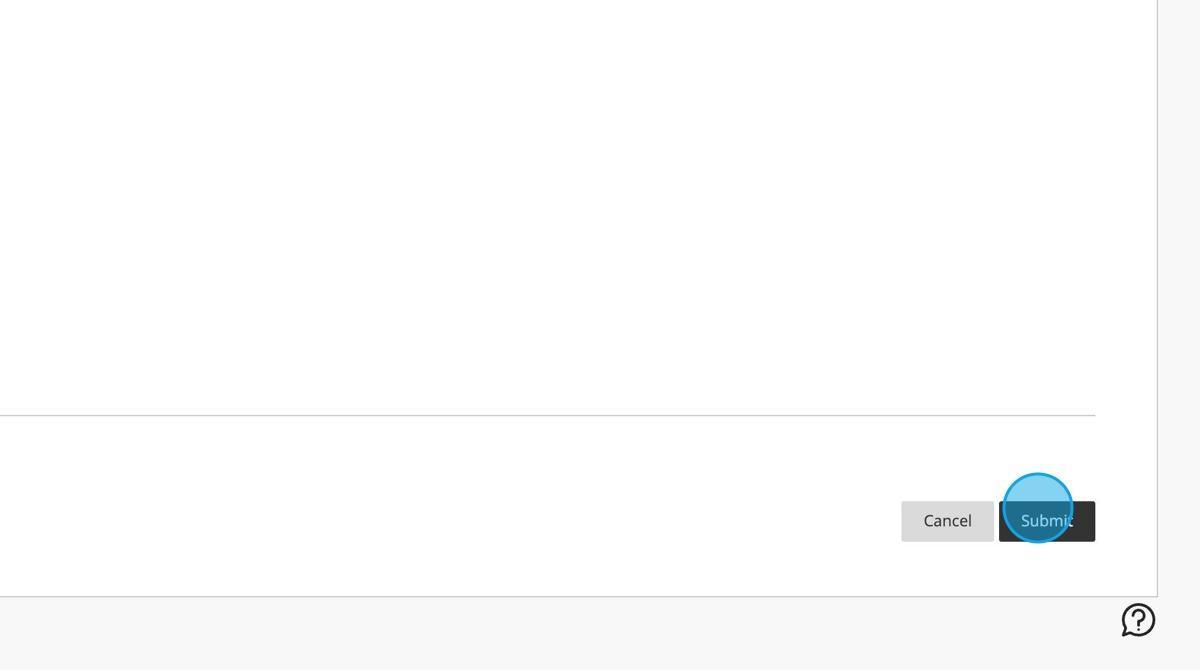
Step 5: Click "Submit".
Step 6: Click the dropdown.
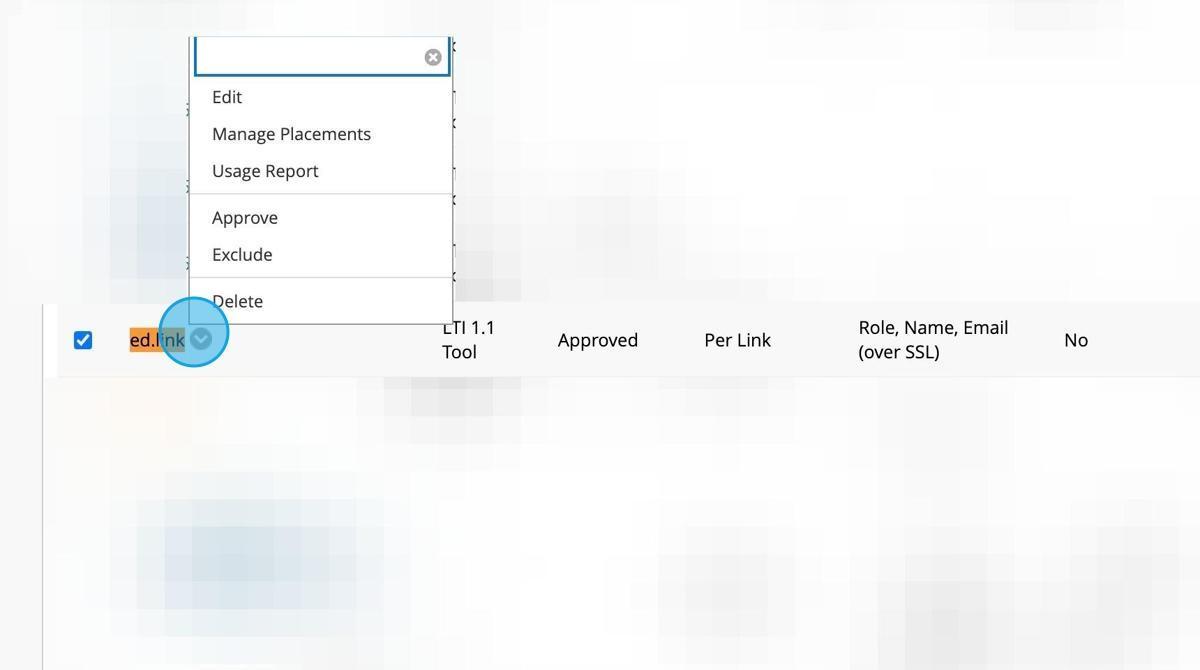
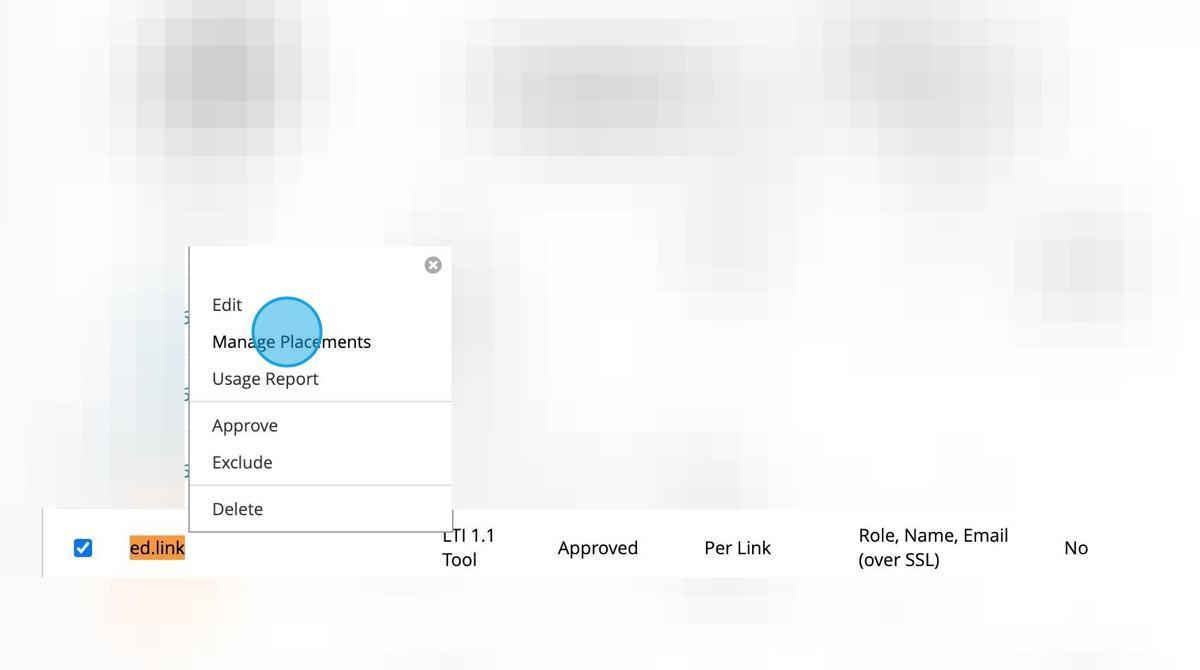
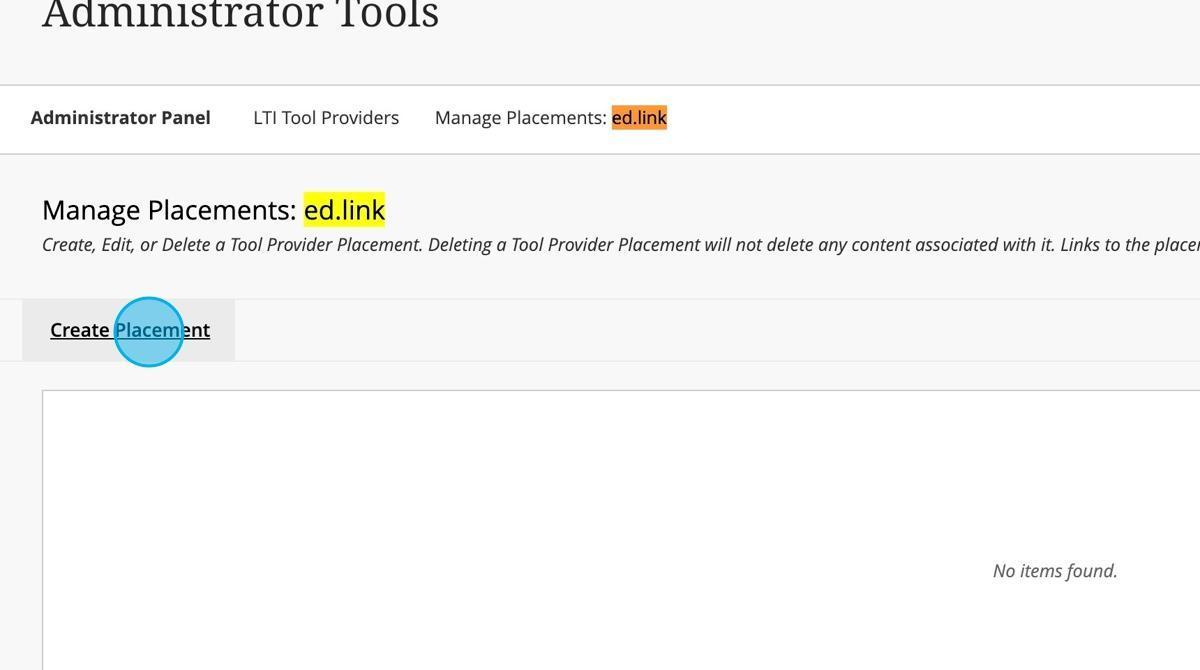
Step 7: Click "Manage Placements"
Step 8: Click "Create Placement"
Step 9: Enter a Label in the "Label" section.

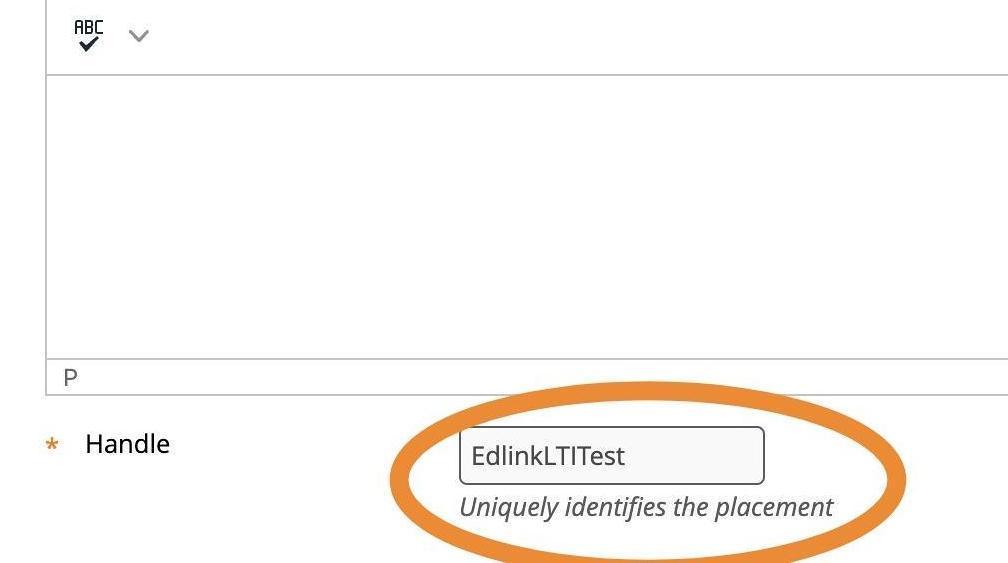
Step 10: Enter a handle in the "Handle" section.
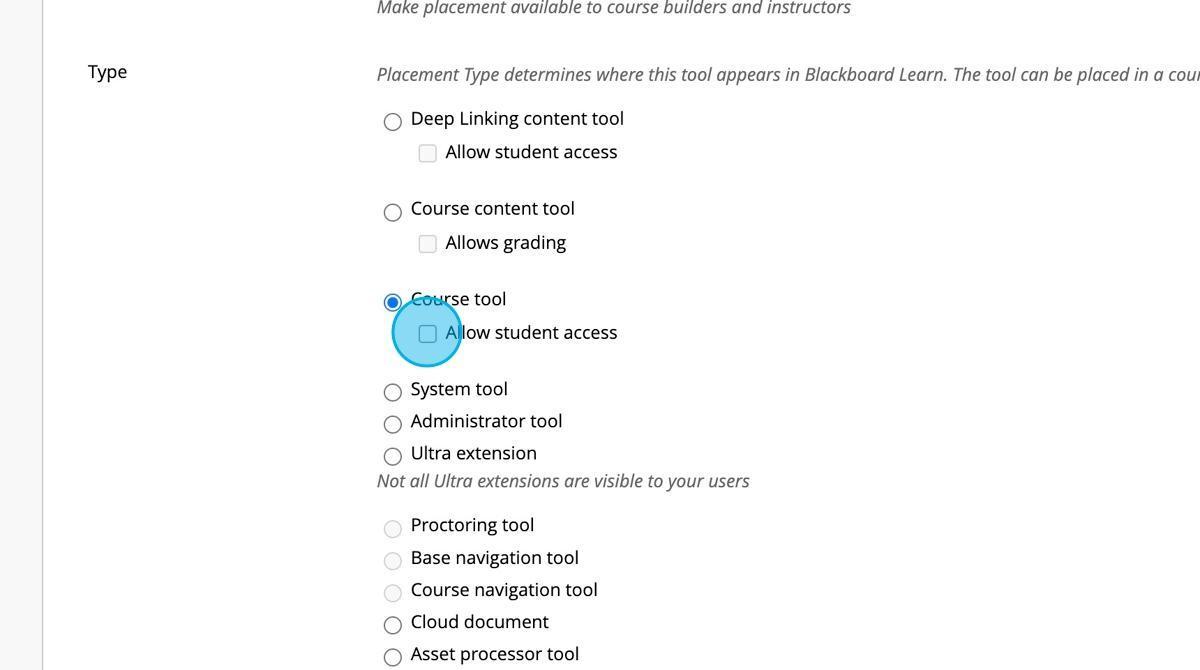
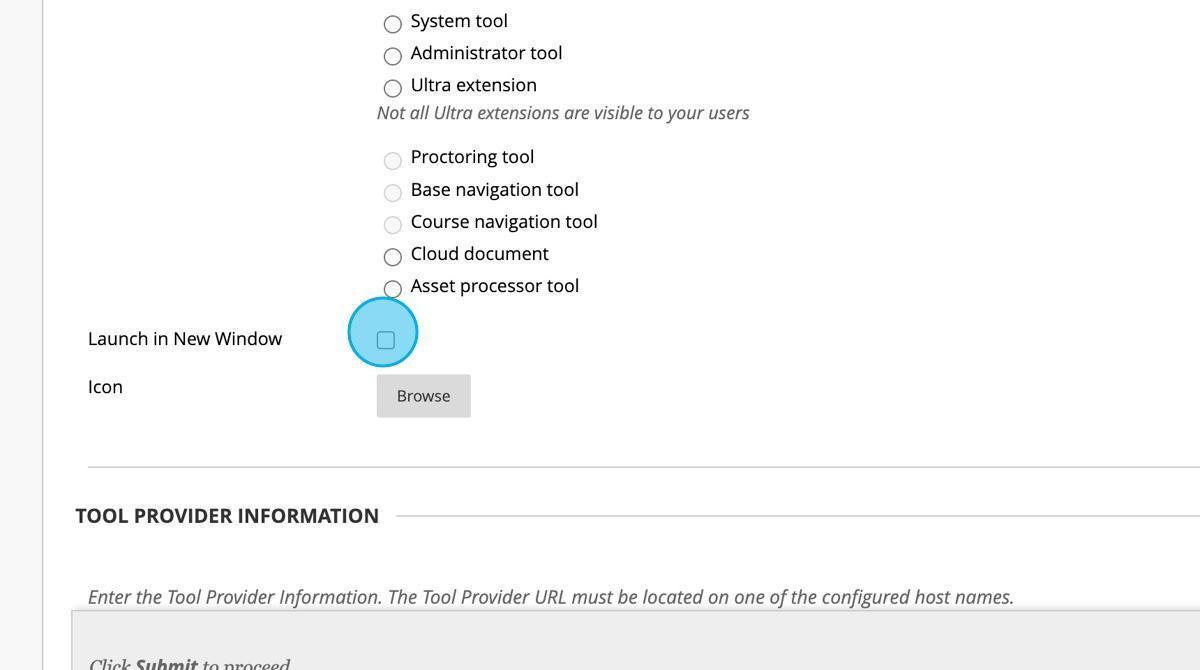
Step 11: Click the "Course Content Tool" field.
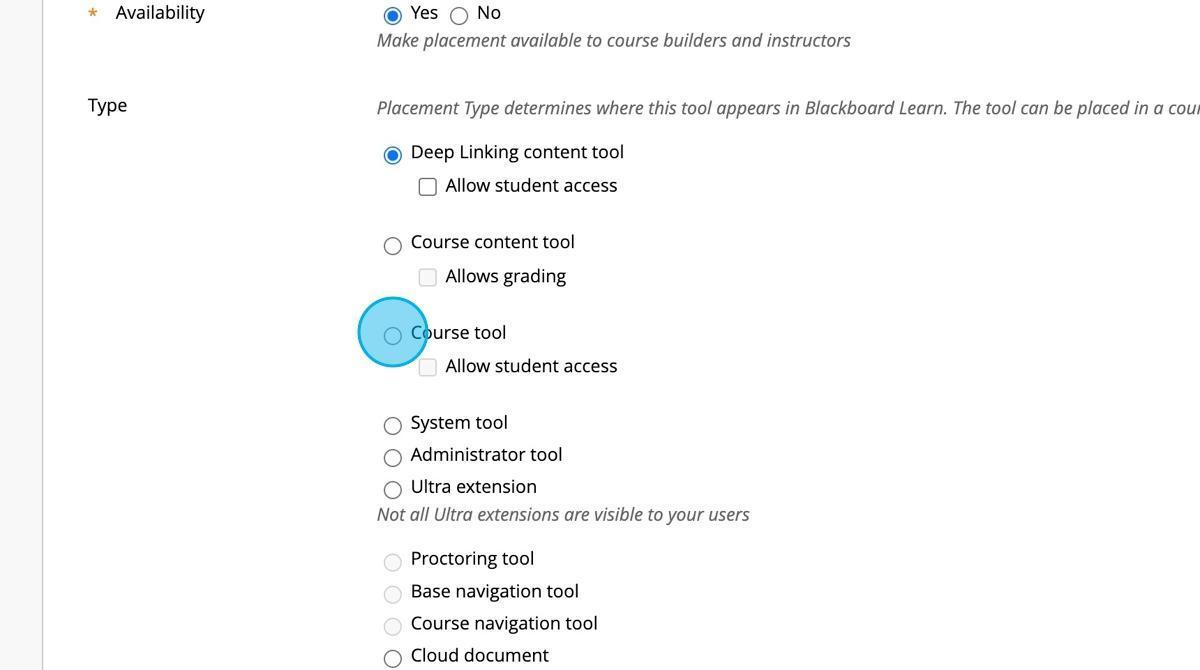
Step 12: Click the "Allow student access" field.
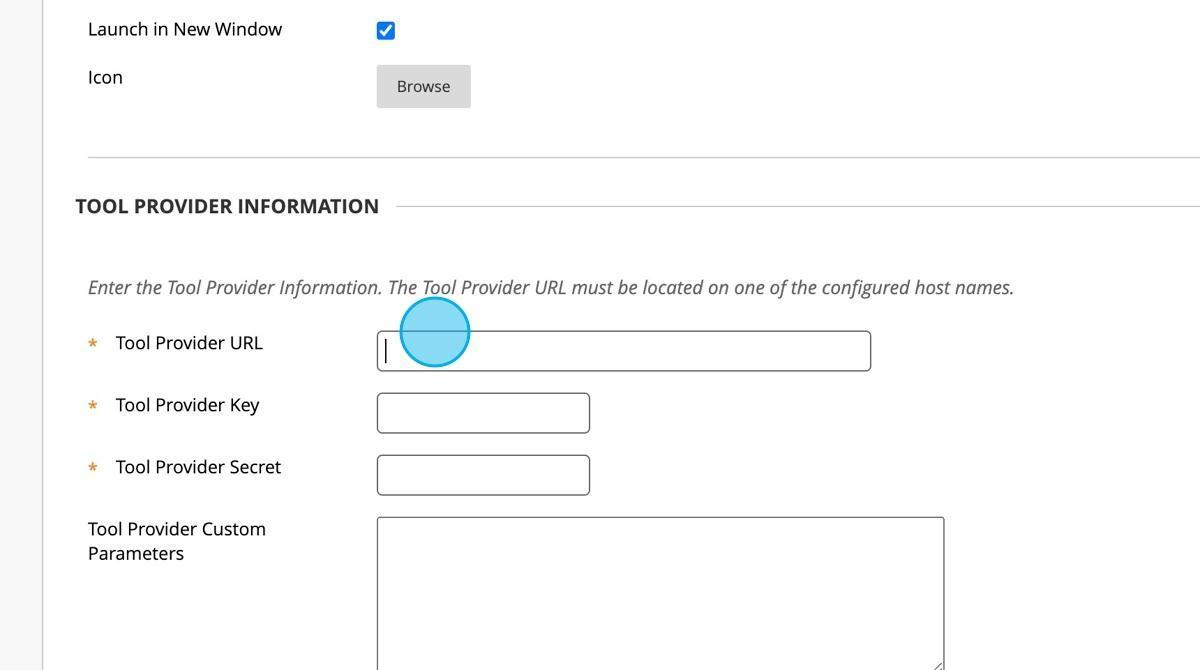
Step 13: Click the "Launch in New Window" field if you would like the LTI app to launch in a new window.
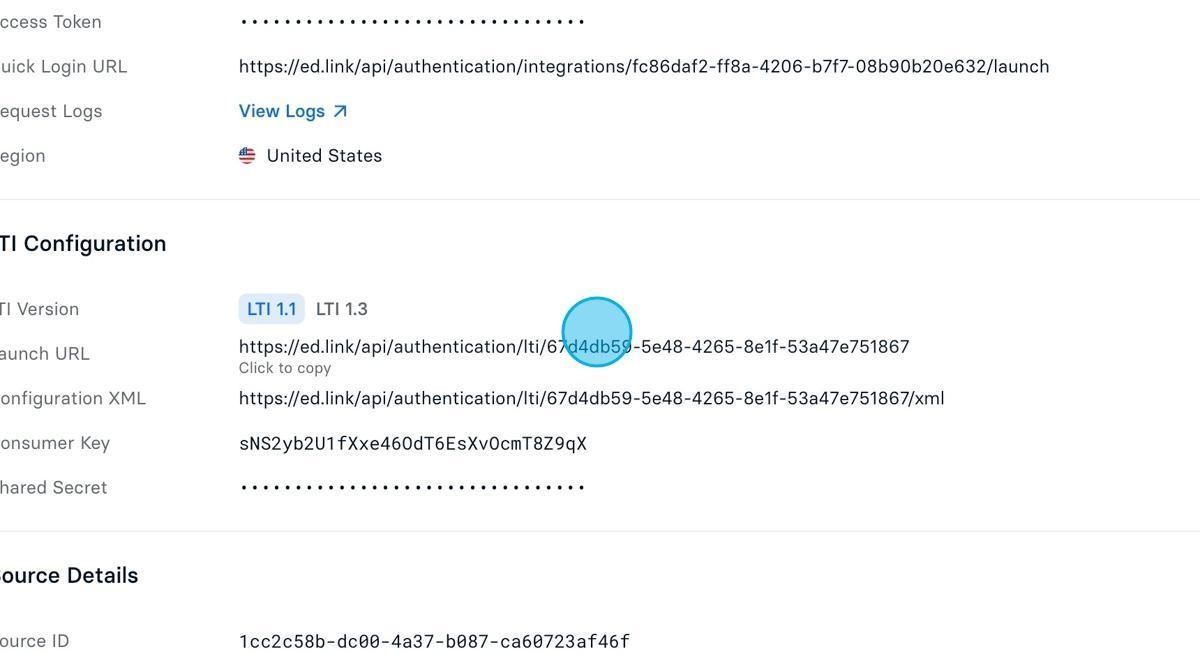
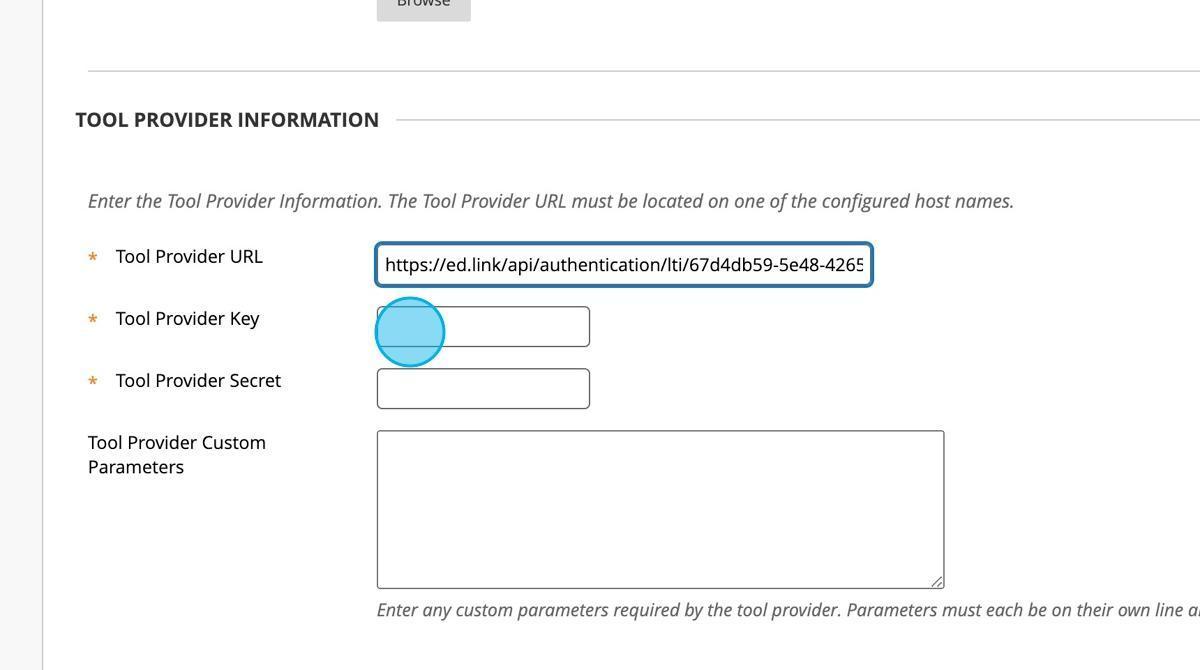
Step 14: Switch to your Edlink integration settings and click "Launch URL" to copy it to your clipboard.
Step 15: Paste the Launch URL in the "Tool Provider URL" field within Blackboard.
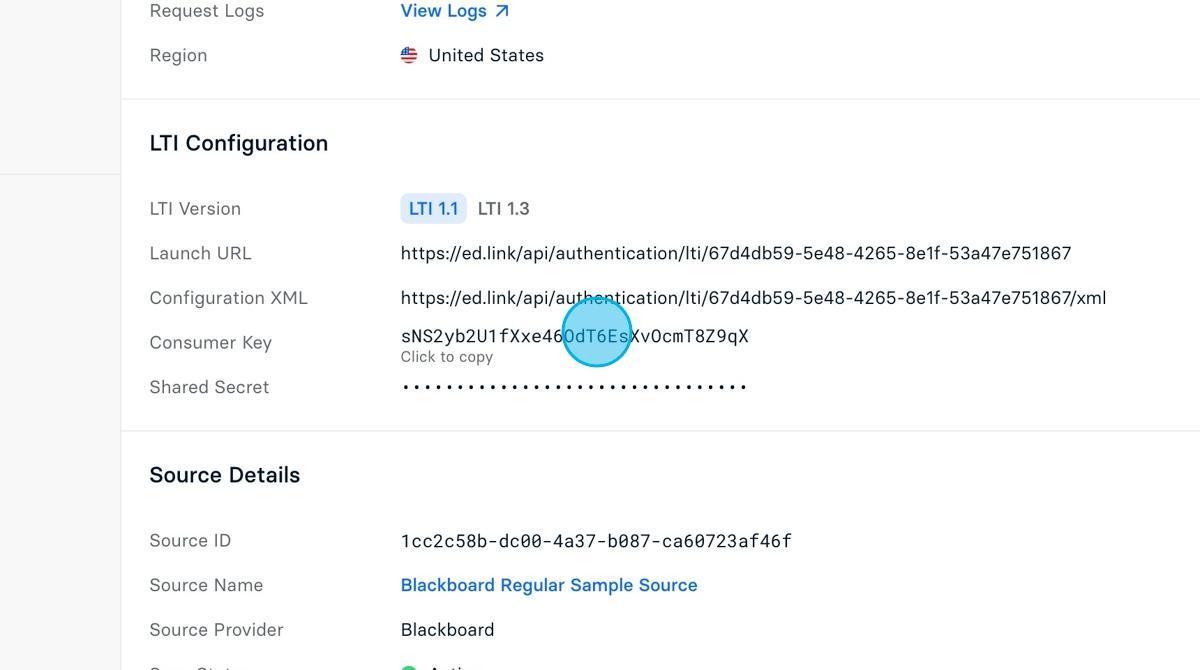
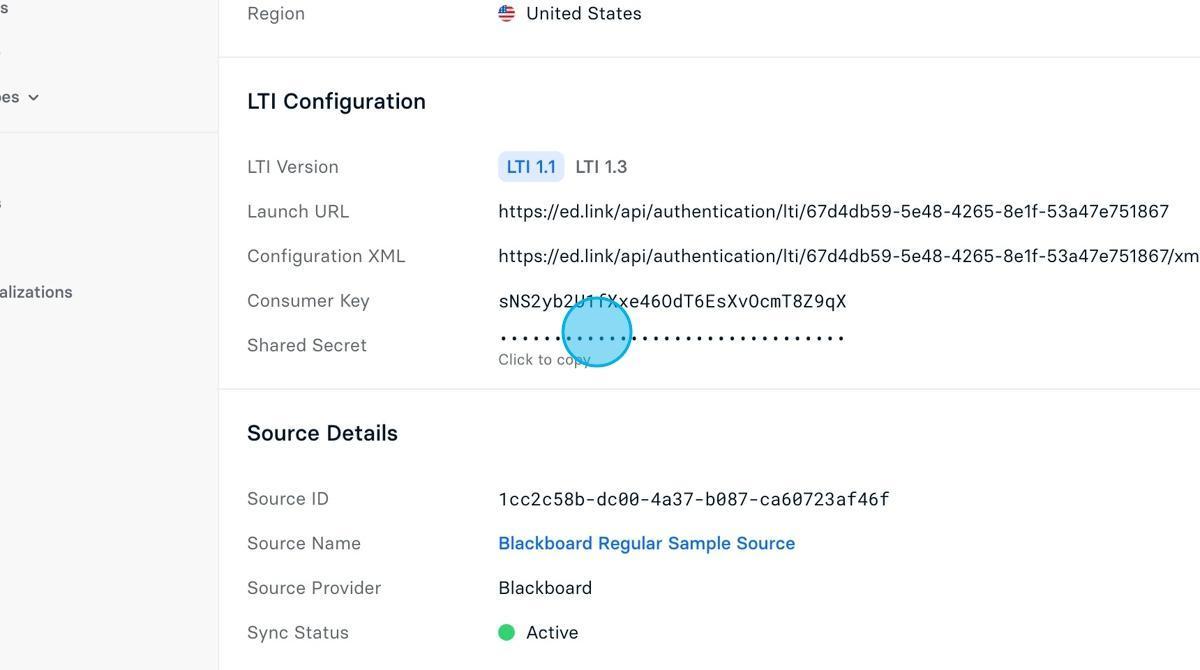
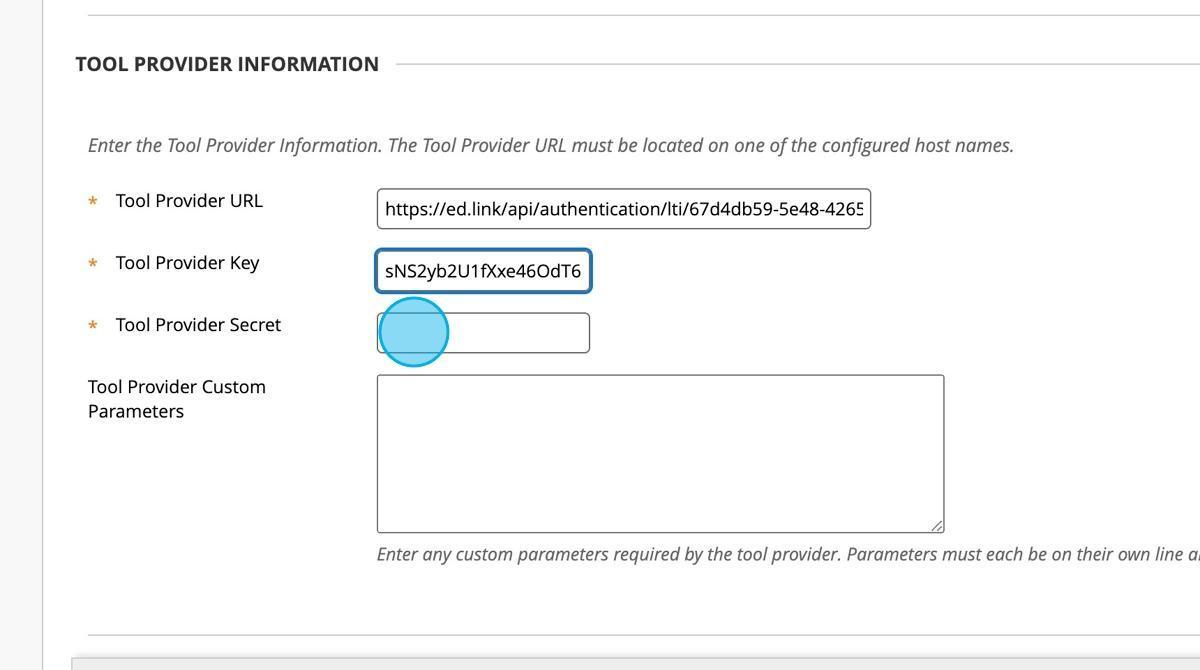
Step 16: Click "Consumer Key" from your Edlink dashboard to copy it to your clipboard.
Step 17: Paste the Consumer Key in the "Tool Provider Key" field within Blackboard.
Step 18: Click "Shared Secret" from your Edlink dashboard to copy it to your clipboard.
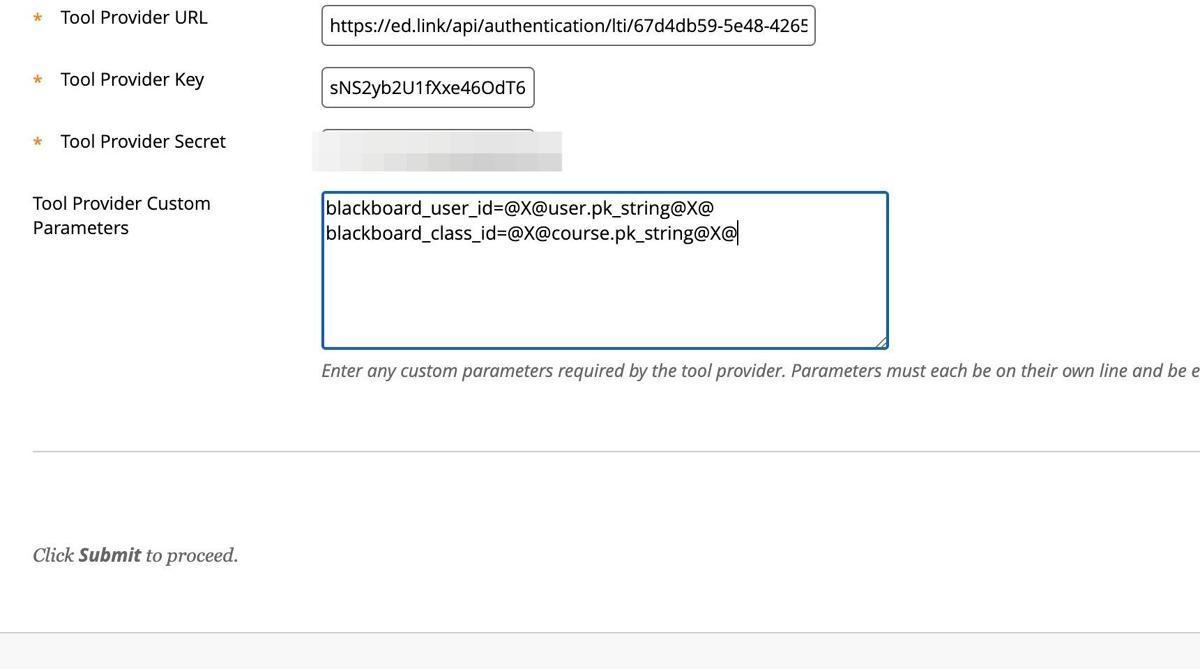
Step 19: Paste the Shared Secret in the "Tool Provider Secret" field within Blackboard.
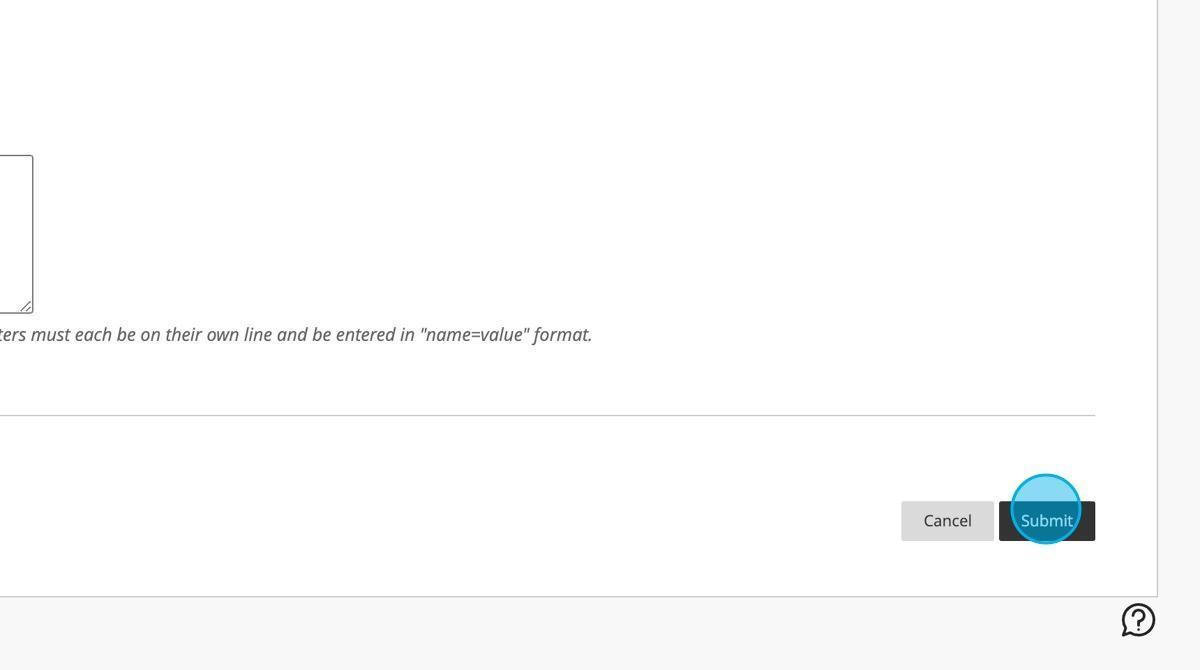
Step 20: Paste the following into the "Tool Provider Custom Parameters" field:blackboard_user_id=@X@user.pk_string@X@
blackboard_class_id=@X@course.pk_string@X@
Step 21: Click "Submit".
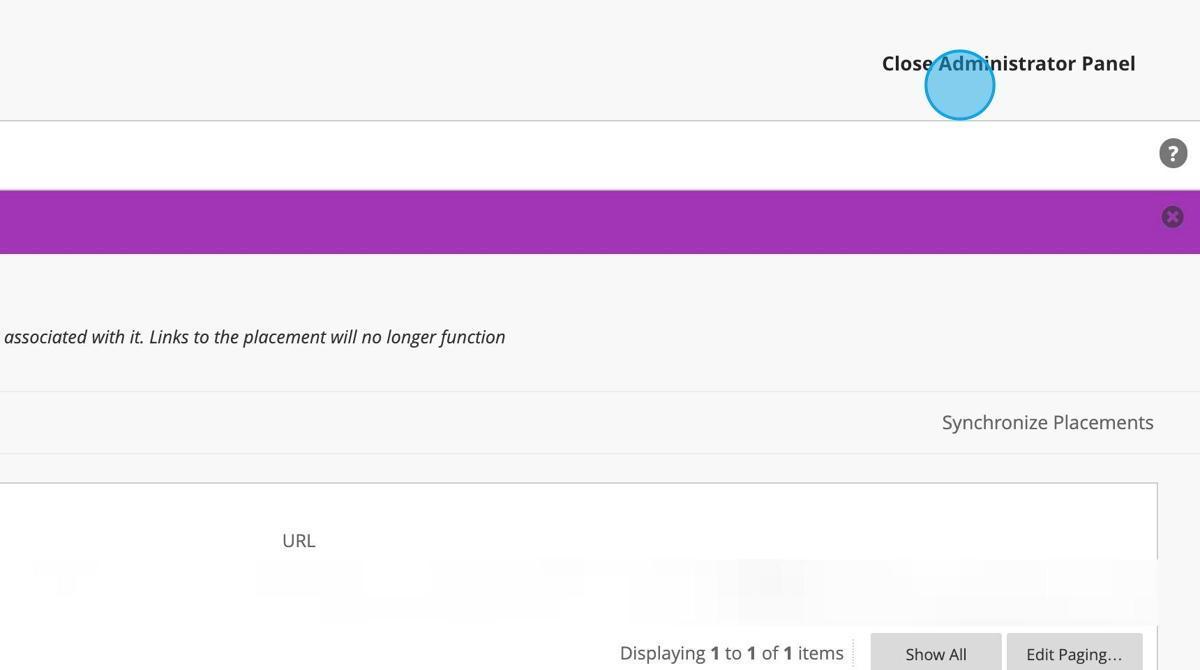
Step 22: Click "Close Administrator Panel"
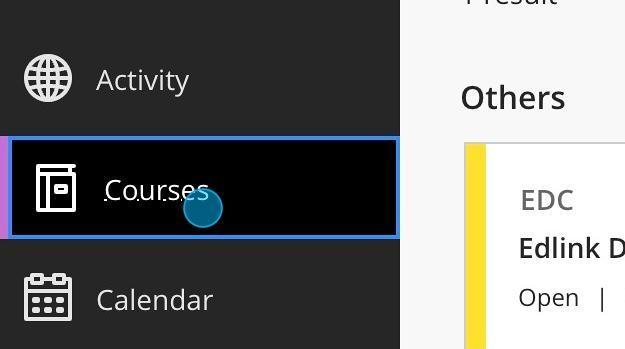
Step 23: Click Courses.
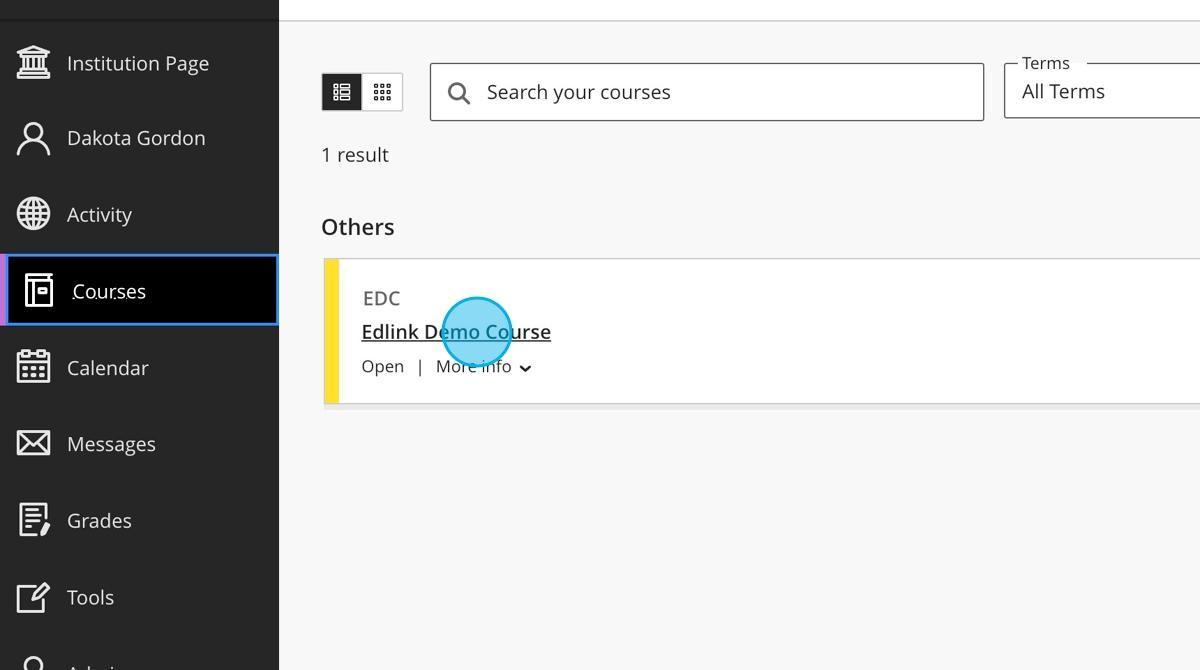
Step 24: Select a course to add the LTI application to.
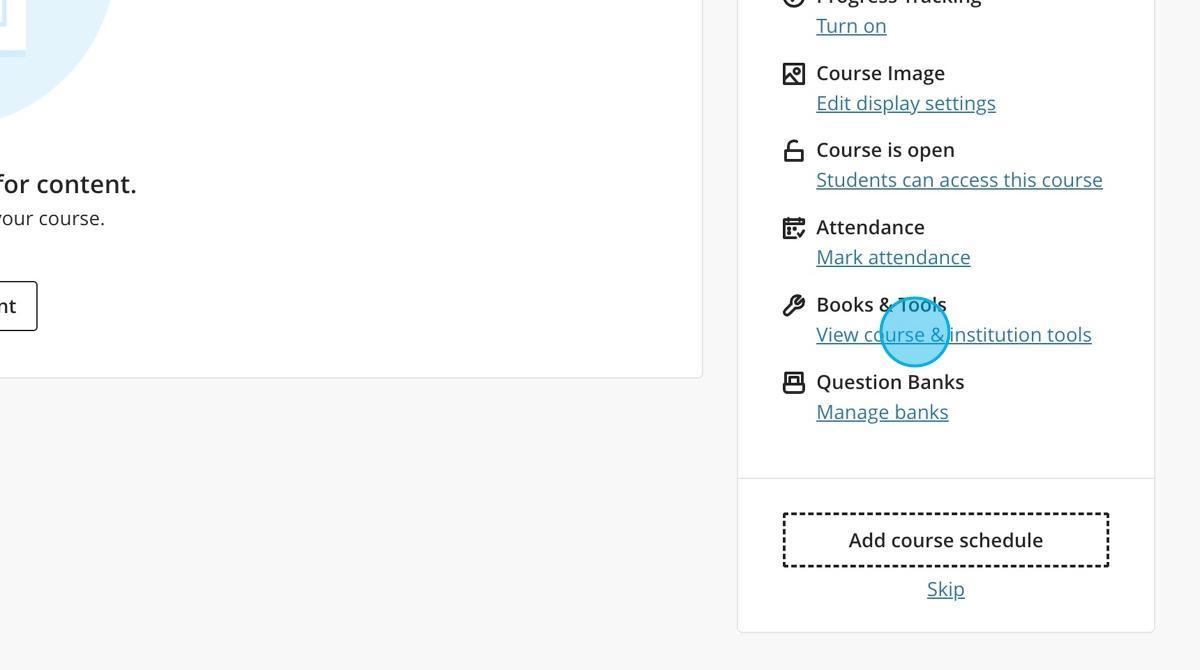
Step 25: Click "View course & institution tools"
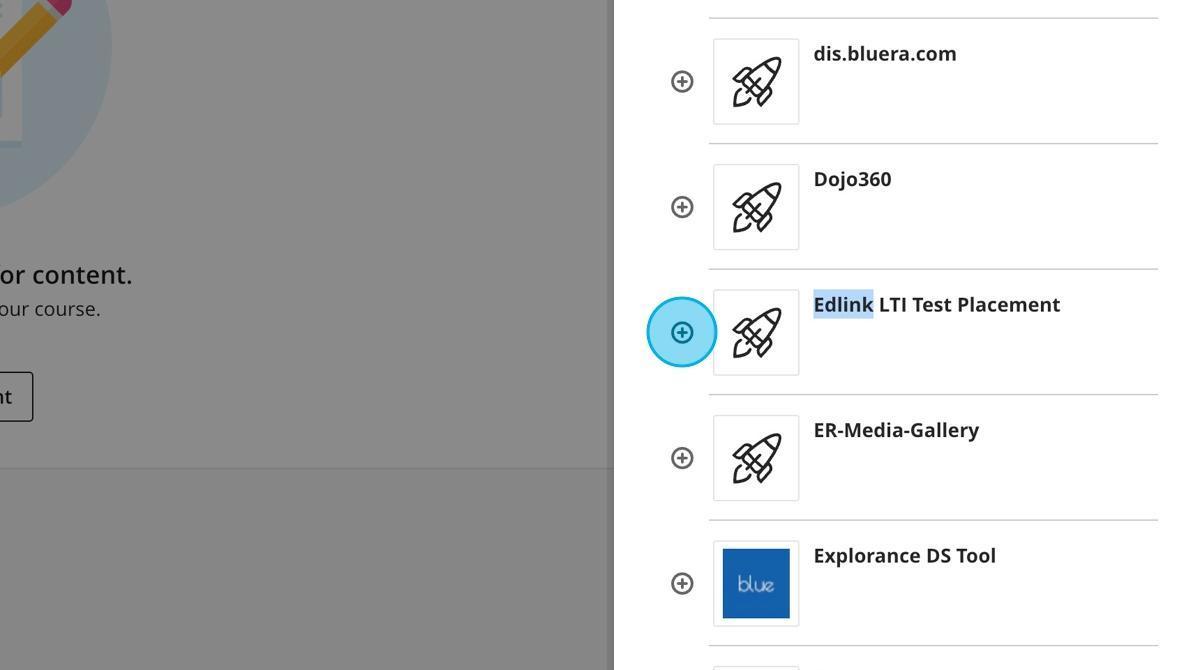
Step 26: Select the name of your LTI Placement (set in Step 10) by clicking the "+" button.
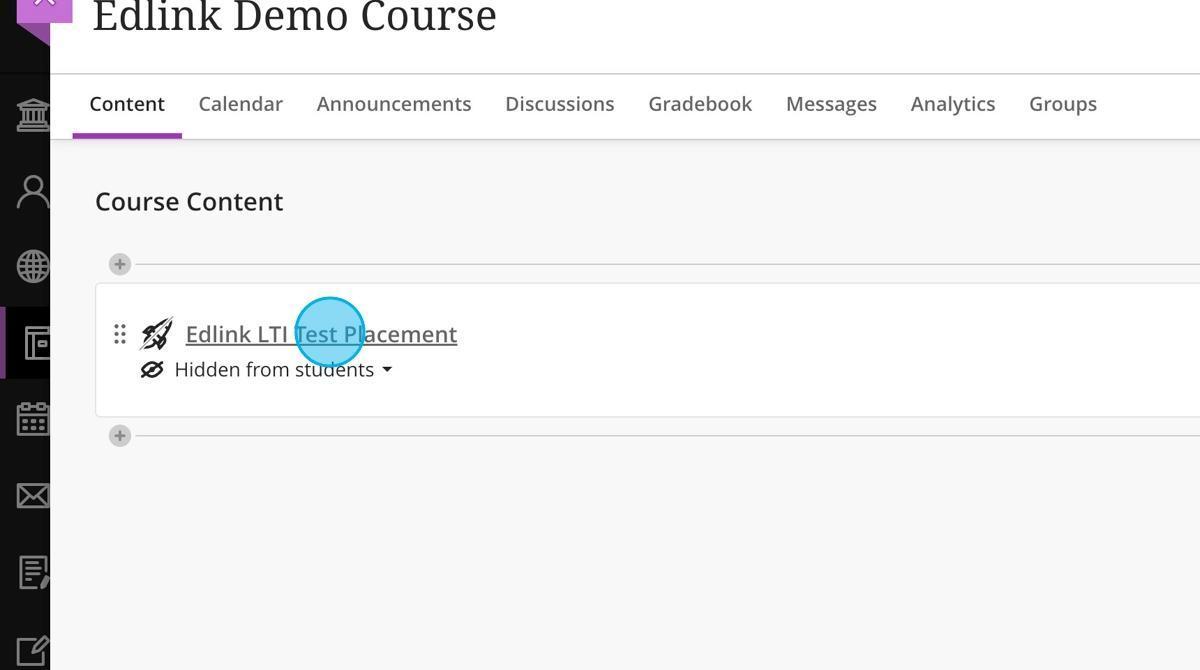
Step 27: Test out your LTI connection by selecting the LTI app within the Course Content. If you reach a login page, the setup was completed successfully!