
This guide focuses on Edlink's recommended hybrid integration (API + LTI 1.3). However, it is also possible to configure your app using an LTI Advantage–only setup.
Please confirm with the learning app that an LTI-only source is something they support before proceeding.
Check out the following guide to get your LTI Advantage source set up in Edlink:
This process should be completed once you have finished integrating with your learning application. To learn more about connecting your Moodle instance, check out this guide:
Step 1
Log into Moodle with an admin account.
Navigate to Site Administration → Plugins → Manage Tools.

Step 2
Under Manage Tools, click Configure a Tool Manually.
Step 3
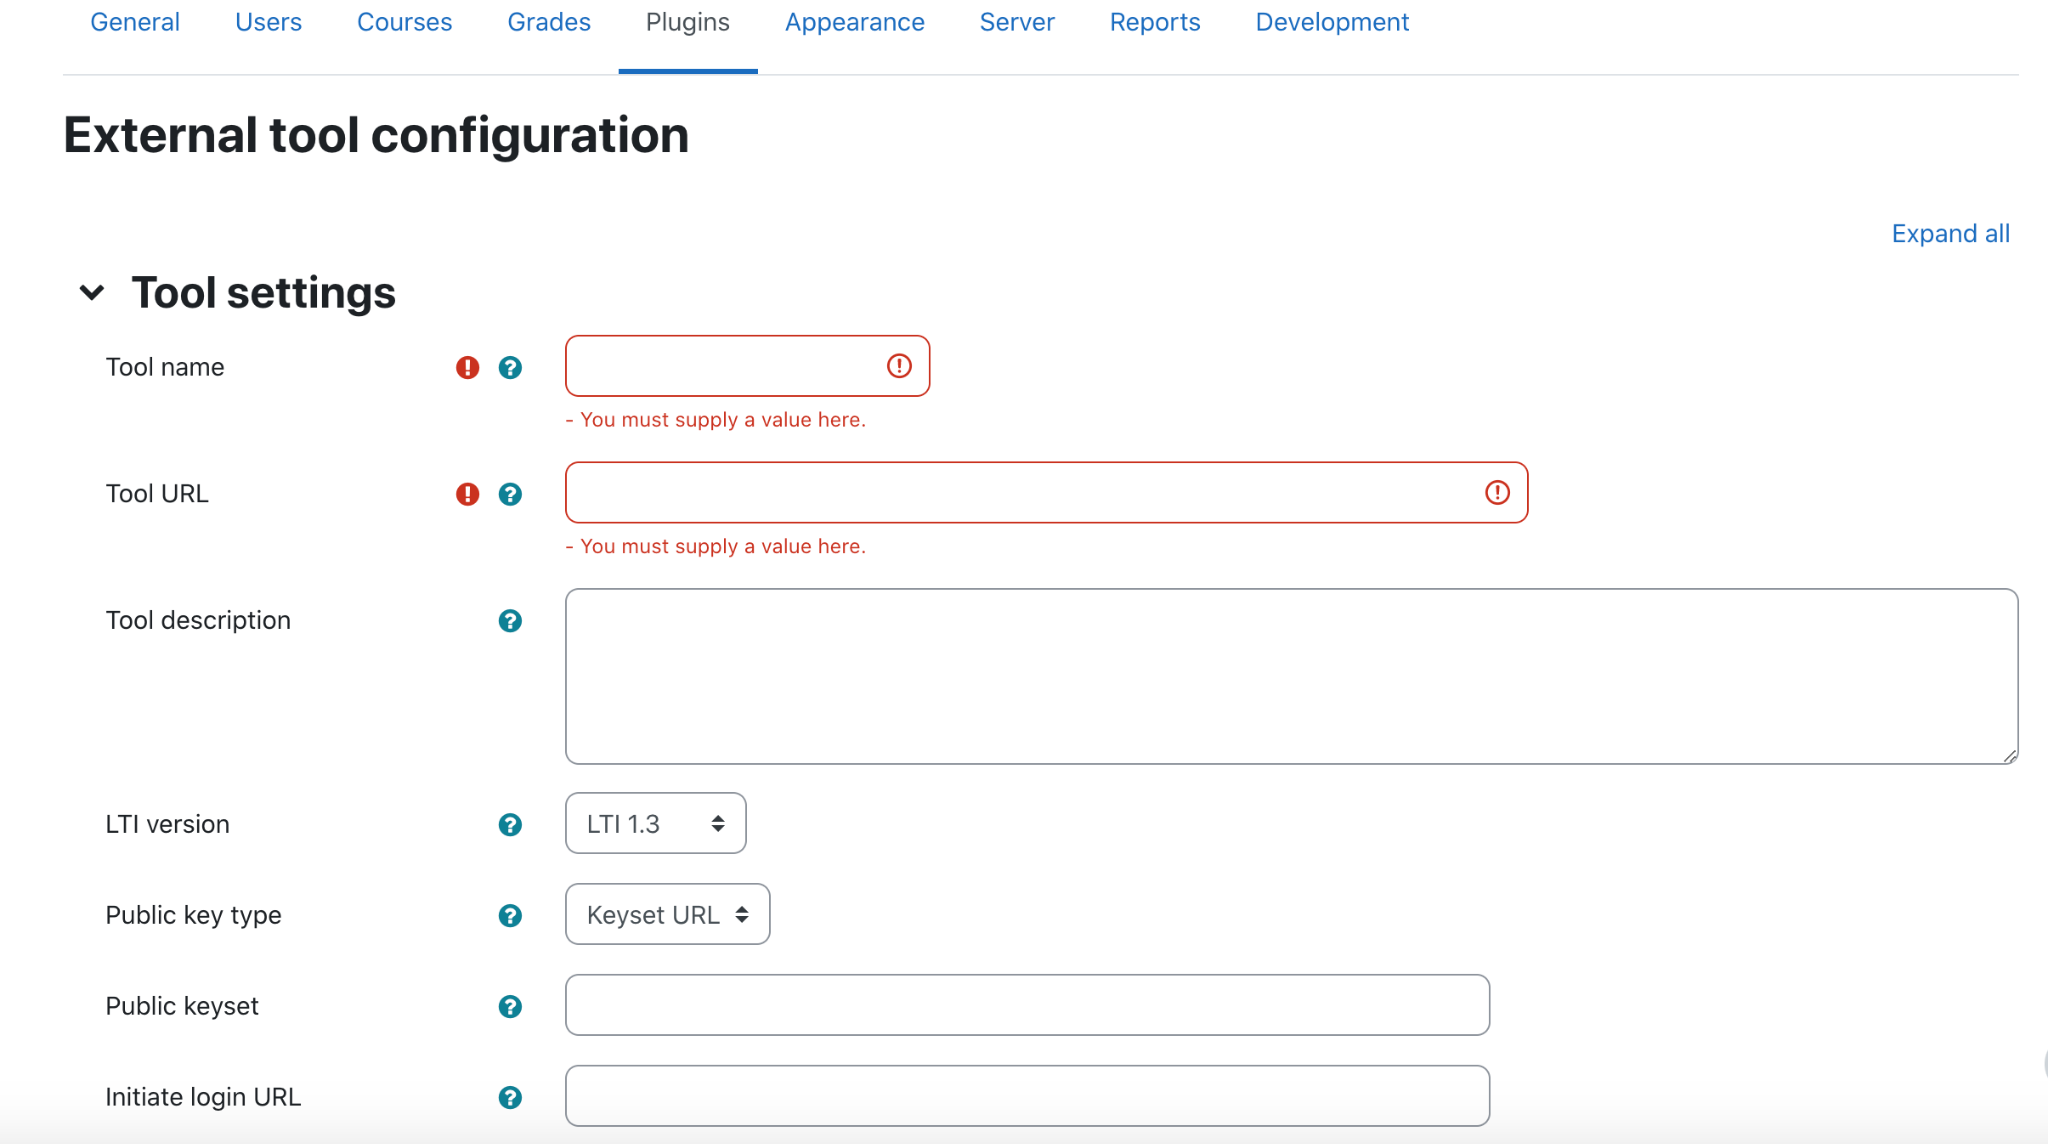
Fill out the form using the details below.
Replace YOUR_JSON_URL with the JSON URL found in the Edlink dashboard. Check out this guide to help find your Congifuration JSON URL:
- Tool Name: Enter a descriptive name for the tool.
- Tool URL:
YOUR_JSON_URL/launch - LTI Version: LTI 1.3
- Public key type: Keyset URL
- Public keyset:
YOUR_JSON_URL/jwk - Initiate login URL:
YOUR_JSON_URL/launch - Redirection URI(s):
YOUR_JSON_URL/launch - Custom parameters:
person_external_id=$User.id - Tool configuration usage: Select your preferred option.
- Default Launch Container: Select New window if you want the app to open in a new window; otherwise, select Embed.
- Supports Deep Linking: Enable if your learning application supports grades and assignments passing back to Moodle.
- Content Selection URL:
YOUR_JSON_URL/launch
Services:
- IMS LTI Assignment and Grade Services: Use this service for grade sync and column management.
- IMS LTI Names and Role Provisioning: Use this service to retrieve members' information.
- Tool Settings: Use this service.
Privacy:
- Share launcher's name with tool: Always
- Share launcher's email with tool: Always
- Accept grades from the tool: Always
Miscellaneous:
- Default organization ID: Site ID
- Other fields can be left blank.
Step 4
Click Save Changes.
You should now see the tool you created listed at the bottom of the page.
Step 5
Click the gear icon next to your tool to view its details.
Copy the Client ID — you'll need to enter this in Edlink.

Step 6
Paste the Client ID into the Client ID field within the Edlink dashboard, then click Update.

Well Done!
You should now be able to add your new LTI learning application to a course in Moodle!
Any Questions?
If you have any questions or run into any issues, please contact our support team. We'll respond within 24 business hours.