
You can find solutions to common Schoology integration issues below.
Missing Data/Scopes
- Issue: Data is not syncing between Edlink and Schoology.
- Potential Resolution: Make sure that the connected account is an administrator in Schoology and has the necessary permissions to access the data you are trying to sync.
SCHOOLOGY_INVALID_SESSION
Schoology requires an active, non-parent session to be specified to create an assignment.
This means you need to pass a session_id when creating an Assignment.
We do have a feature flag which can be enabled for your integration, which causes us to attempt to choose an active session for you, but we recommend just using our Sessions List endpoint to find the session you actually want when creating Assignments.
I Connected My Schoology Environment to Edlink, But I'm Not Seeing Any Data
Verify That Your Integration Was Set Up Properly
Check out this guide, which walks through how to verify that your integration was created successfully.
Are You a Schoology Admin?
Only Schoology admins can properly connect their Schoology environments to Edlink.
To check if you're a Schoology admin, log into your Schoology administrator account.
Admins will see a Tools tab in the top navigation bar with options like User Management and School Management.
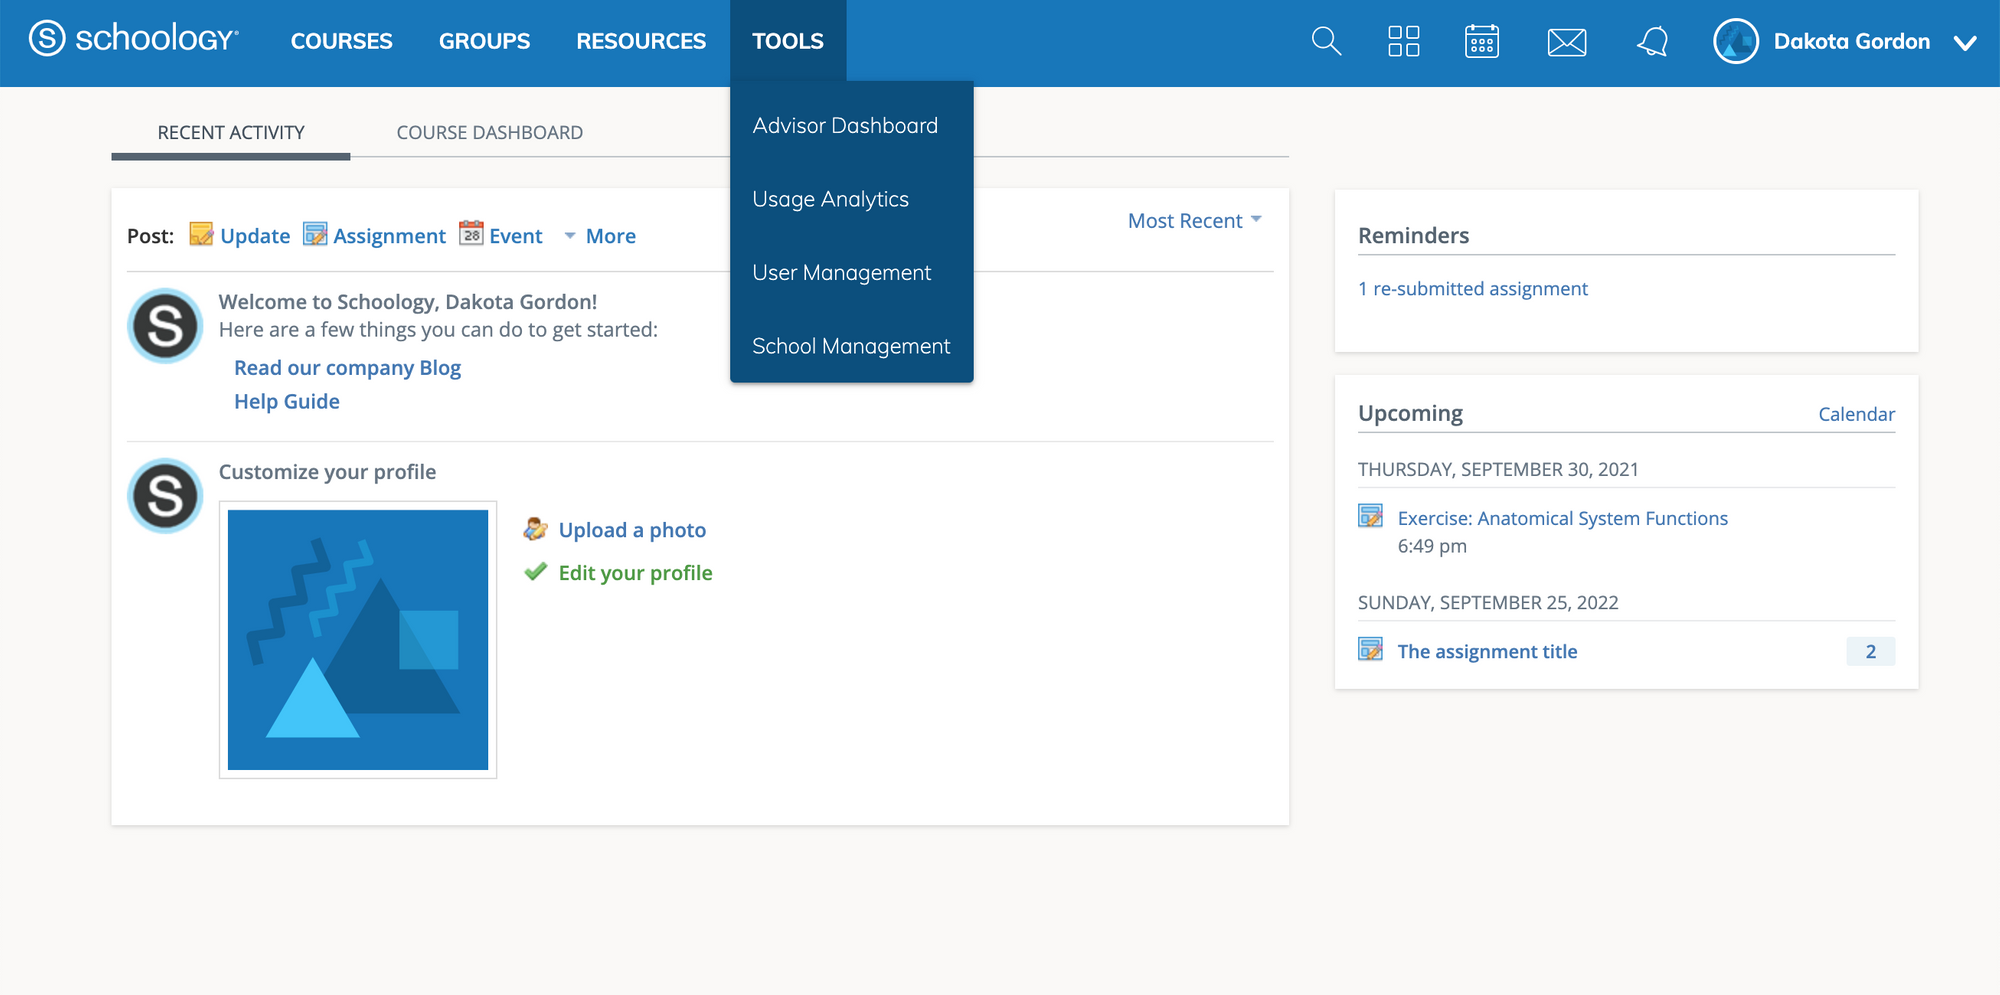
If you don't see the Tools tab, you're not a Schoology admin.
Why do Some Schoology Users Not Have a Role in Edlink?
Roles in Edlink
Schoology assigns four standard roles to users: student, teacher, parent, and system administrator.
Edlink syncs these roles with your application.
Custom Roles in Schoology
Schoology gives admins the ability to create custom roles.
As a result, if a user in the Edlink dashboard doesn't have an assigned role, it's likely because they have a custom role in Schoology.
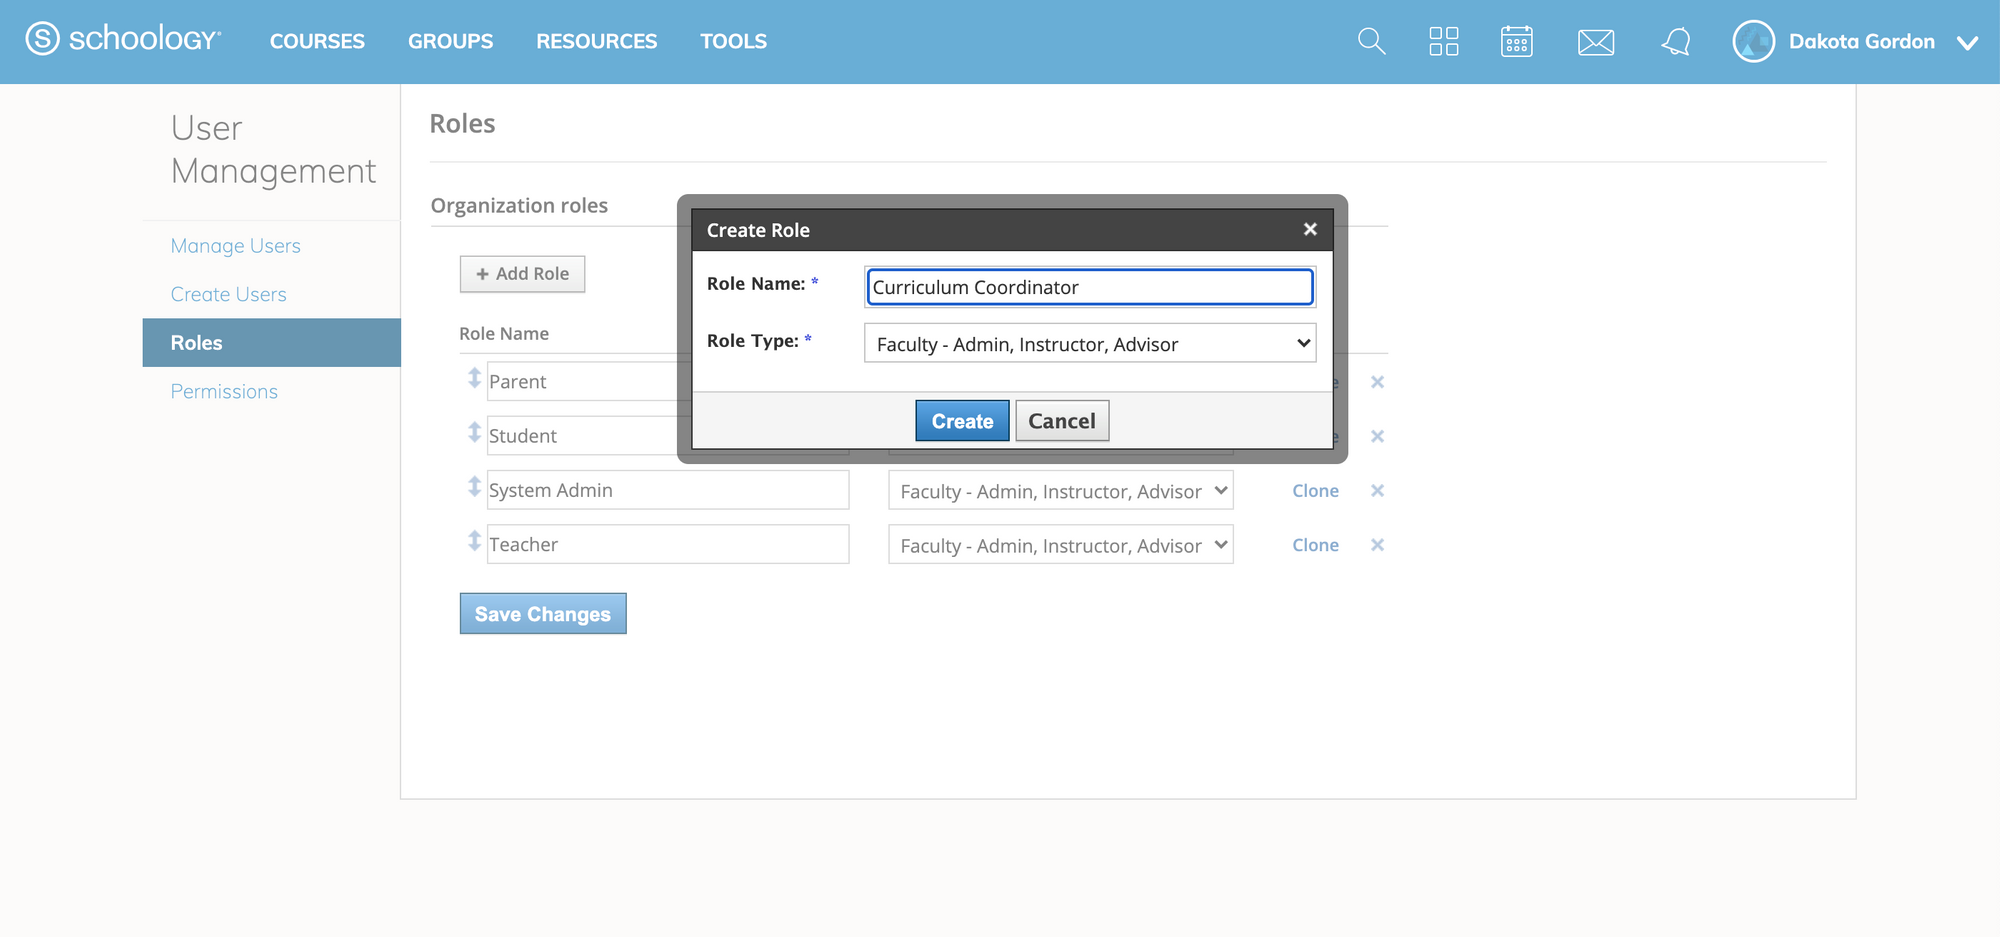
In this example, "Curriculum Coordinator" is a custom role that Edlink can't map without more information.
Next Steps
If a user doesn't have a role in the Edlink dashboard, please reach out to your Edlink Client Success Manager and provide the following:
- The full name of the custom Schoology role
- The name of the associated school or district
We can then assign this user to one of the supported roles listed in our docs.
Once this process is complete, the user will have an assigned role that will appear in the dashboard
and be synced with your application.
Any Questions?
Still have questions or need help? Contact our support team, and we'll get back to you within 1 business day.