This guide will help you configure your own Microsoft OAuth client to customize the Microsoft consent screen experience. By setting up your own OAuth client, your users will see your application's title and logo on the Microsoft consent screen instead of Edlink's branding, providing a more seamless and branded experience.
Before Getting Started
You must be a Microsoft Entra Administrator to complete the integration process. If you are an admin, please make sure you have access to the App registrations page in your Microsoft Entra Admin Center. If you cannot access that page with your school-assigned Microsoft credentials, you will need to have an administrator with additional privileges perform the integration.
Configuring the Microsoft App Registration in Microsoft Entra's Admin Center
- Go to the Microsoft Entra admin center
- Search App registrations in the top bar.
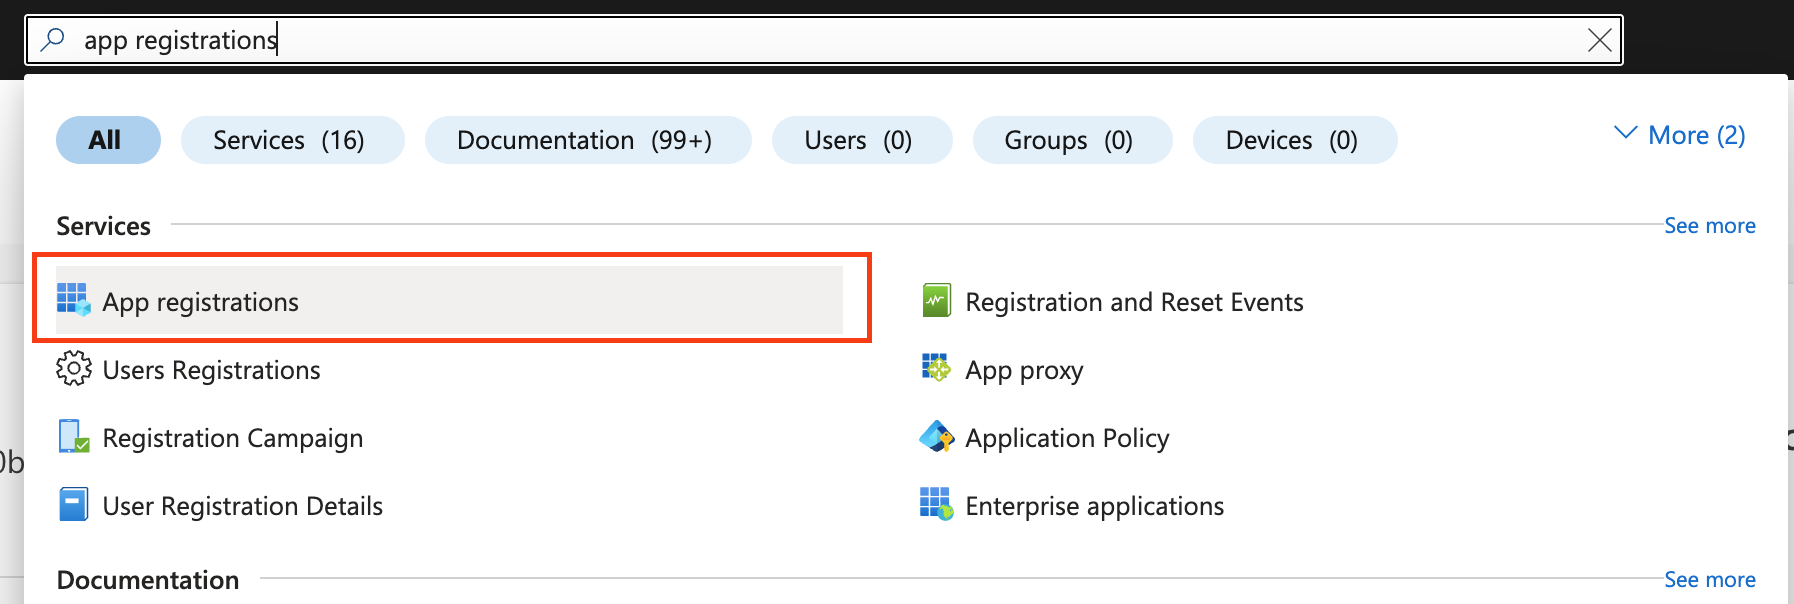
- Click + New registration.
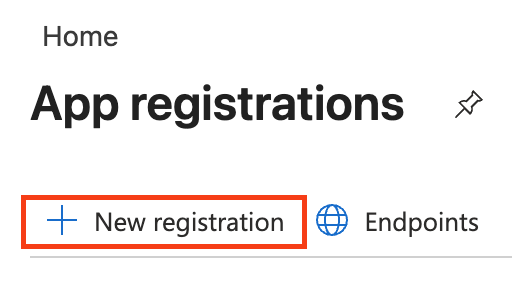
- Enter a display Name for your application.
- Choose the Supported account types that fit your use case. Most likely, "Multiple Entra ID tenants", with the "Allow all tenants" radio button selected.
- Set the Redirect URI to: "Web" and
https://ed.link/api/authentication/microsoft.
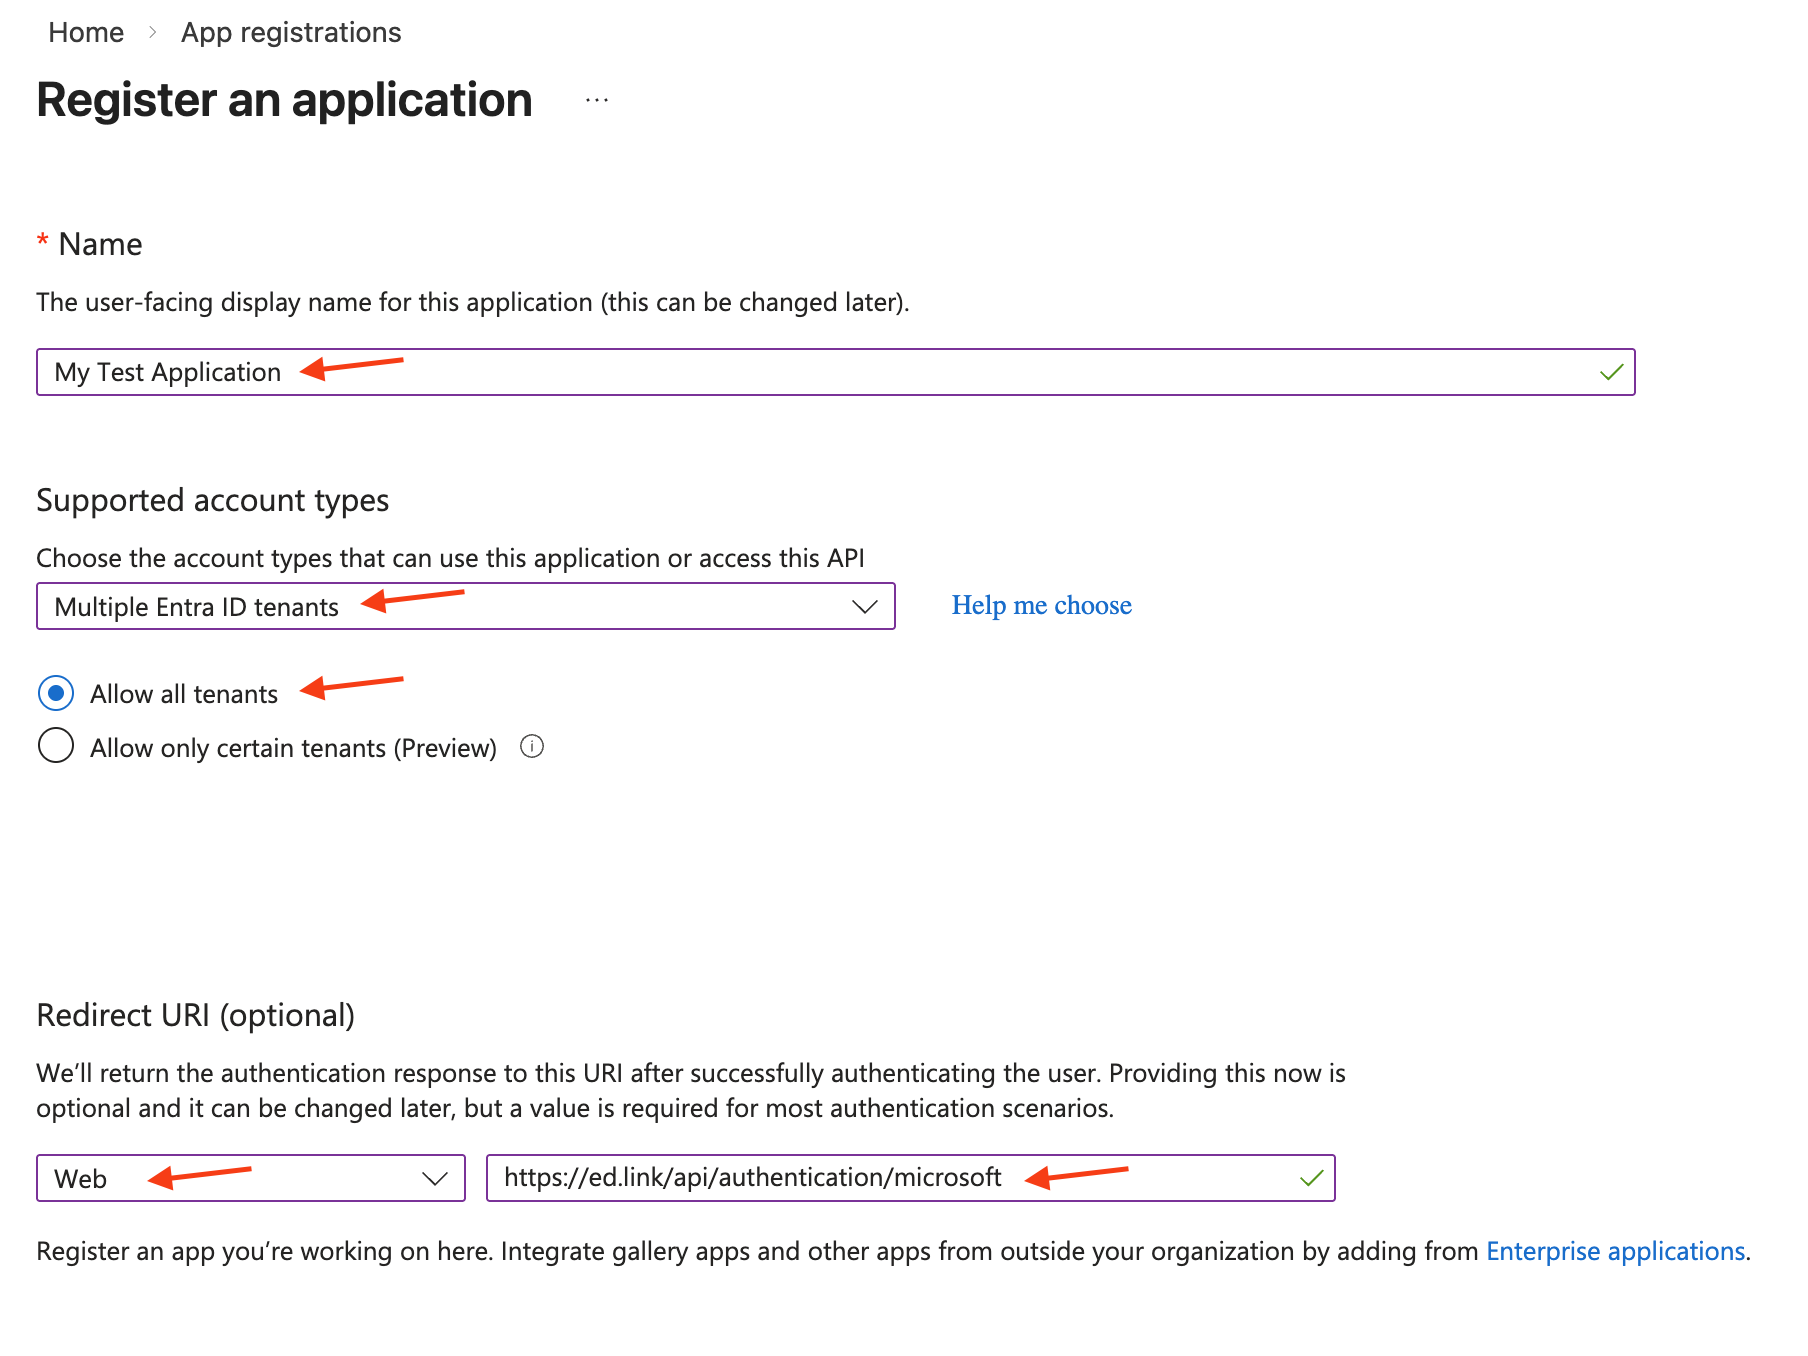
- Click the blue Register button at the bottom of the form.
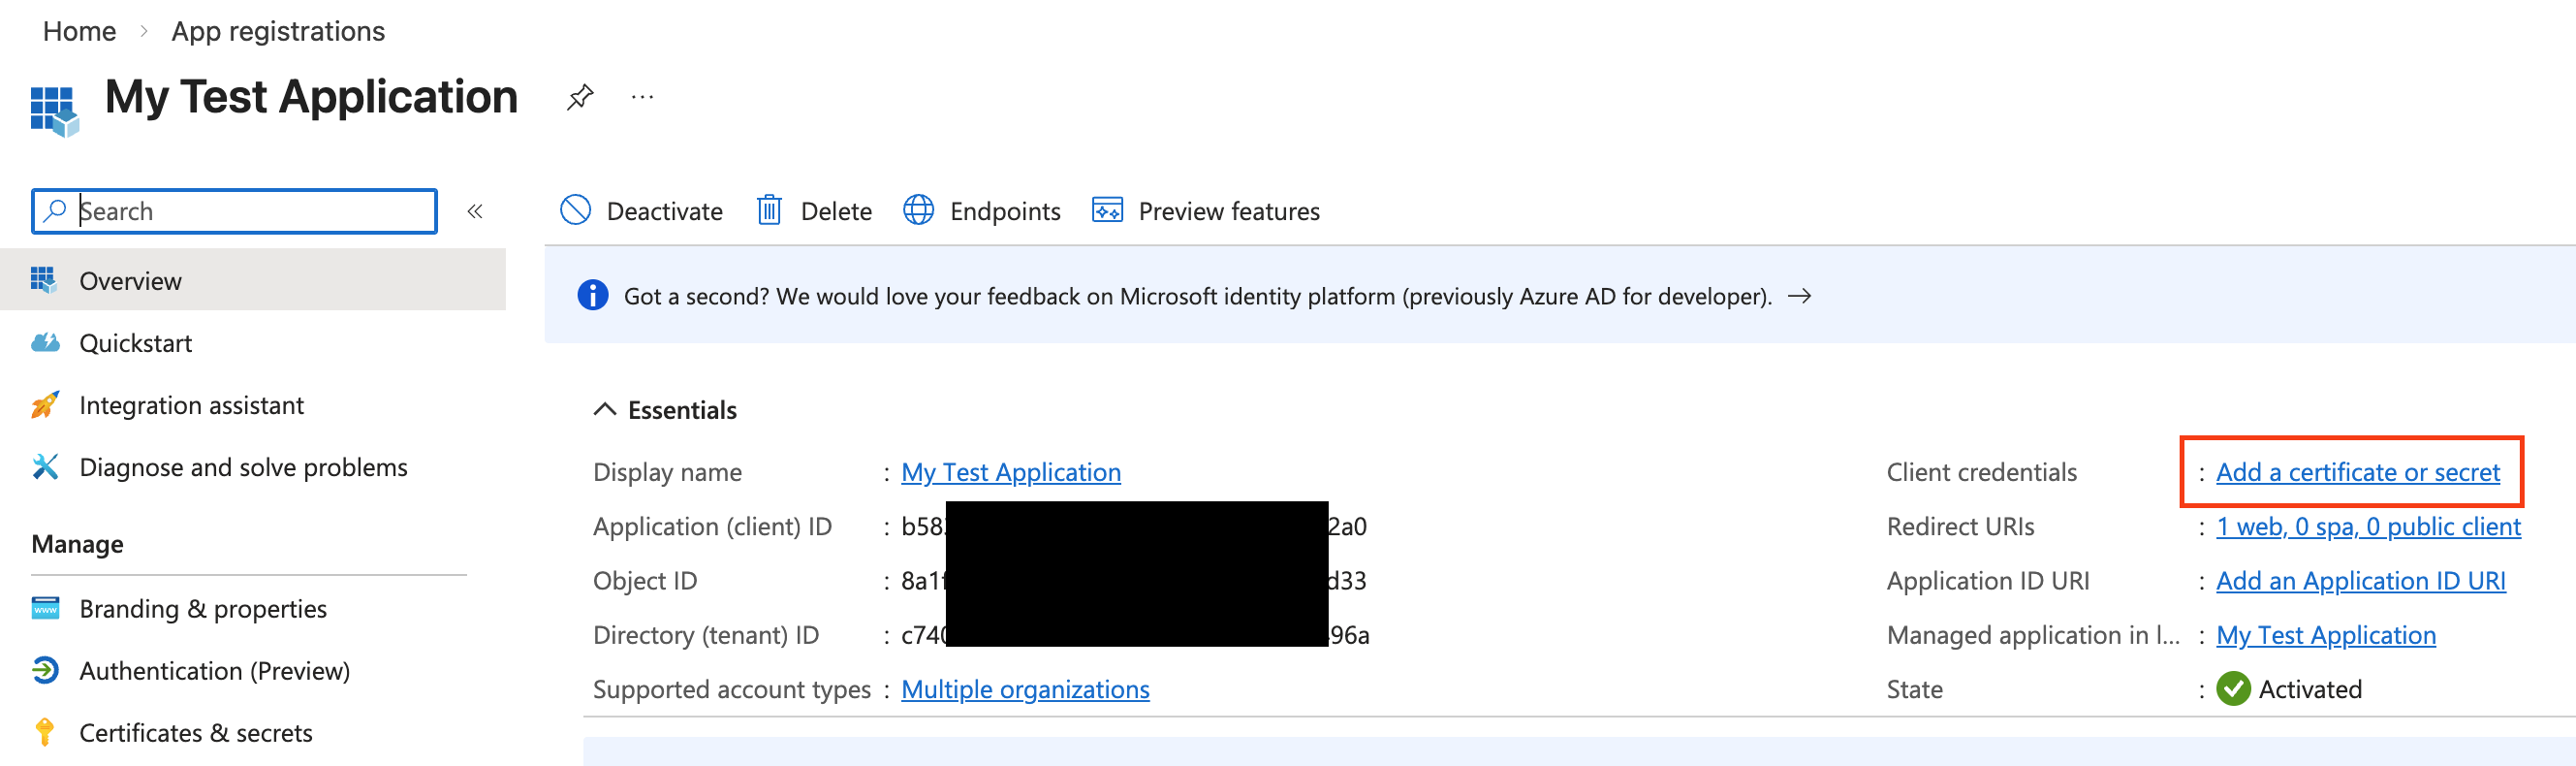
It should redirect you to the newly created App registration where you can see the Application (client) ID along with other details.
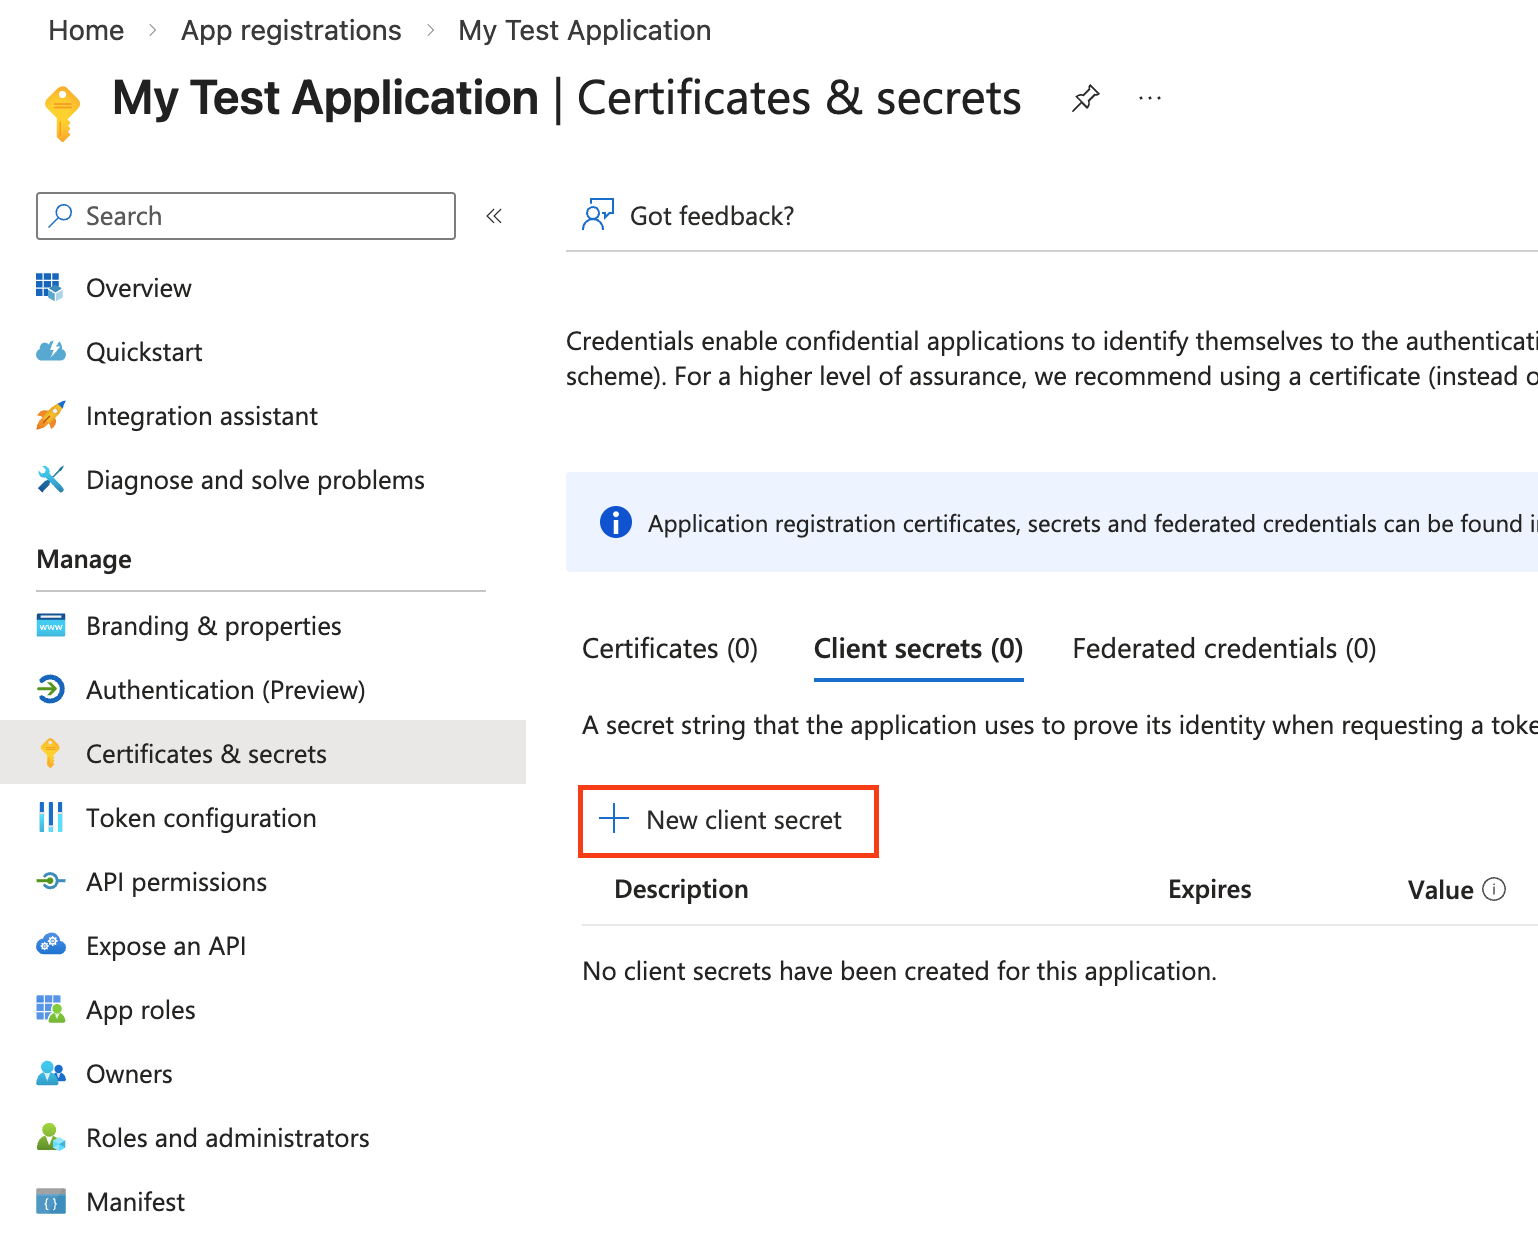
- Click on the link
Client credentials: Add a certificate or secret.
- Click
+ New client secret.
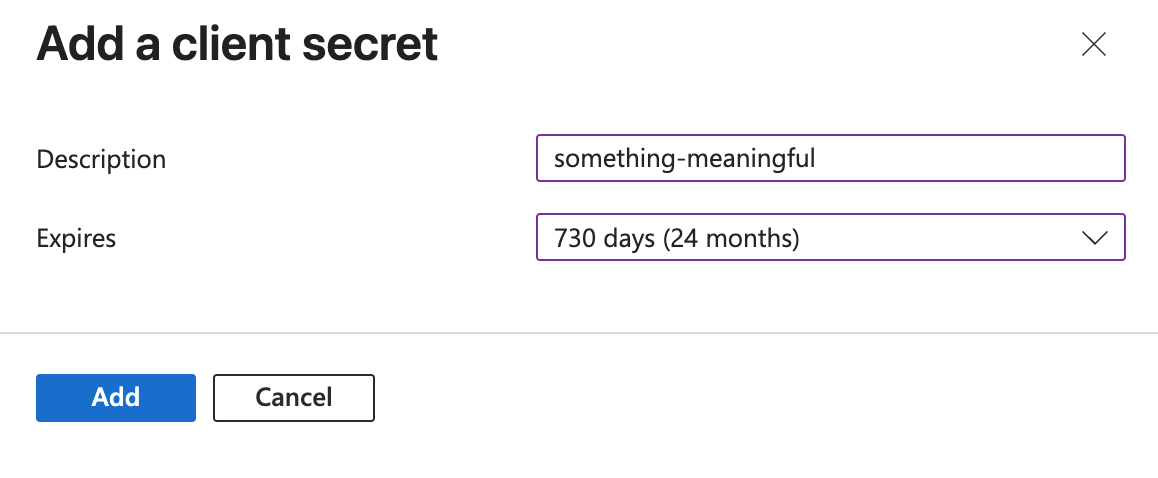
- Enter any description you like.
- Choose the Expiration you prefer. Remember that you will have to re-create a secret whenever this one expires. Click the blue Add button to save.
Client secret values cannot be viewed, except for immediately after creation. Be sure to save the secret when created before leaving the page.
Save the Value of the newly created secret somewhere secure. You will need the value to configure the client in the Edlink Dashboard.
Optionally, update the logo image for this Microsoft Application Registration in the "Branding & properties" tab. On this tab, you also might want to associate a verified Microsoft Partner Center (MPN) account with your application, if that's necessary for your use case.
Security Testing Note
When first creating an App Registration in Microsoft's system, it will be "unverified." This status comes with certain cumbersome limitations around granting consent to scopes:
End users cannot grant consent to newly registered multitenant apps without verified publishers. Add MPN ID to verify publisher
When testing in the Edlink Microsoft Sample Developer Source, an Edlink admin will have to grant consent on behalf of the whole tenant in order for your app registration to work. To trigger this, simply fill out the "request for admin consent" during the Microsoft SSO consent flow, and then contact Edlink support for us to approve your request.
You can avoid this limitation entirely by verifying your App Registration with Microsoft.
Adding / Changing the Microsoft App Registration's Scopes
- Go to the Microsoft Entra admin center
- Search App registrations in the top bar.
- Select your app registration.
- Select the "API permissions" sub-tab.
- Select + Add a permission.
- Search and select the permissions your app requires.
- Click Add permissions at the bottom.