Connecting OIDC Sources
If you already have an Edlink Administrator account and have already connected your OpenID Connect-compliant SIS to at least one partner application, you do not need to add the application again. Instead, you should re-use the previously created credentials.
Integrating with an OpenID Connect-compliant source is straightforward for school administrators and should take about 5 minutes. This guide details the steps required to get an OpenID Connect integration up and running. Once your source is connected, you will have control over the You must be a school administrator to complete this process.
Create OpenID Connect Keys
This process will vary based on the system from which you are trying to import your data. To proceed to the next step, you need the following information:
- OIDC Client ID
- OIDC Client Secret
- OpenID Provider's Endpoint URL (Note: This may not always be required.)
Complete the Integration
- Click the integration link provided by your learning app.
- Create an Edlink account if you don’t already have one.
If you’ve connected an app to Edlink before, log in with your existing account.
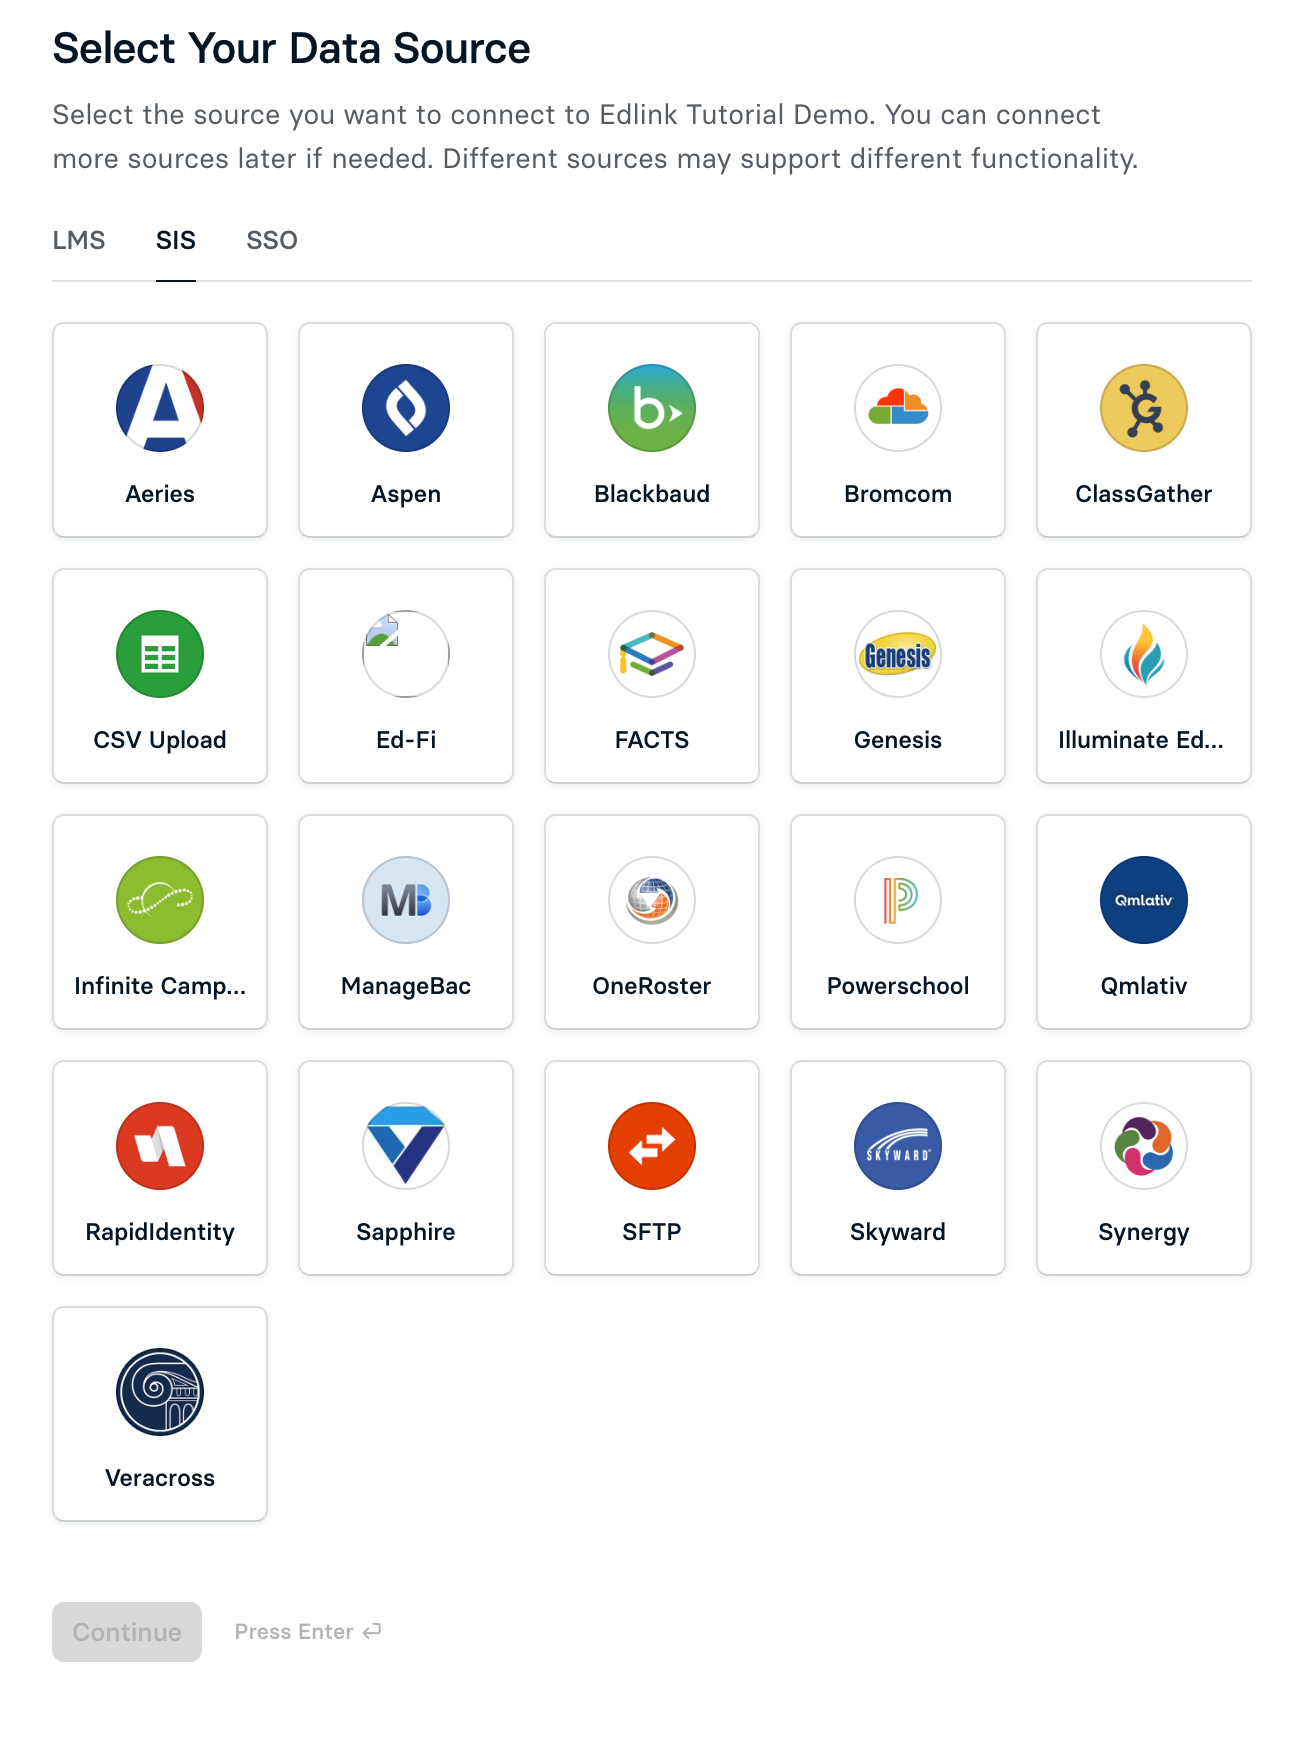
- Locate the SIS you will be using from the list of available data sources.
- Choose your preferred data storage region.
- Fill out and complete all fields, including your, Client ID, and Client Secret generated in your SIS.
- Click Validate Configuration, then click Continue Setup once your configuration is validated.

Well Done!
Your data source is now connected to Edlink. Once validated, your organization’s data will sync with the Edlink dashboard within 24 hours.
Any Questions?
If you have any questions or encounter issues, please contact our support team. We’ll respond within 24 business hours.