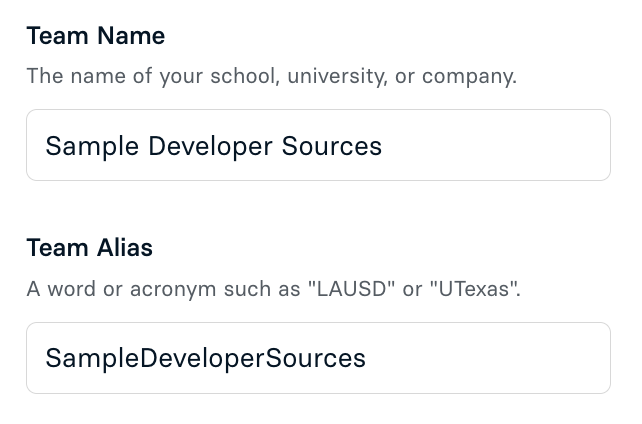
Selecting Settings from the navigation header will bring you to the General menu where you can access and edit your Team Settings. You may edit your Team Name and your Team Alias.
The Team Name serves as the display name for the District in connected applications. In the event of rebranding, this name must be manually updated here, as it may not automatically update from the data source.
Be sure to select Save Settings when finished.
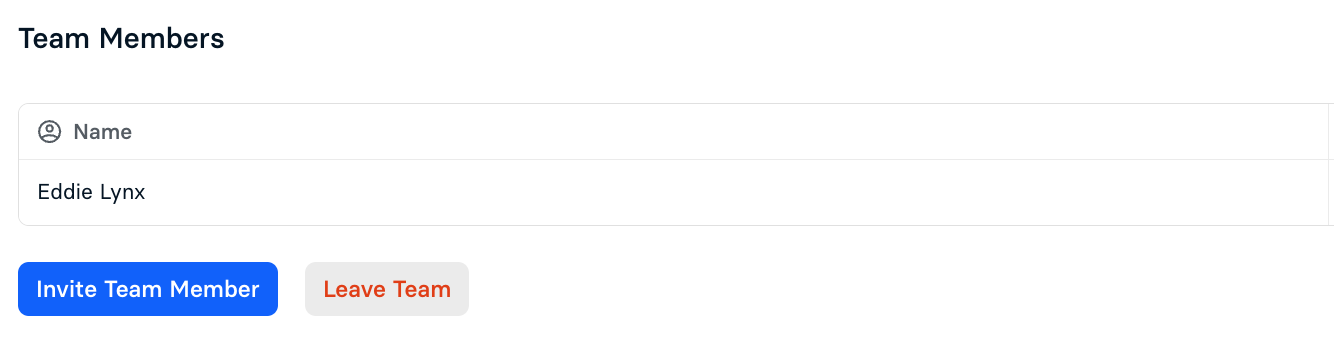
The General menu also allows you to manage your Team Members. If you created a team, you will be the designated Owner of the team. To invite a team member, select Invite Team Member. In the pop-up that appears, enter the email address of the new team member and select which permissions you wish to grant the user: View and Edit or View Only. Once a member has been added to your team, you may select the ellipsis next to their account under Team Members to change their permissions or to kick them from your team.
Orphaned Teams
When managing team members, it is important to note the consequences of the last Team Owner leaving a team. If the sole Team Owner leaves without first transferring ownership to another member, the team enters an "orphaned" state. In an orphaned team, any remaining members will be unable to perform administrative actions.
Please be aware that leaving a team does not automatically destroy its resources (such as active integrations, applications, or data sources). If you need to recover an orphaned team and reassign administrative privileges, you must contact Edlink Support for assistance.