This guide will walk you through the setup process to create a connection between Auth0 and Edlink. This will allow you to use Edlink's SSO capabilities to authenticate users into your application.
Prerequisites
This guide will assume that you:
- Have at least a passing familiarity with Auth0.
- Have already created an Auth0 account.
- Already have an Edlink developer account and application set up in the Edlink Dashboard.
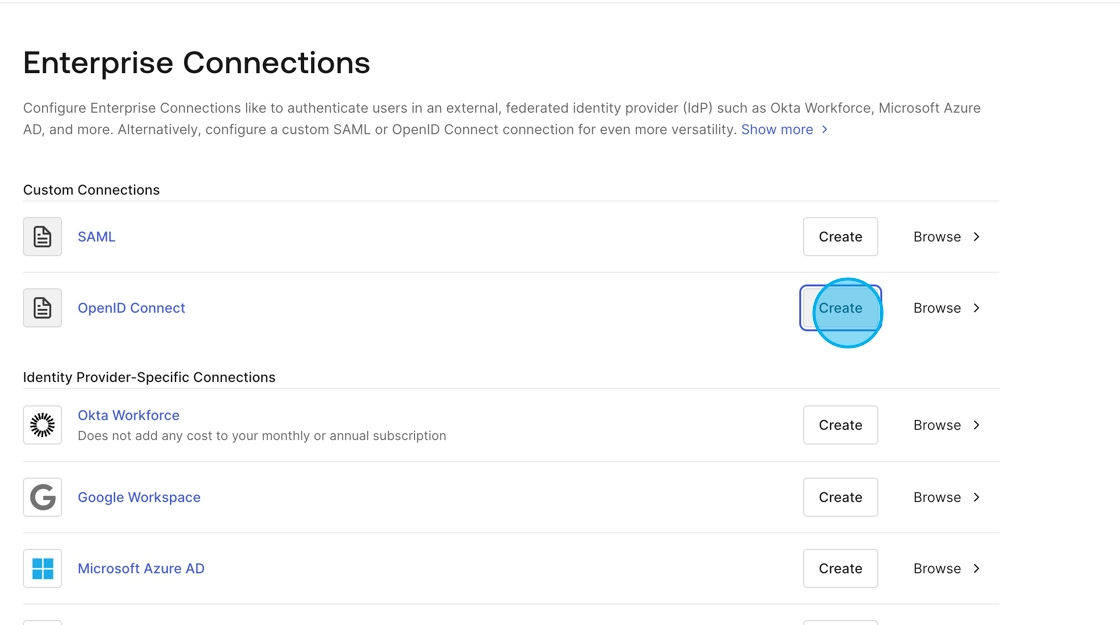
Creating an Auth0 Connection
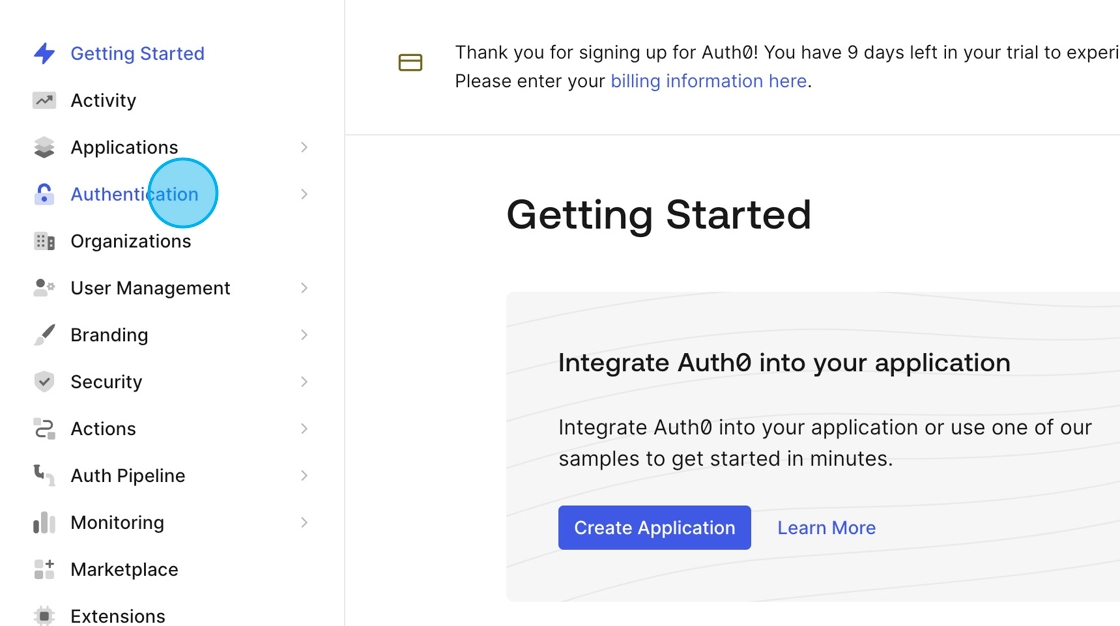
In Auth0 click "Authentication"
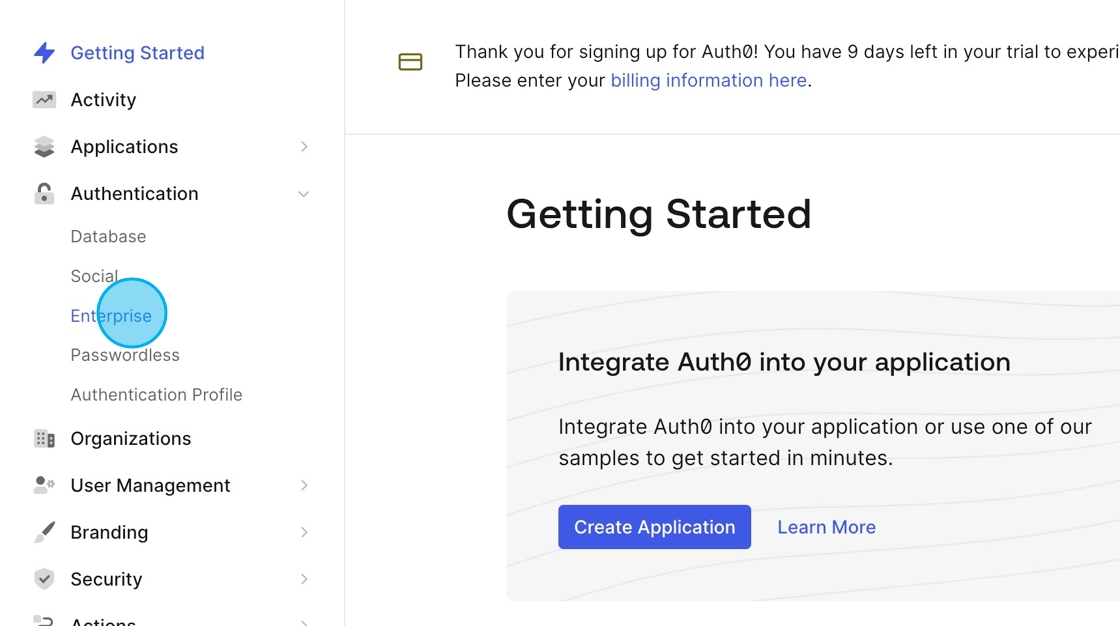
Click "Enterprise"
Click "Create" under the "OpenID Connect" row
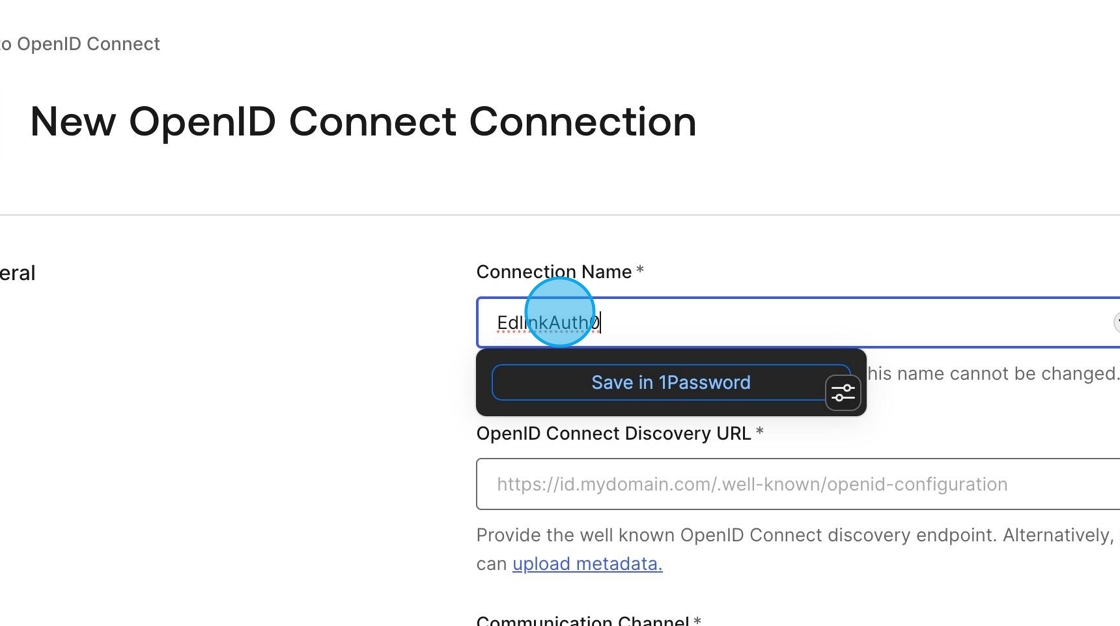
Insert a name in the "Connection Name" field
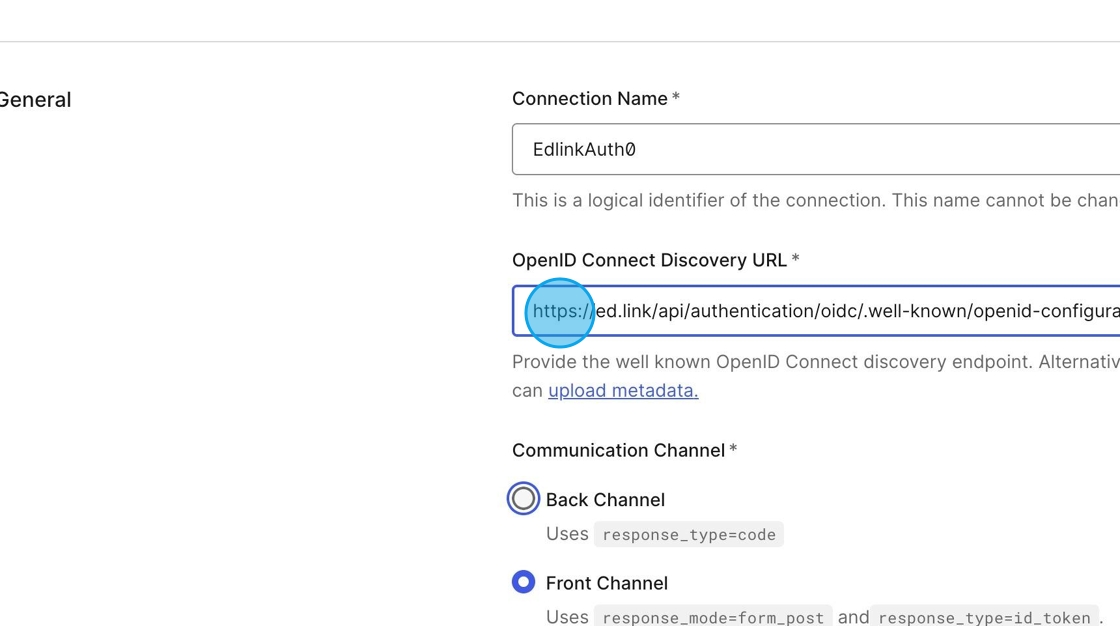
Enter the following URL in the "OpenID Connect Discovery URL" field (you can the button click to copy it).
https://ed.link/api/authentication/oidc/.well-known/openid-configuration
Select the "Back Channel" field
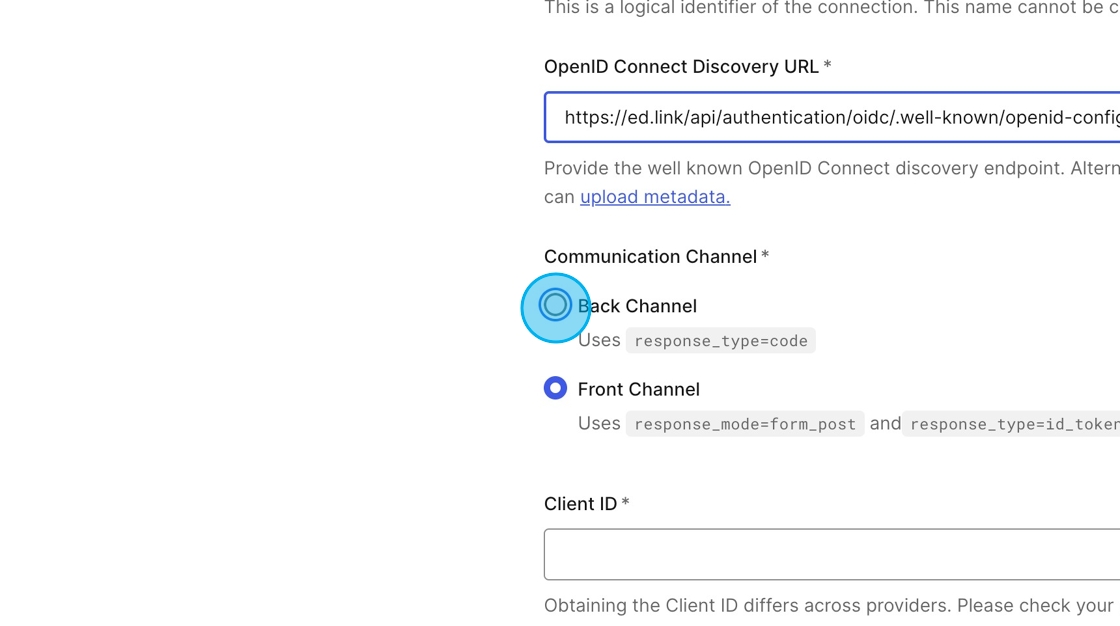
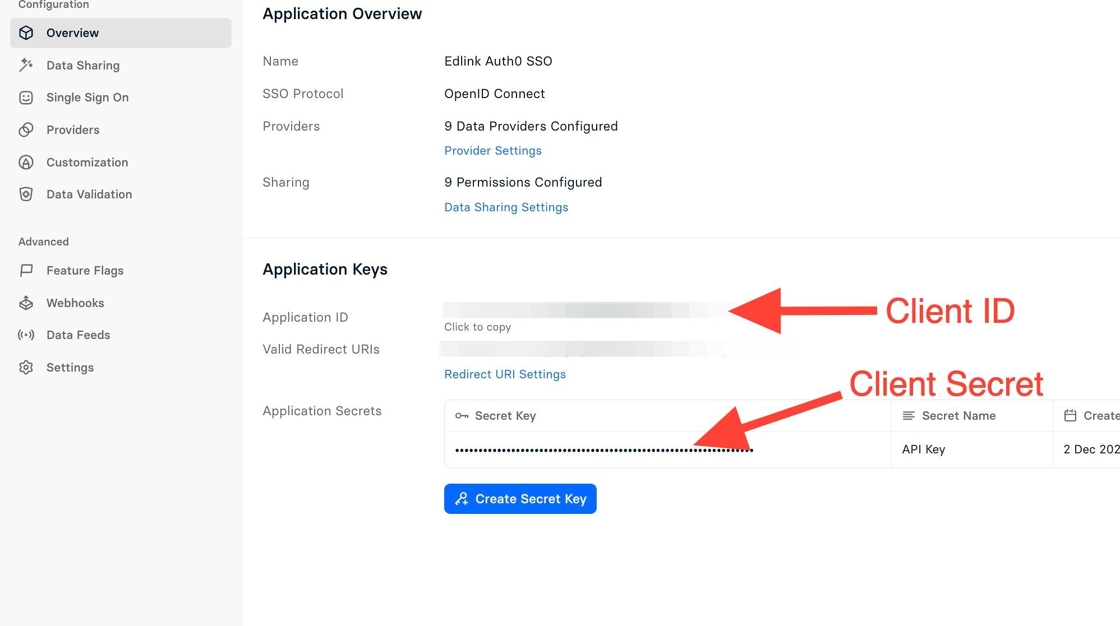
In the Overview tab of your application in Edlink, locate your "Client ID" and "Client Secret"
Insert the Application ID in the "Client ID" field and Application Secret in the "Client Secret" field
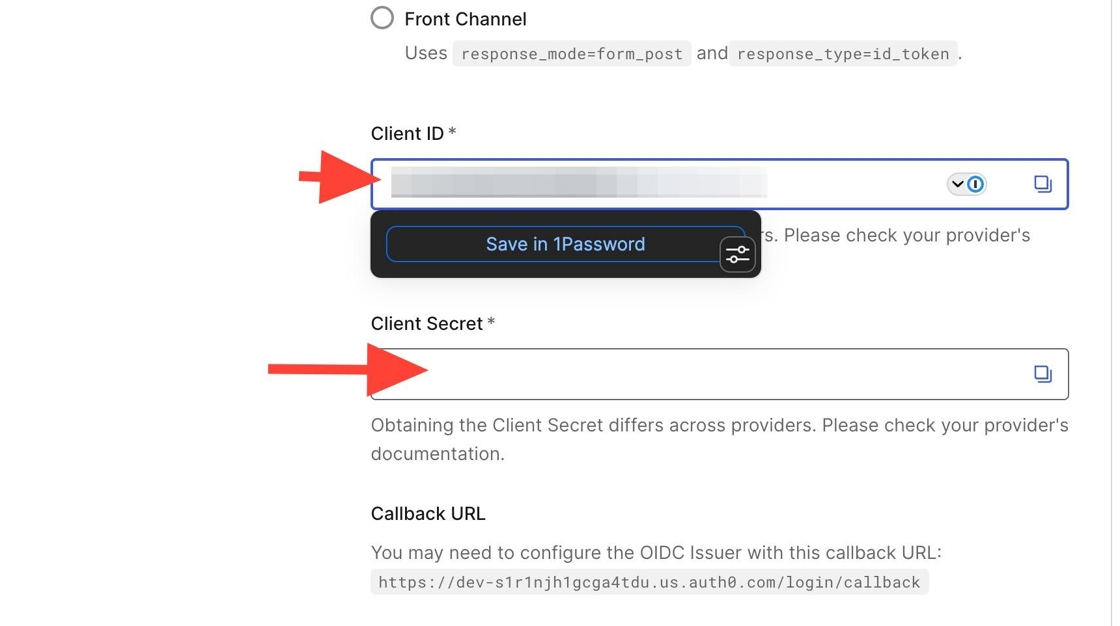
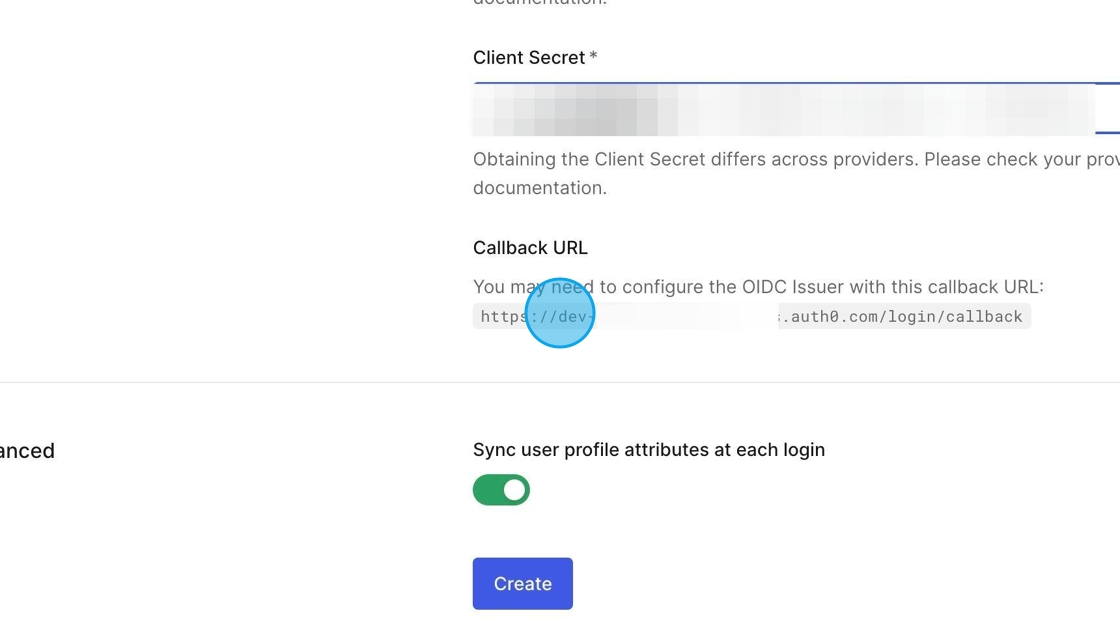
Copy the Callback URL
Head to the Single Sign On tab in your Edlink application
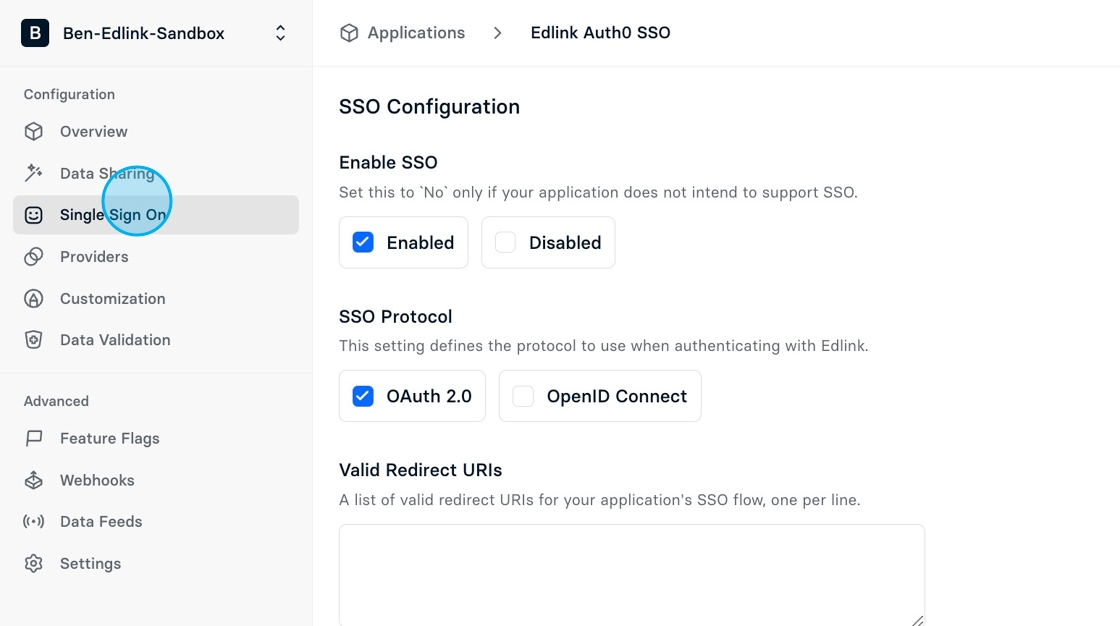
Click "OpenID Connect"
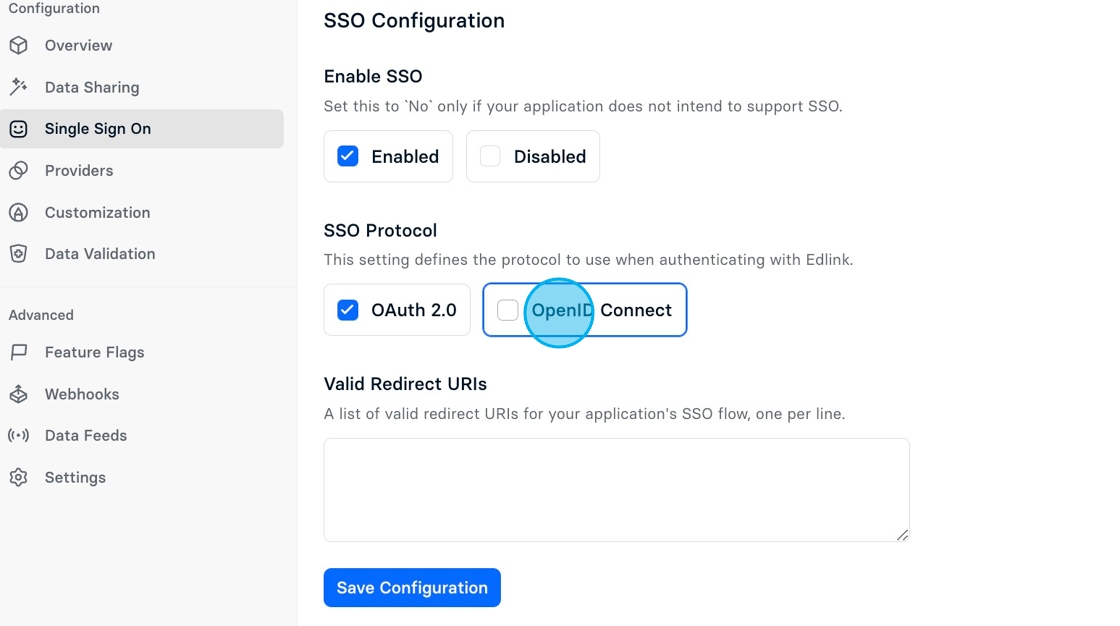
Insert Callback URL in the "Valid Redirect URIs" field
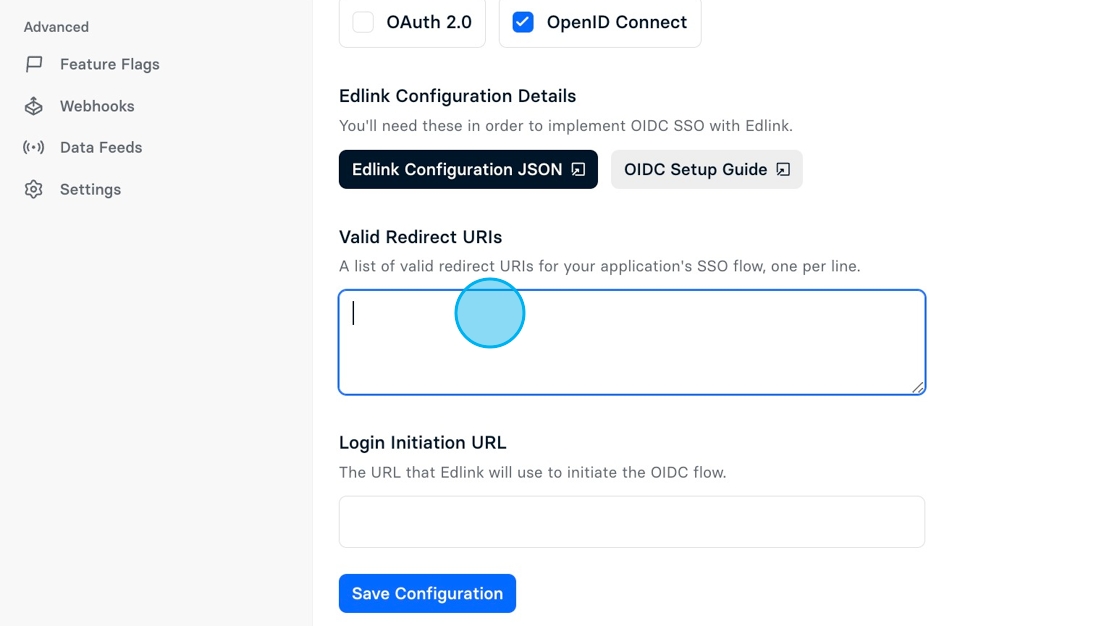
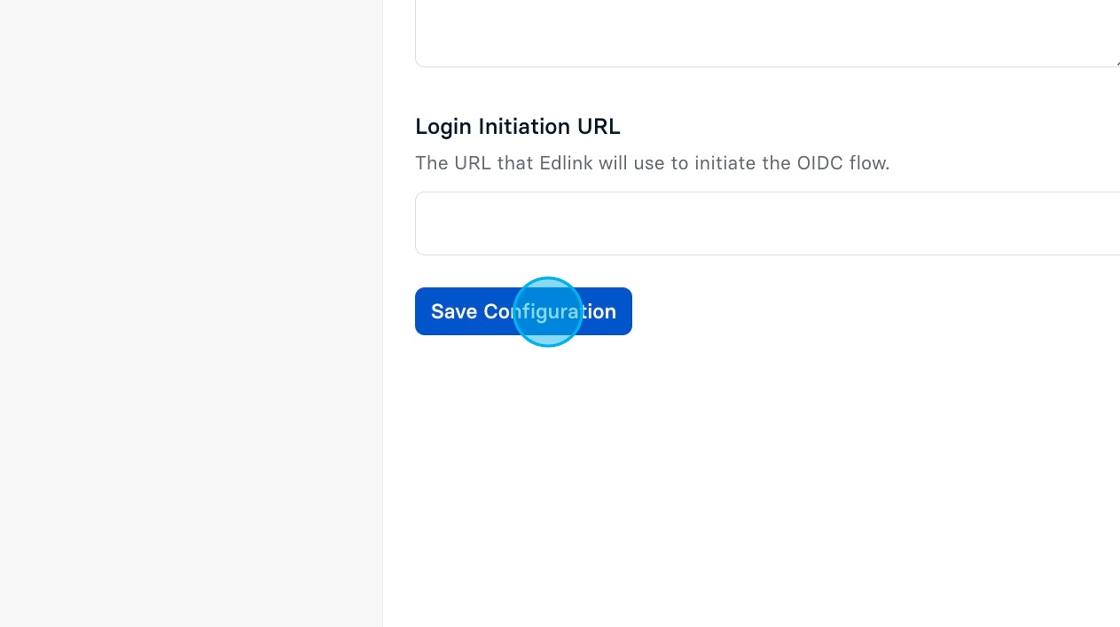
Click "Save Configuration"
Head back to Auth0 and click "Create"
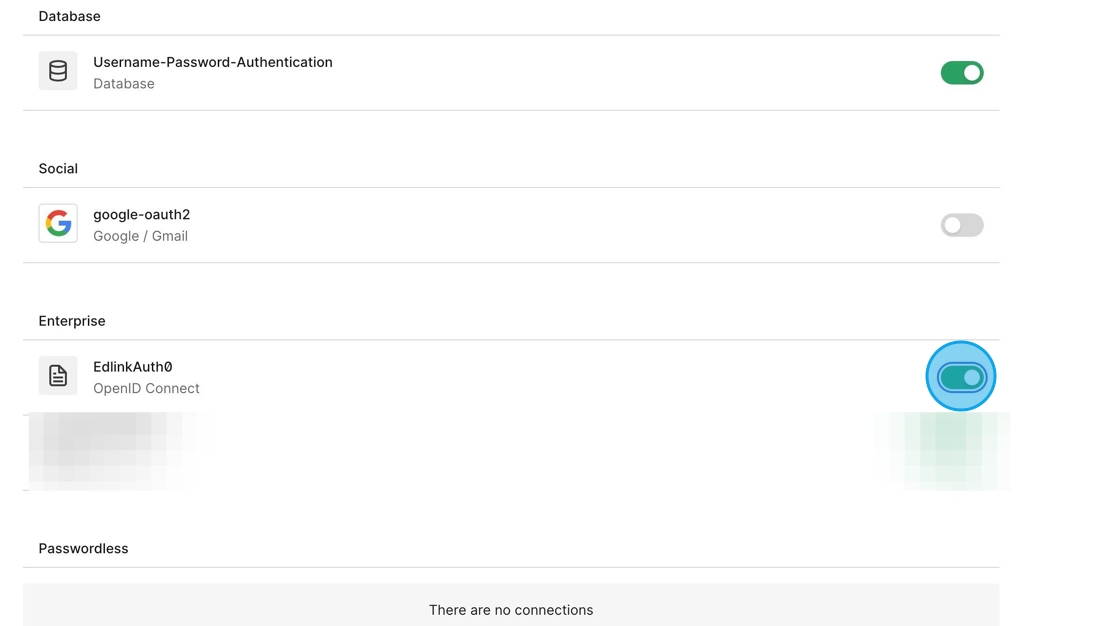
Head to your app in Auth0 and click "Connections"
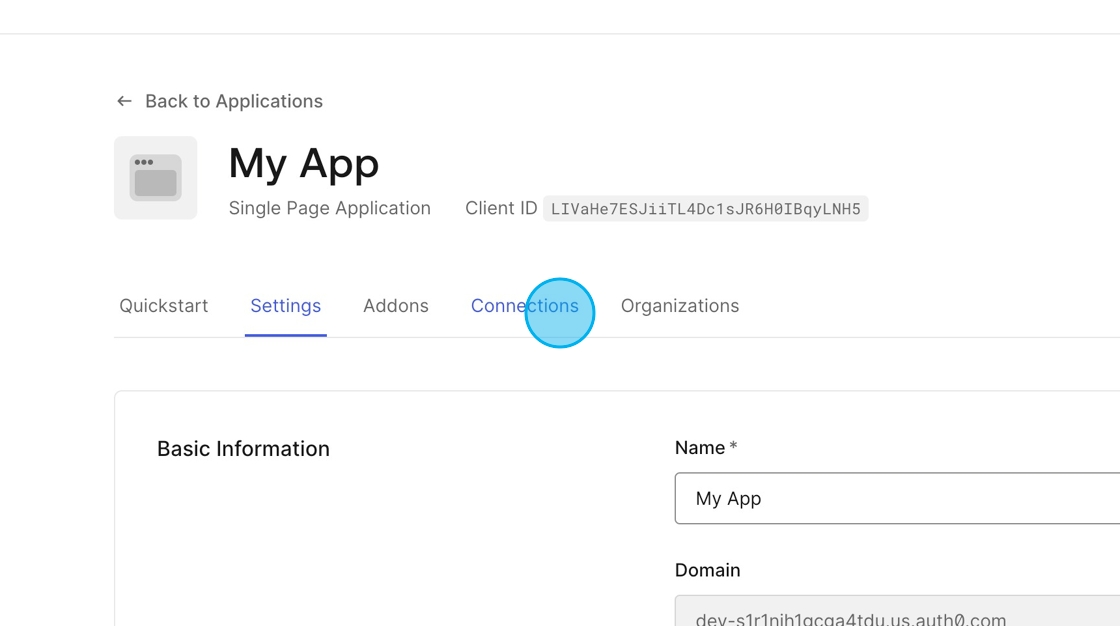
Ensure your new OpenID Connect connection is enabled.