
Canvas uses developer keys to allow third-party applications to access certain data within a school's Canvas environment. API developer keys are generally used by Canvas developers and school admins to create internal features. However, they can also be used to integrate applications from edtech vendors with a school's Canvas environment.
Developer keys are powerful tools that allow external applications to perform functions in Canvas on behalf of an authenticated user, including:
- Creating new users;
- Creating new assignments or resources;
- Modifying grades, and;
- Reading course rosters.
This is not a complete list of all of the functions that an API developer key can expose. If you are a more technical user, Canvas provides documentation that explains what exactly the API is able to do.
Some external platforms, like Edlink, require the school's Canvas admin to generate developer keys in order to set up the integration between the platform and the school's Canvas environment.
Below is a step-by-step guide to setting up developer keys for Canvas admins. Please note that campuses often run varying versions of Canvas and some of the steps below may appear differently in your Canvas environment.
You must be a Canvas administrator in order to create developer keys. You will only see the Admin menu and developer key options if you are an administrator. Please contact your school's IT department if you require a Canvas admin to create developer keys for you.
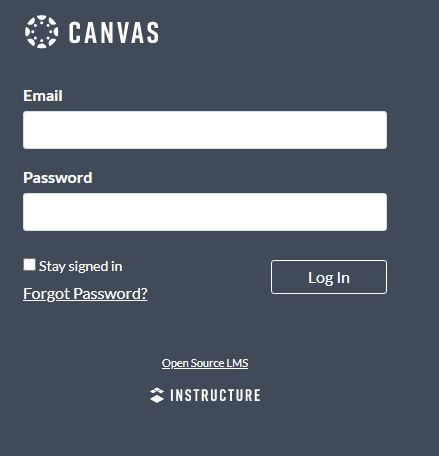
Step 1: Log into your Canvas account.
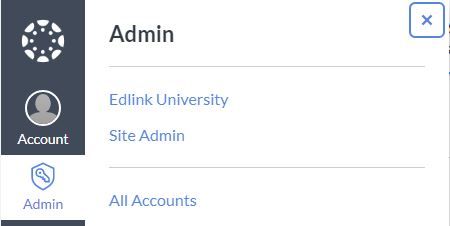
Step 2: Select Admin from the global navigation sidebar and choose the account (i.e. campus) you want to connect.
If you do not see the Admin option, then you are not an admin of your school's Canvas environment. Please contact your school's IT department if you require a Canvas admin to create developer keys for you.
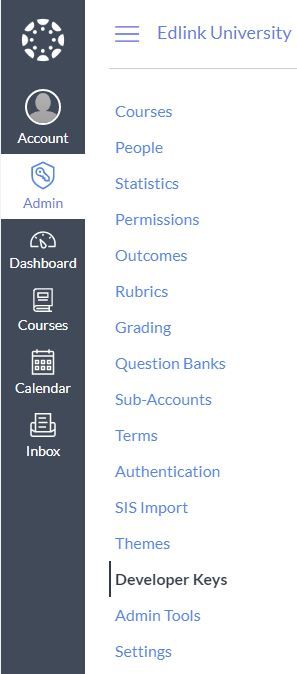
Step 3: Select Developer Keys in the admin navigation menu.
Step 4: Select + Developer Key.

Step 5: Choose + API Key.
Canvas allows you to create two types of developer keys: API keys and LTI® keys. API keys allow external applications to act on behalf of an authenticated Canvas user. LTI keys are used to access LTI tools, which standardized externally-hosted tools that users in Canvas can access through an LTI link.
For the purposes of this article, we will discuss the API Key. For more information on LTI, please see our articles on the topic.

Step 6: Enter the following into the provided fields and select Save when completed:
The key settings below are used to create API developer keys in Canvas. Below are descriptions of what each of the fields represent:
- Key Name - The name you want to assign the key. Typically, this would be the name of the application you are planning on integrating with. This name will appear when a user authorizes the external application to access their Canvas account.
- Owner Email - This field is designed to help you keep note of the person or company that you are sharing the key with. Typically, it will be the email of your account manager or integration specialist. This does not affect who can access the key.
- Redirect URIs - The location that the Canvas will send the user to once the app has been successfully authorized. If more than one is specified, then the developer can choose where the user gets redirected (as long as it's on the list).
- Redirect URI (Legacy) - This field can be safely ignored. It has been deprecated.
- Vendor Code (LTI 2) - This field can be left blank. It was part of the now deprecated LTI v2.0 specification.
- Icon URL - A link to an image that represents the application you are integrating with.
- Notes - Additional comments that you feel are necessary for record-keeping. Entered notes do not affect the key.
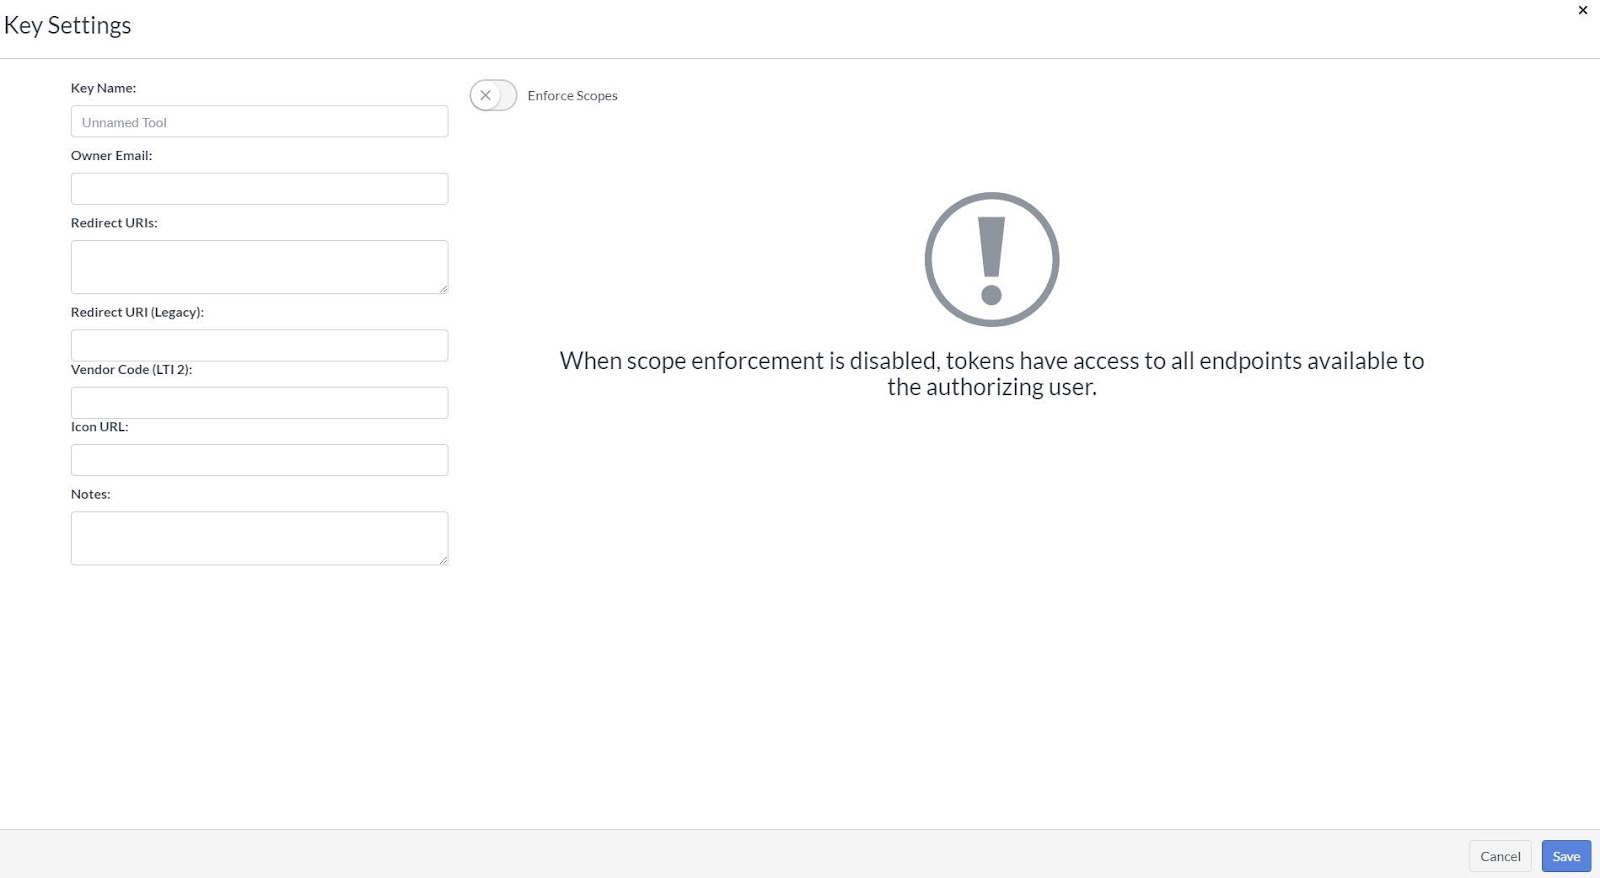
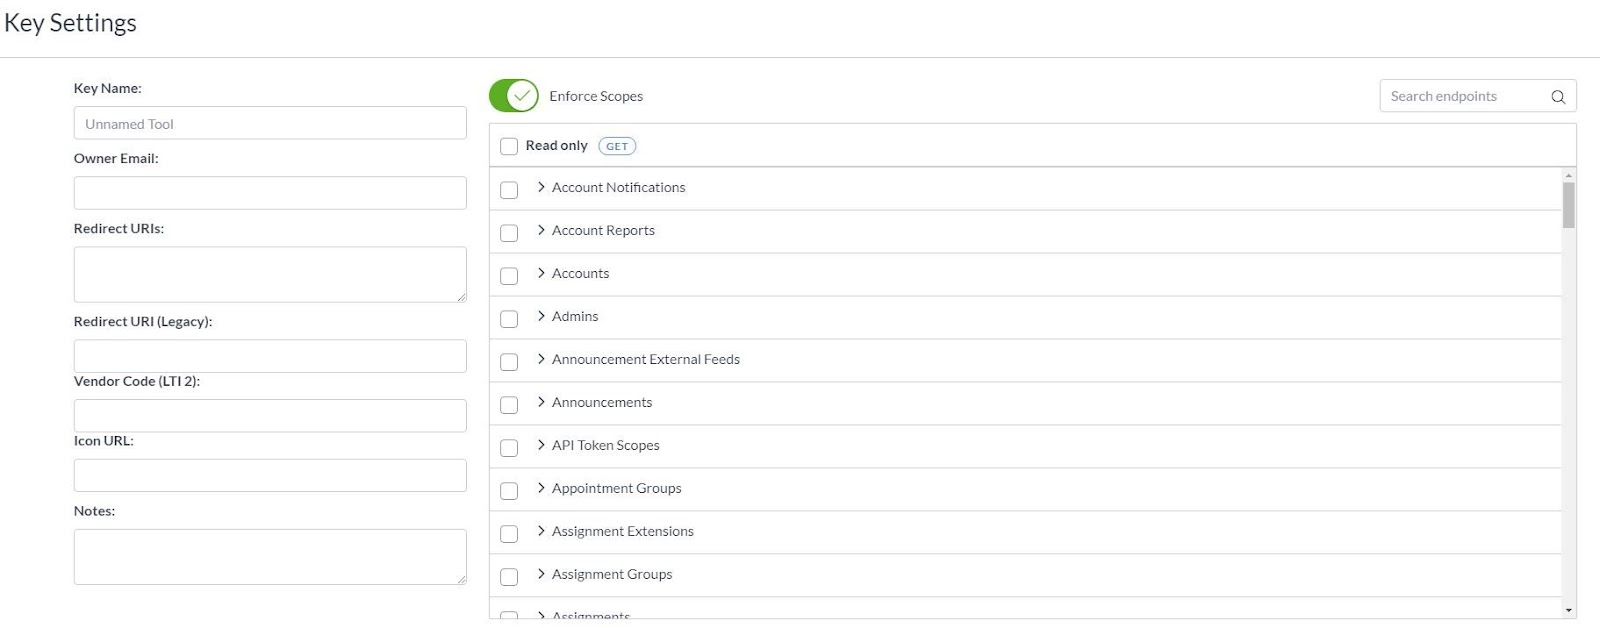
You can also enforce scopes when creating the developer key. These scopes restrict what an external app can access. If Enforce Scopes is selected, you must manually select which endpoints you want the application to access. It will not have access to any other endpoints.
Please be careful when selecting scopes. Canvas offers hundreds of features; selecting the wrong features might grant an inappropriate level of access or prevent the application from having the access it actually needs.
Step 7: Switch the State to ON next to the developer key.

To enable the developer key, the State must be turned ON. If the State if OFF, the developer key will not work. Note that when the key is created, the default state is OFF.
Once the key is created, you will need to use the Developer Key ID and Developer Key Secret to enable the integration. The Developer Key ID is the number located underneath the Details column. Select Show Key to obtain the Developer Key Secret.
The Developer Key ID and Secret are used in tandem by an external application to access your Canvas environment.

Step 8: Keep your keys secure.
These keys are very powerful and can expose very sensitive information. It's extremely important that you do not share these keys with anyone except for a trusted partner.
If you believe your keys have been comprised, you must immediately delete the key. You can delete the key by selecting the trash icon next to the developer key, underneath the Actions column. You must then recreate a key to generate a new Developer Key ID and Secret.
Step 9: Share your keys securely, and only when necessary.
When you are working with an external vendor to integrate your Canvas environment with their application, you will need to provide the vendor the Developer Key ID and Secret in a secure manner.
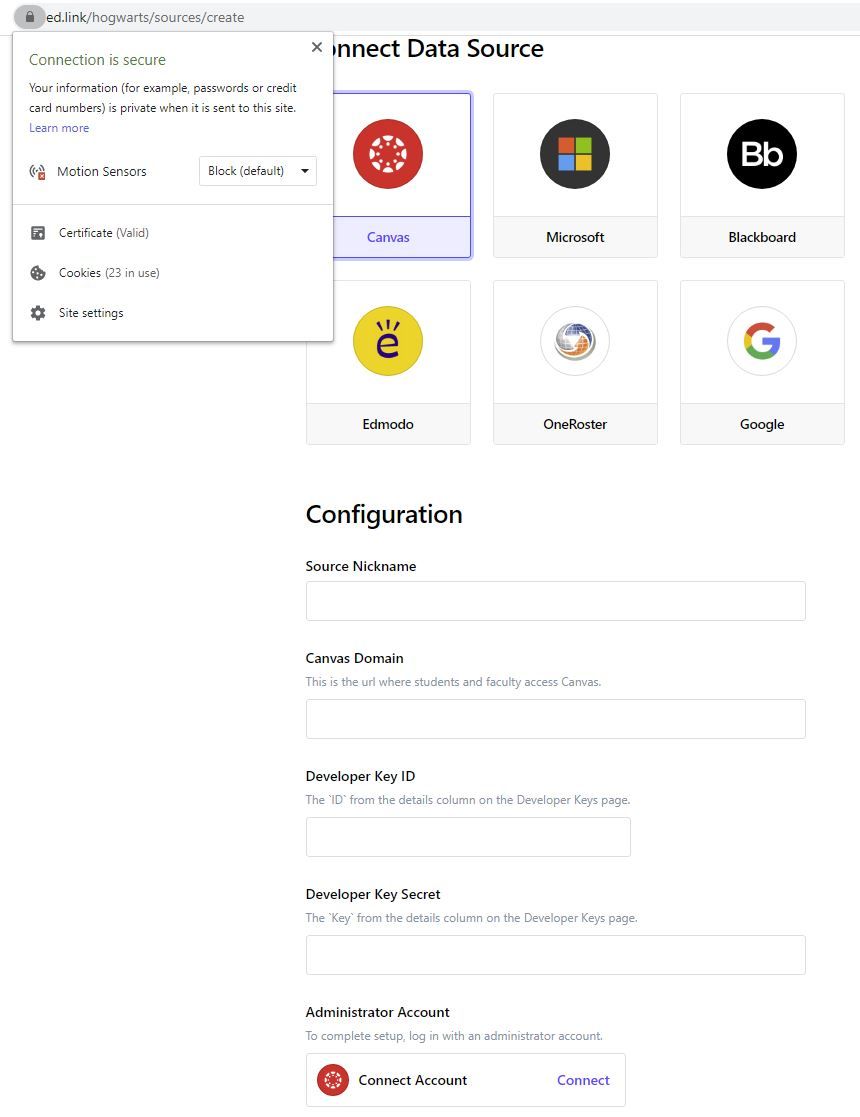
You can securely share the keys using private web forms secured with HTTPS. These web forms must be provided by the vendor and goes directly to their servers.
Do not use web forms generated by outside parties, such as Google Forms. Also, do not share key IDs and secrets over email.
Below is an example of the secure web form that Edlink provides Canvas administrators (note the secure connection).
Key sharing tools, such as Keybase, can also be used to securely share keys. Note that you will have download these tools in order to use them properly.
Read More on Canvas
Here are other articles we’ve written on Canvas to help you on your integration journey:
- How to Start a Canvas Integration
- How to Implement Canvas Single Sign-On (SSO)
- API vs LTI Integration for Canvas
- The Challenges of Integrating with Canvas
- Does Canvas Support LTI 1.3 and LTI Advantage?
Want to Learn More about Edlink?
If you're looking for a partner who can help guide you through developing LMS integrations (like these), then let’s introduce ourselves. We’re Edlink!