

Through Edlink, edtech developers can connect their products to the learning management systems or data sources of their schools and districts. This allows the developer to offer integrated services in their application, such as single sign-on, rostering, and content creation. Edlink accomplishes this by creating an integration that is unique between the application and the school's LMS.
The process to connect a new school to Edlink will require actions on behalf of both a developer of the application and an admin of the school's LMS. Below are all of the steps that the developers and admins need to take in order to connect a school to Edlink.
Step 1 - The developer invites a school to integrate with their application.
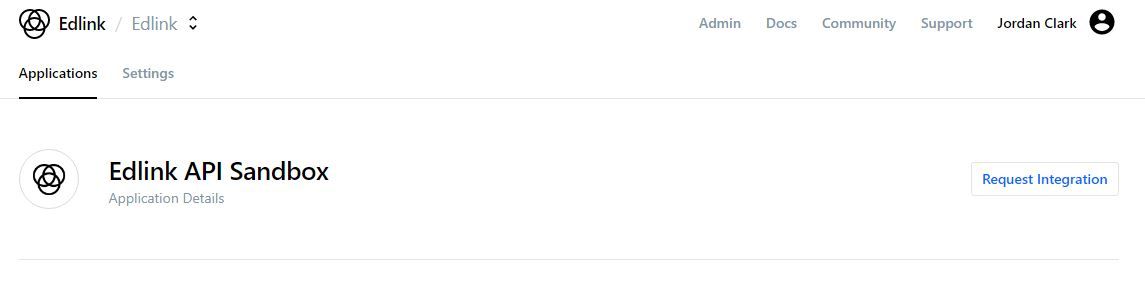
The developer of the application can send an email to the campus admin by selecting their application that they want a school to integrate with from the Applications menu in Edlink.
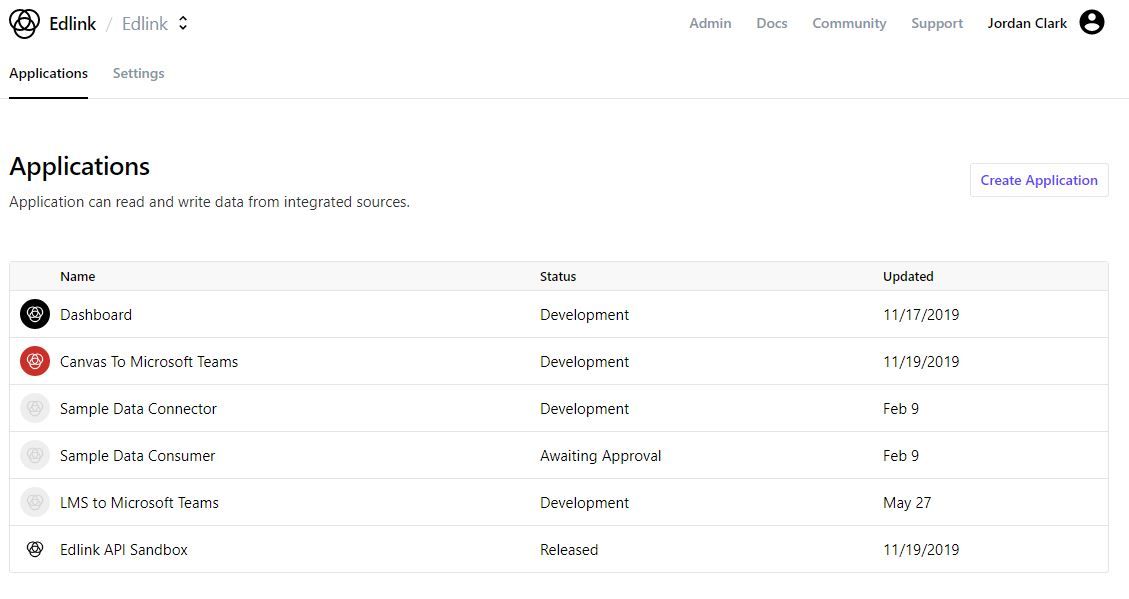
Once the application is chosen, the developer will select Request Integration and enter the email address of the administrator where the integration link will be sent.

Following this link will allow the admin to create an Edlink account or sign into their existing account to complete the integration. This link is permanent - it does not change. Each application a developer creates will have its own unique link.
Please note that the school admin will not receive the link if the developer's application has not been approved. We manually approve applications to ensure that they are not fraudulent (i.e. pretending to be a company that they're not in order to deceive schools into sharing their data).
If you need help getting your application approved, please message us at accounts@ed.link.
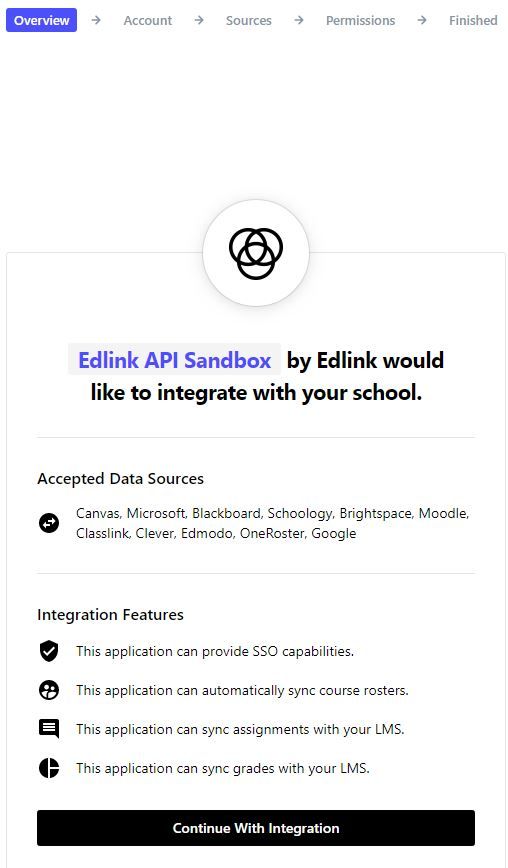
Step 2 - The school administrator follows the integration link to the Overview page.
The school administrator will navigate to the URL of the integration link. This link can be provided via email (as described in the previous step) or through any other form of communication.
The administrator will first be brought to the Overview page of the integration flow. The admin will be able to view the accepted data sources (i.e. which LMS's are compatible with the integration) and which integration features are offered (e.g. SSO, roster syncing, grade syncing, etc.). The admin will then select Continue With Integration.
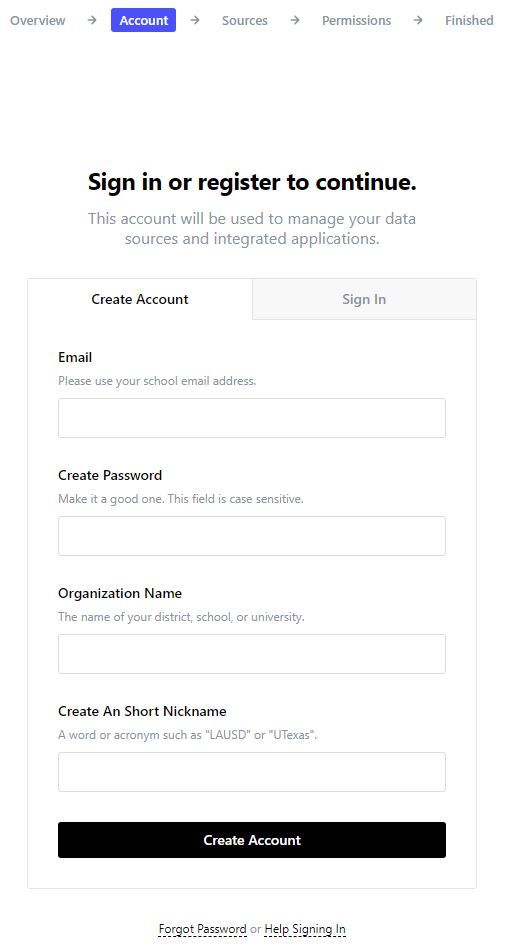
Step 3 - The administrator will create an Edlink account or sign into an existing account.
The admin will either create an account or sign into an existing account. If they are creating a new account, they will also have to enter their organization's name and nickname.
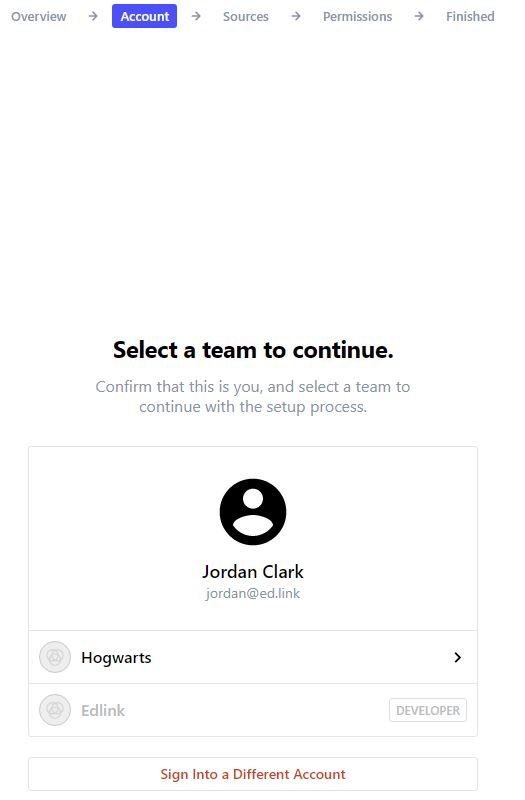
If the admin has an existing account, they must select their team to continue.
Step 4 - The administrator will choose and connect the data source.
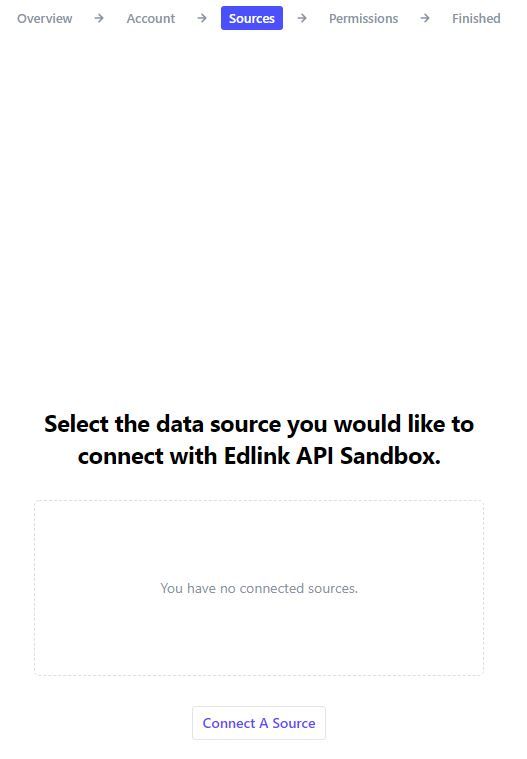
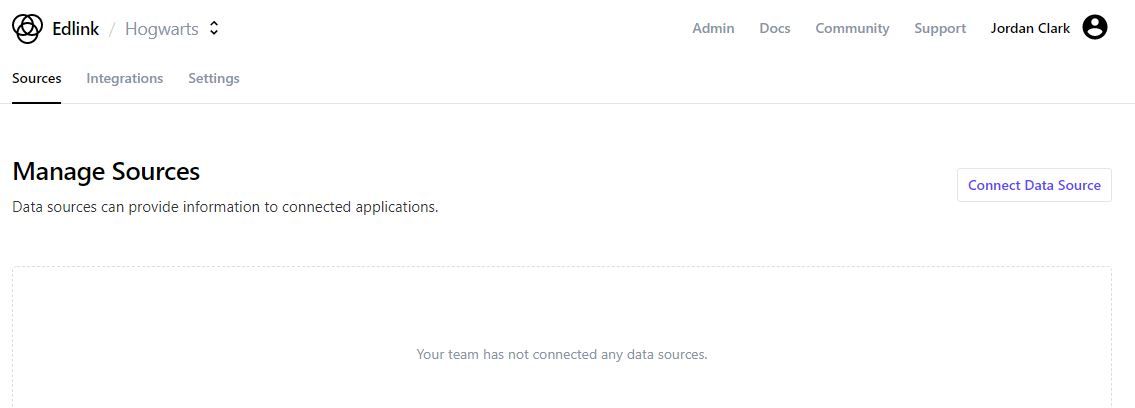
If the admin has already created an account and has connected a data source to Edlink, their existing data sources will appear after they select their team. If they do not have any connected data sources or wish to connect a new data source, they will select Connect A Source.
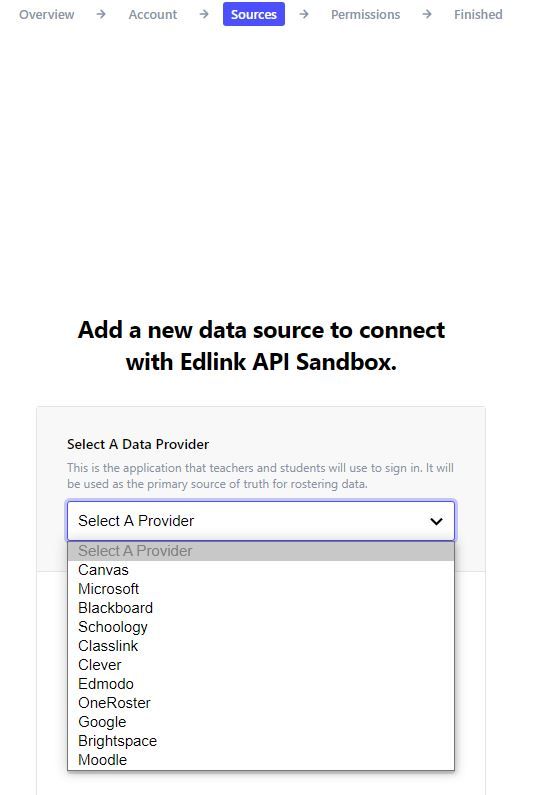
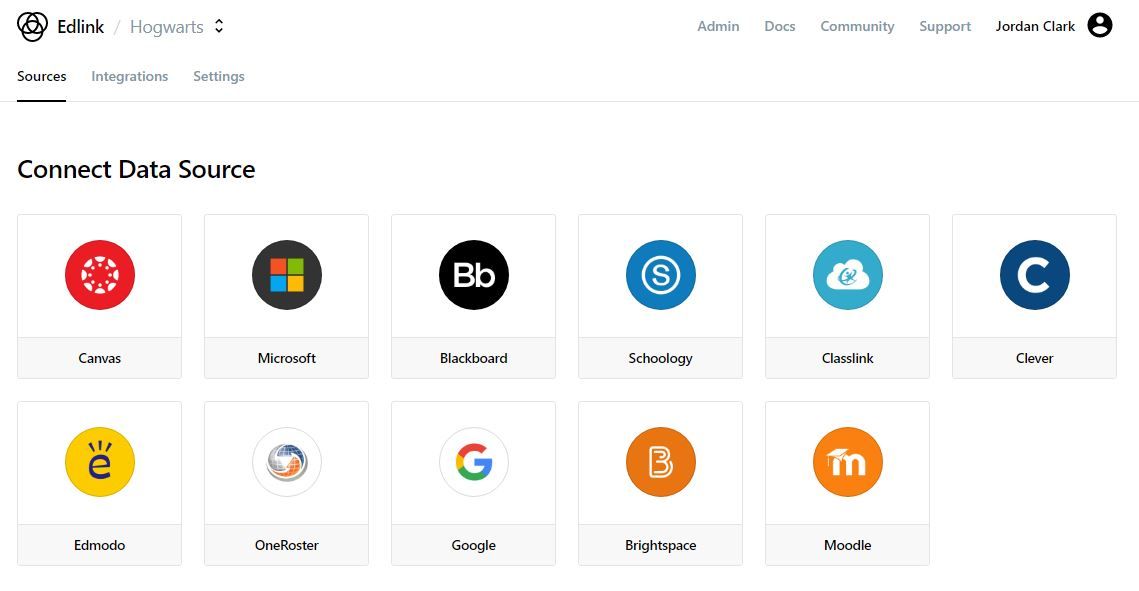
The administrator will then select the data provider they wish to integrate with the developer's application.
Below is an example of the data connection form for Canvas.
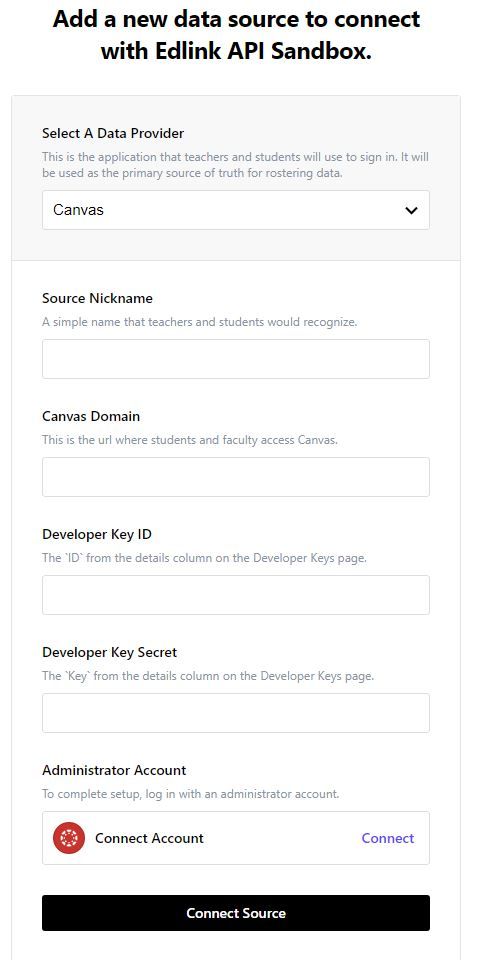
Each platform requires the admin to enter configuration details into Edlink. The details that are required may be different depending on the LMS or data source that the admin wants to connect. Guides for configuring each system to connect to Edlink can be found below.
The admin must then log into the administrator account that they use to manage their LMS or data source. Once completed, the admin can then connect their source to Edlink by selecting Connect Source.
Step 5 - The administrator will review permissions.
The administrator will review the permissions required by the integration. The administrator cannot change any of the of required permissions. Once the administrator has read the permissions and is comfortable with them, the admin will select Continue to complete the integration.

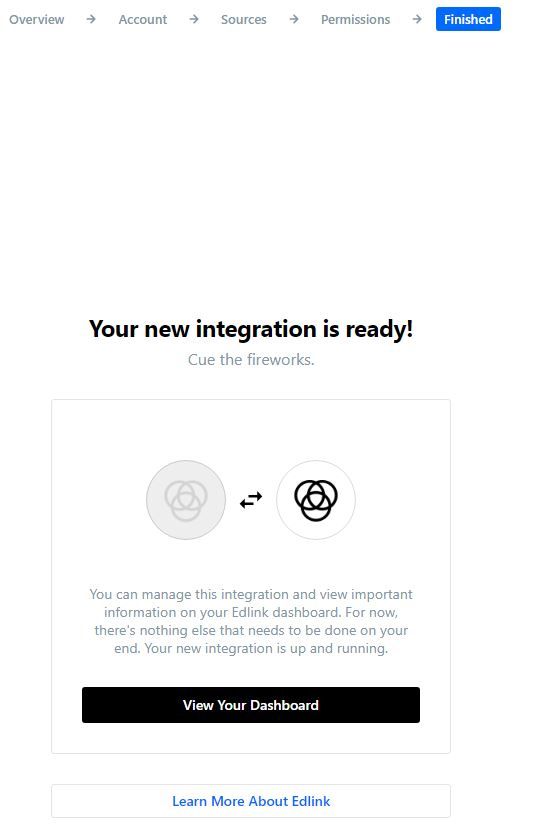
Step 6 - The integration will be finished.
At this point, the integration is complete. The administrator may view their dashboard by selecting View Your Dashboard.
What if a school uses Clever or Classlink?
If a school uses Clever or Classlink, the administrator will connect the application using the normal Clever or Classlink process. The admin will log into their Classlink or Clever administrator panel to connect to the application. Once the admin has granted access to that application, the developer of the application will be able to view the connection through Edlink. These connections are not managed through the Edlink dashboard (although they may be available on a read-only basis).
Edlink does not have special access to a school's Clever or Classlink data. It has only the data that the admin authorizes the software vendor to access. As soon as the admin removes a connection from Clever, Edlink will remove the connection to the vendor and scrub all data related to the school or district.
How to add new LMS connections?
If a school needs to add a new LMS connection, the administrator can do so from the Sources menu of their dashboard by selecting Connect Data Source. The admin will then be given the option to select any of the data sources that Edlink supports and configure the new connection.
How to update existing LMS connections?
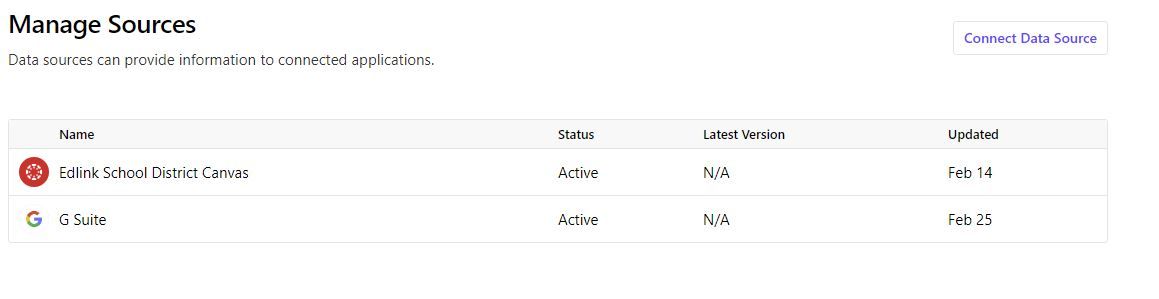
If an administrator needs to connect an existing source, they can do so by selecting the source from the Manage Sources menu.
From here, the admin can change the configuration by entering new data into the Settings menu.
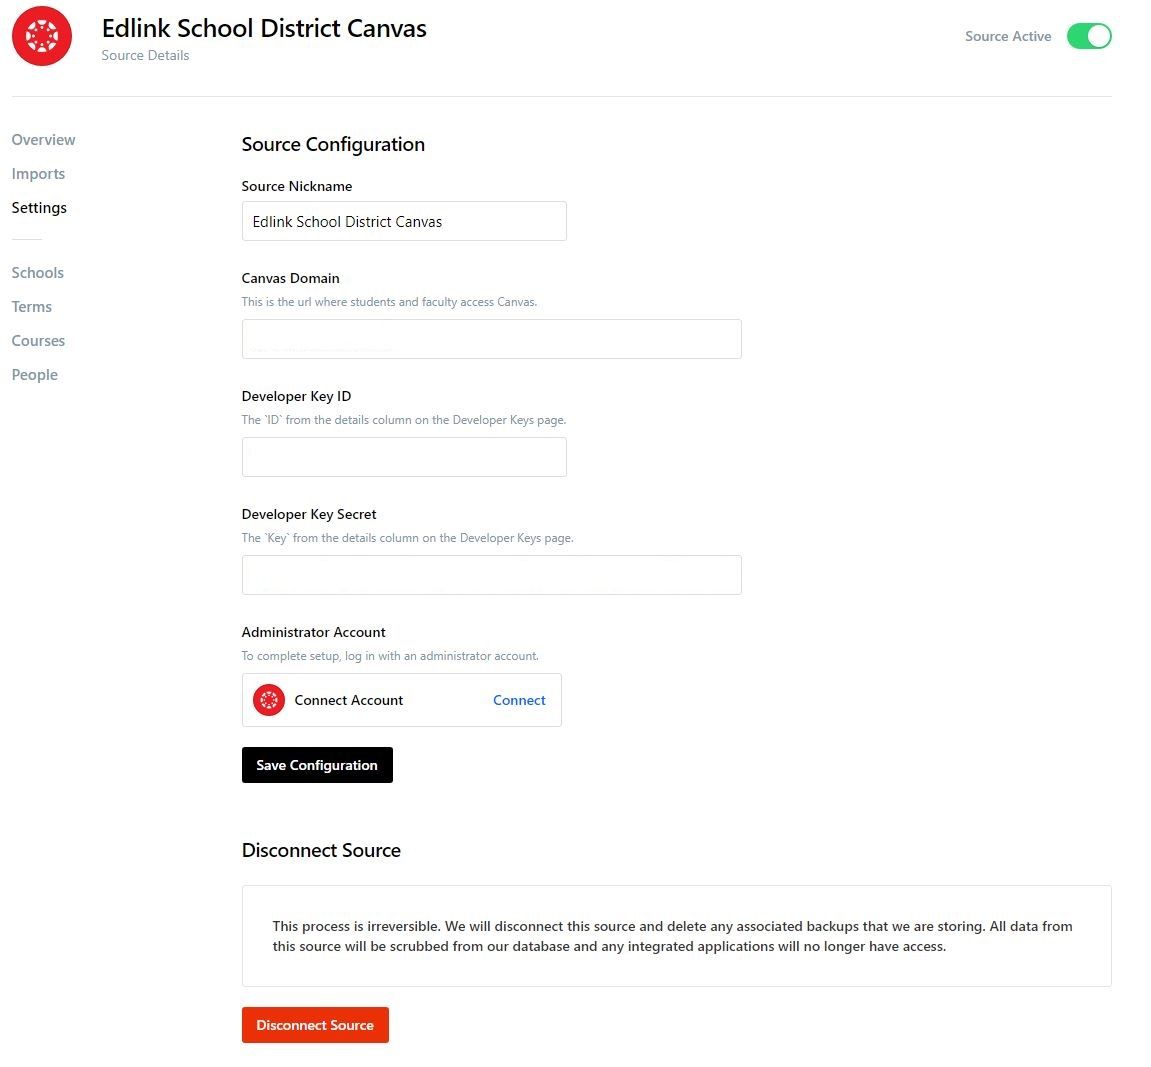
The school administrator will need to update their LMS connections in the event that their developer keys become compromised. If that happens, the administrator must create new developer keys in their LMS and enter the new keys into the source settings, as shown in the above image.
How to remove LMS connections?
A school may want to remove their LMS connections from Edlink (e.g. if a school stops working with a vendor). If that occurs, the administrator will be able to remove their connected source by, first, selecting the source from the Manage Sources menu. They will then select Settings from the sidebar and click Disconnect Source at the bottom of the page.
Note that this process is irreversible. Once the source is disconnected, the Edlink will delete any associated backups of the data that we are storing. All data will be scrubbed from our databases and any integrated applications will no longer have access.