Most of the clients we work with want to test drive the API before they make a decision about whether or not they want to work with us.
To this we say, bring it on! Only you know what's best for your business and your customers, so we're happy to let you be the judge of whether or not Edlink can bring value to you, your team and your users.
If you fall into this category, here are the three easy steps to testing out the Edlink API for your self and your organization.
Keep reading for more details on each of the three steps.
Step One
Create an Edlink account
Up first, you'll navigate to Edlink's homepage, and click the button that says "Get Started" in the top right-hand corner. Or, click here.

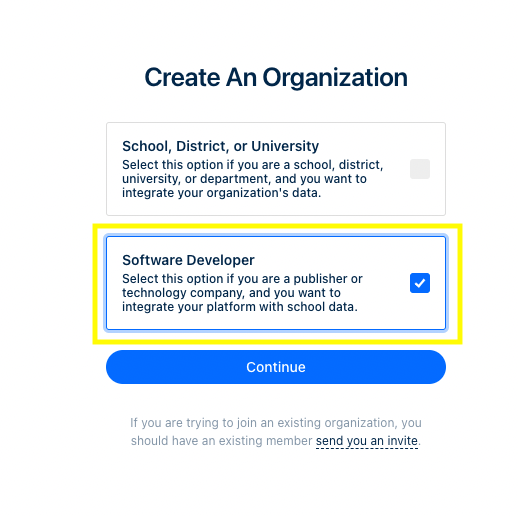
Then you'll set up an organization as a "software developer."
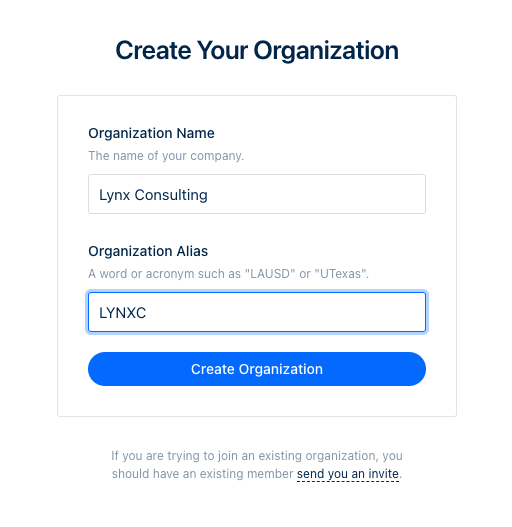
After that, you'll give your organization a name and alias.
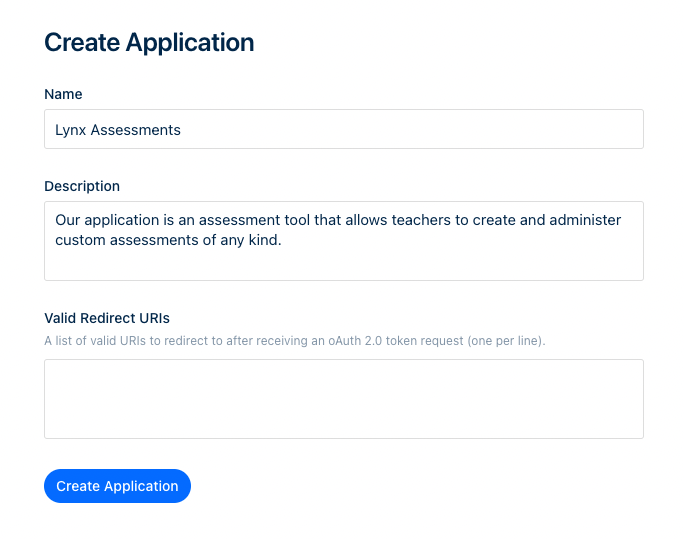
Then you'll setup your application. "Applications" connect to school data sources (like Classlink, Google Classroom, Powerschool or Canvas). This might just be your company name, or it might be the name of a specific product or tool that you offer to your end-users. You can go back and add Valid Redirect URIs later. They aren't necessary for evaluation.
Next, you'll navigate to the "settings" section of the menu to add your team members.
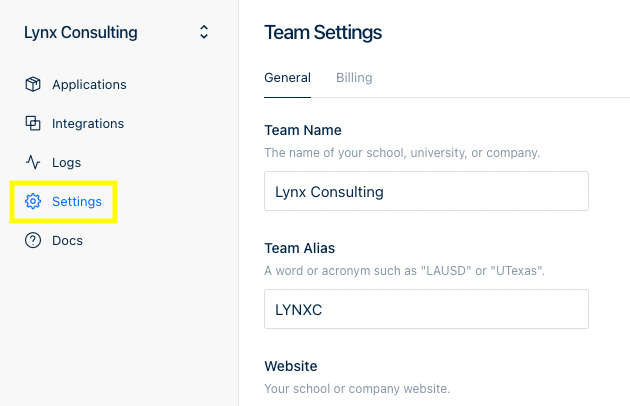
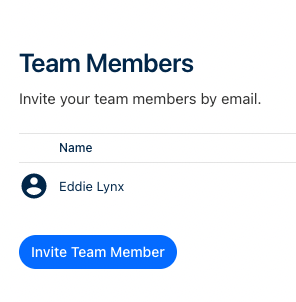
Once you're on the Team Settings page, you'll scroll down to find the button that allows you to invite other members of your team who are going to be evaluating and implementing the Edlink API.
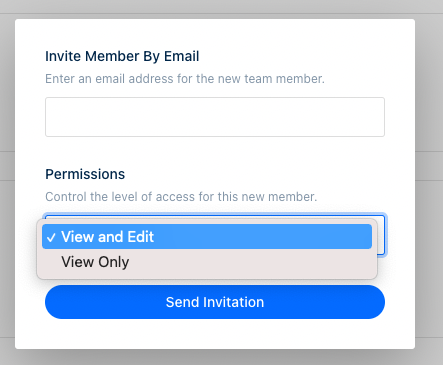
You'll be prompted with a dialogue box that gives you the ability to set permissions for each team member.
After you've finished this step all you need to do before you can receive your test credentials is submit your application for verification. You can do this by navigating to the "Applications" tab on the lefthand menu and then clicking "Submit or Verification" in the top right hand side of the screen.
Step Two
Set up your test sandbox
Once your application has been approved, you've got two options for setting up your sandbox to test with. You can use:
- Edlink's LMS instances or
- your own LMS instances
If you'd like to use Edlink's LMS instances send us a note letting us know which LMSs are most important to your business, and what sort of test user accounts you need (teacher/student), and we'll get you squared away.
If you'd like to use your own instances, you'll connect them to your application the same way any school, district or university would connect to Edlink. So wahoo! You'll get to experience the Edlink Administrator Onboarding flow for yourself.
To do this, go into your Edlink account and click the button in the top right that says "request integration." You'll then get a dialogue box like this:
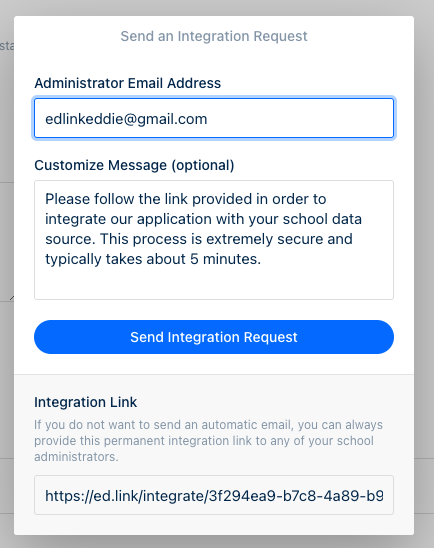
You can either email the link to yourself (or whomever on your team is the admin of your LMS) or you can simply copy the "Integration Link" and open it in a new tab. This will take you to an Edlink form that will allow you to connect your LMS to your application.
As a brief aside, from a programmatic standpoint, a request to Edlink looks the same regardless of which data source your end-user is using. However, the assignment and submission experience that any individual end-user will have depends on the way data source (LMS, SIS etc) they're using handles this functionality. Having access to sandbox LMSs gives you the ability to see what the assignment and submission functionality of Edlink looks like in the systems that are most important to your customers.
In either case, after you've connected your instances or we've added you to ours, you'll be able to find your test LMSs under the "integrations" tab.
Step Three
Make your first request
Now that you've got an LMS to test with, and sample log-in credentials, there are two additional resources that will get you through making your first request successfully and quickly:
At this point, you should have everything you need to make test requests against Edlink's API. If for some reason you need assistance or you want to share comments or concerns, you can reach us here.

