
Hey School Admin! Are you looking to share only certain classes with your app?
You can do this by setting a "share by class" licensing rule. Follow these steps to filter down to only the classes you want to share.
Step 1: Log into your Edlink account
Go to ed.link and log into your admin account. Click the Integrations tab in the sidebar, and select your app integration.

Step 2: Navigate to the Product Licensing page
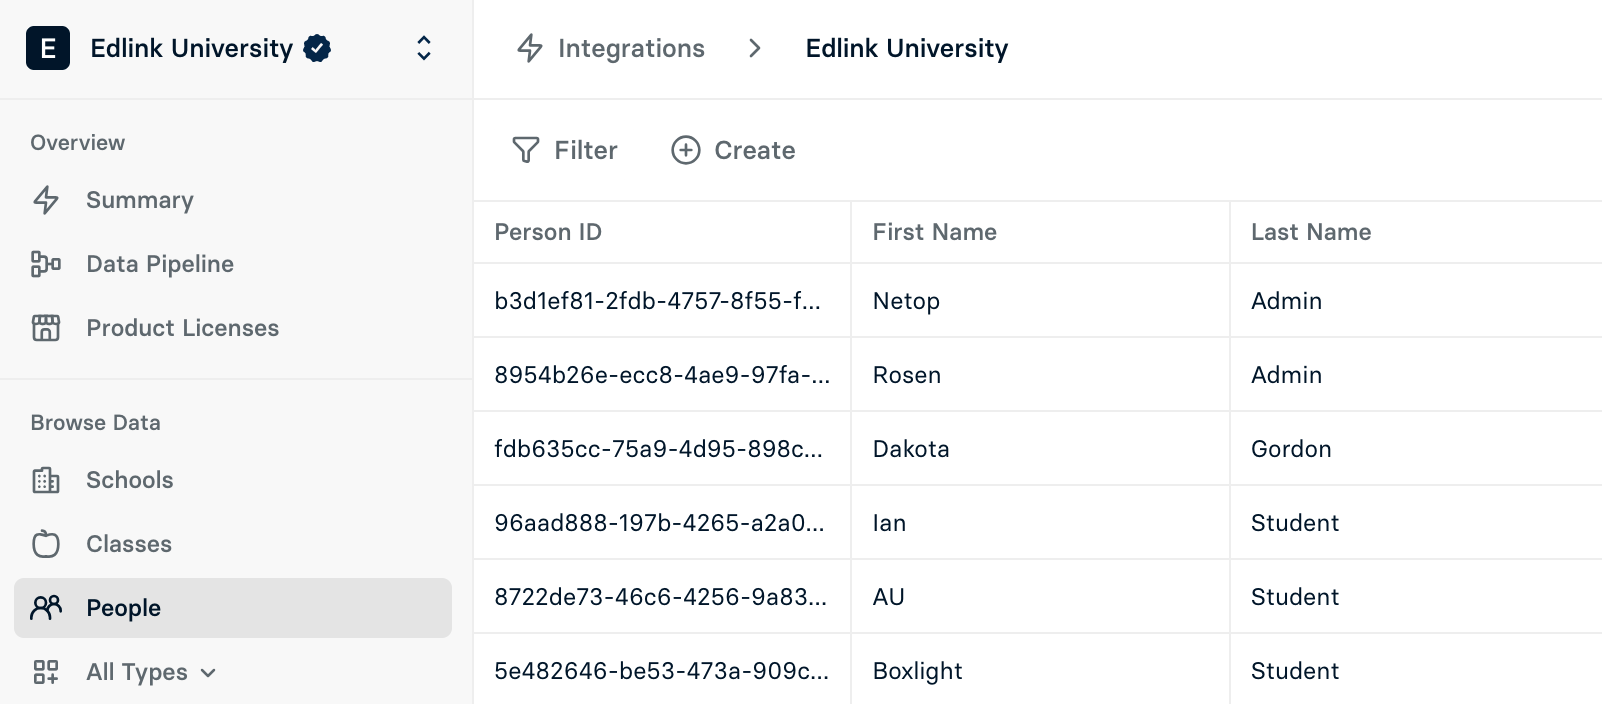
Once you've selected your app integration, click Data Pipeline in the left-hand sidebar, and then the blue Open Preview button.
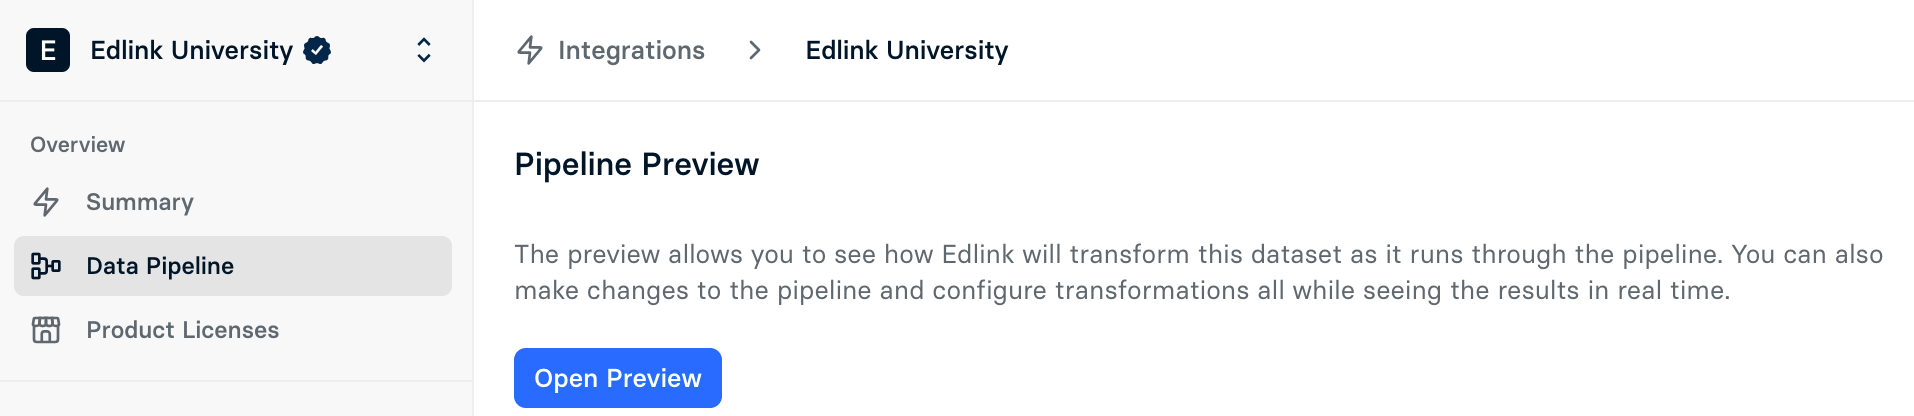
Next, Click Product Licensing in the left-hand sidebar. You're now on the page you'll use to select the classes you'd like to share with your app.
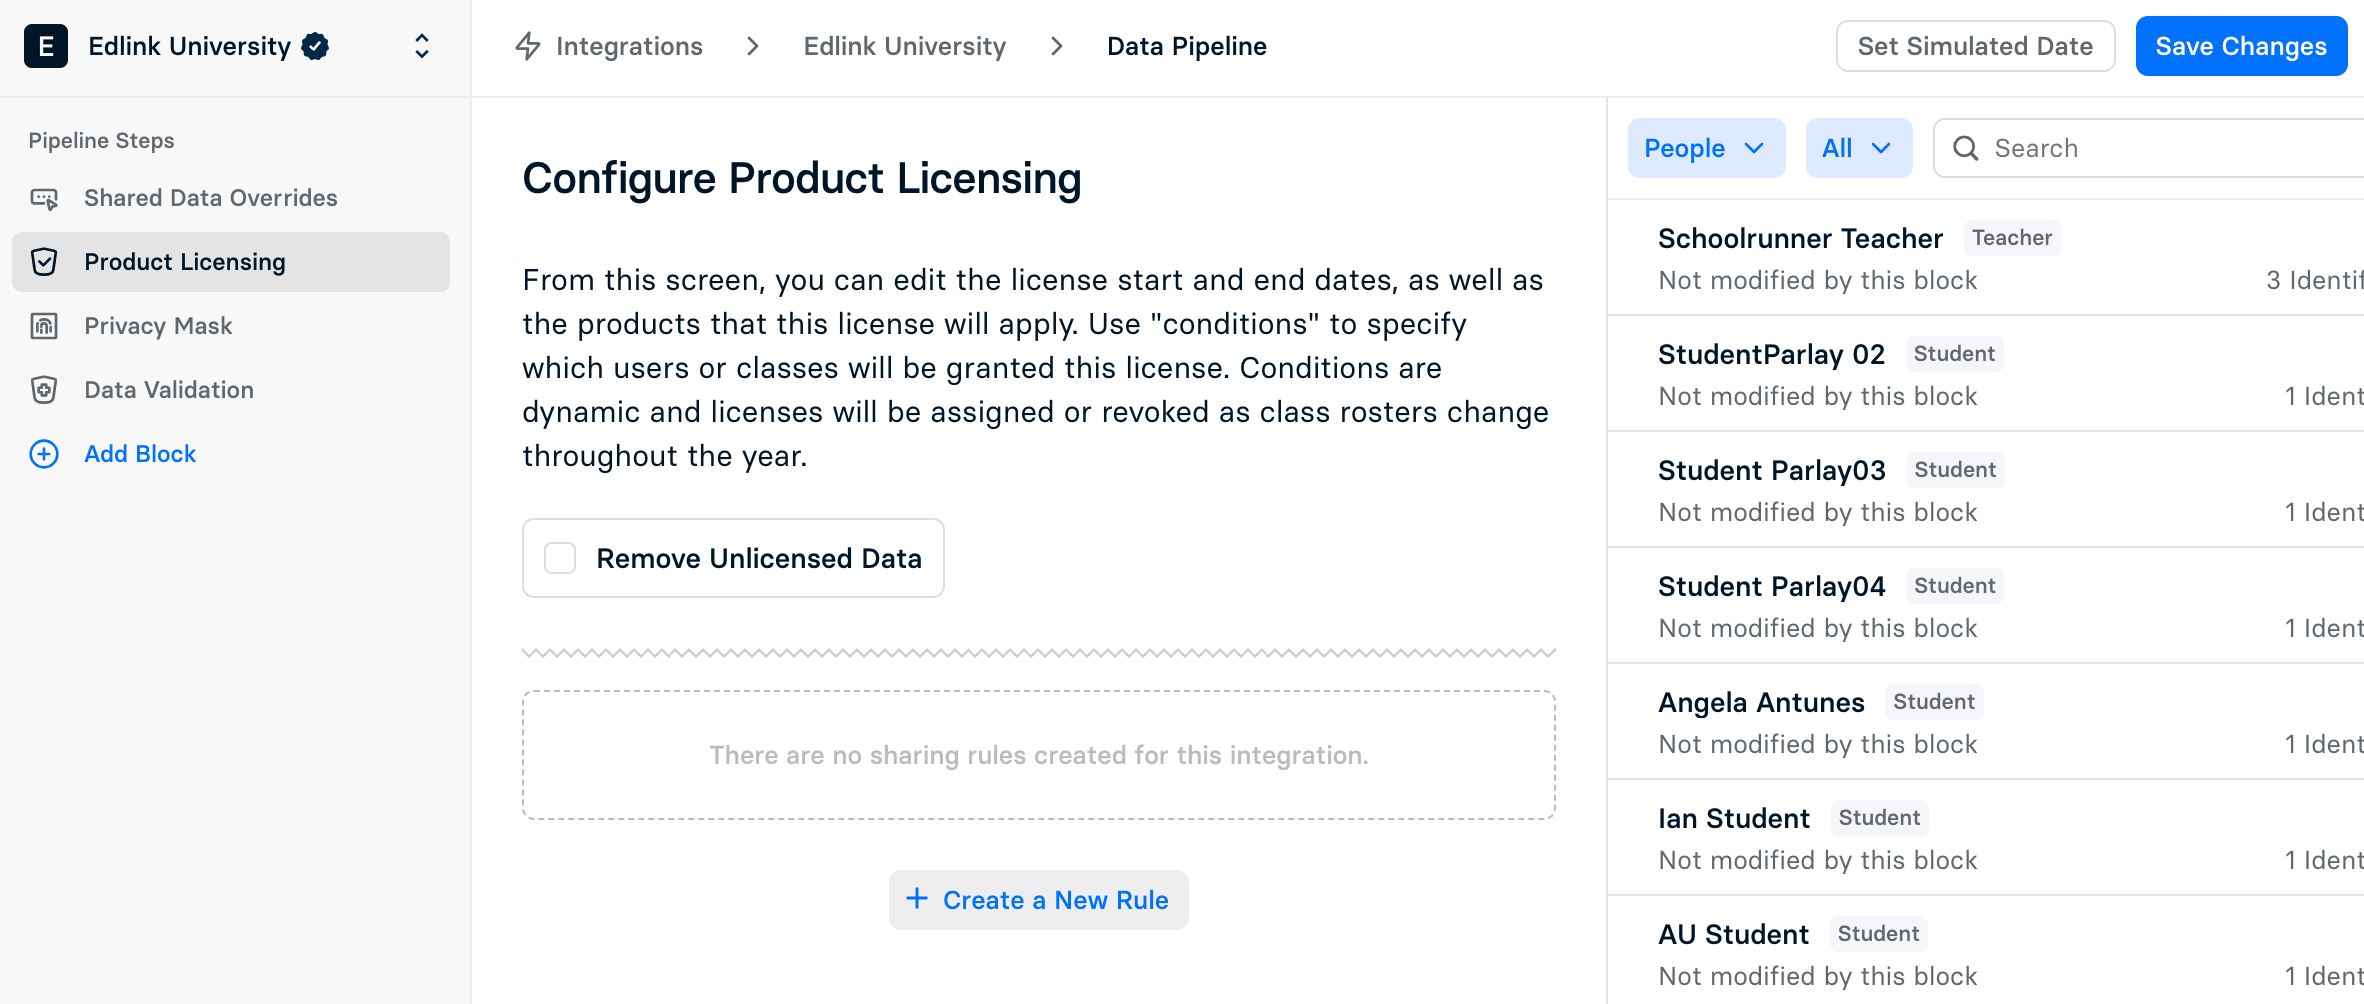
Step 3: Create a Share By Class rule
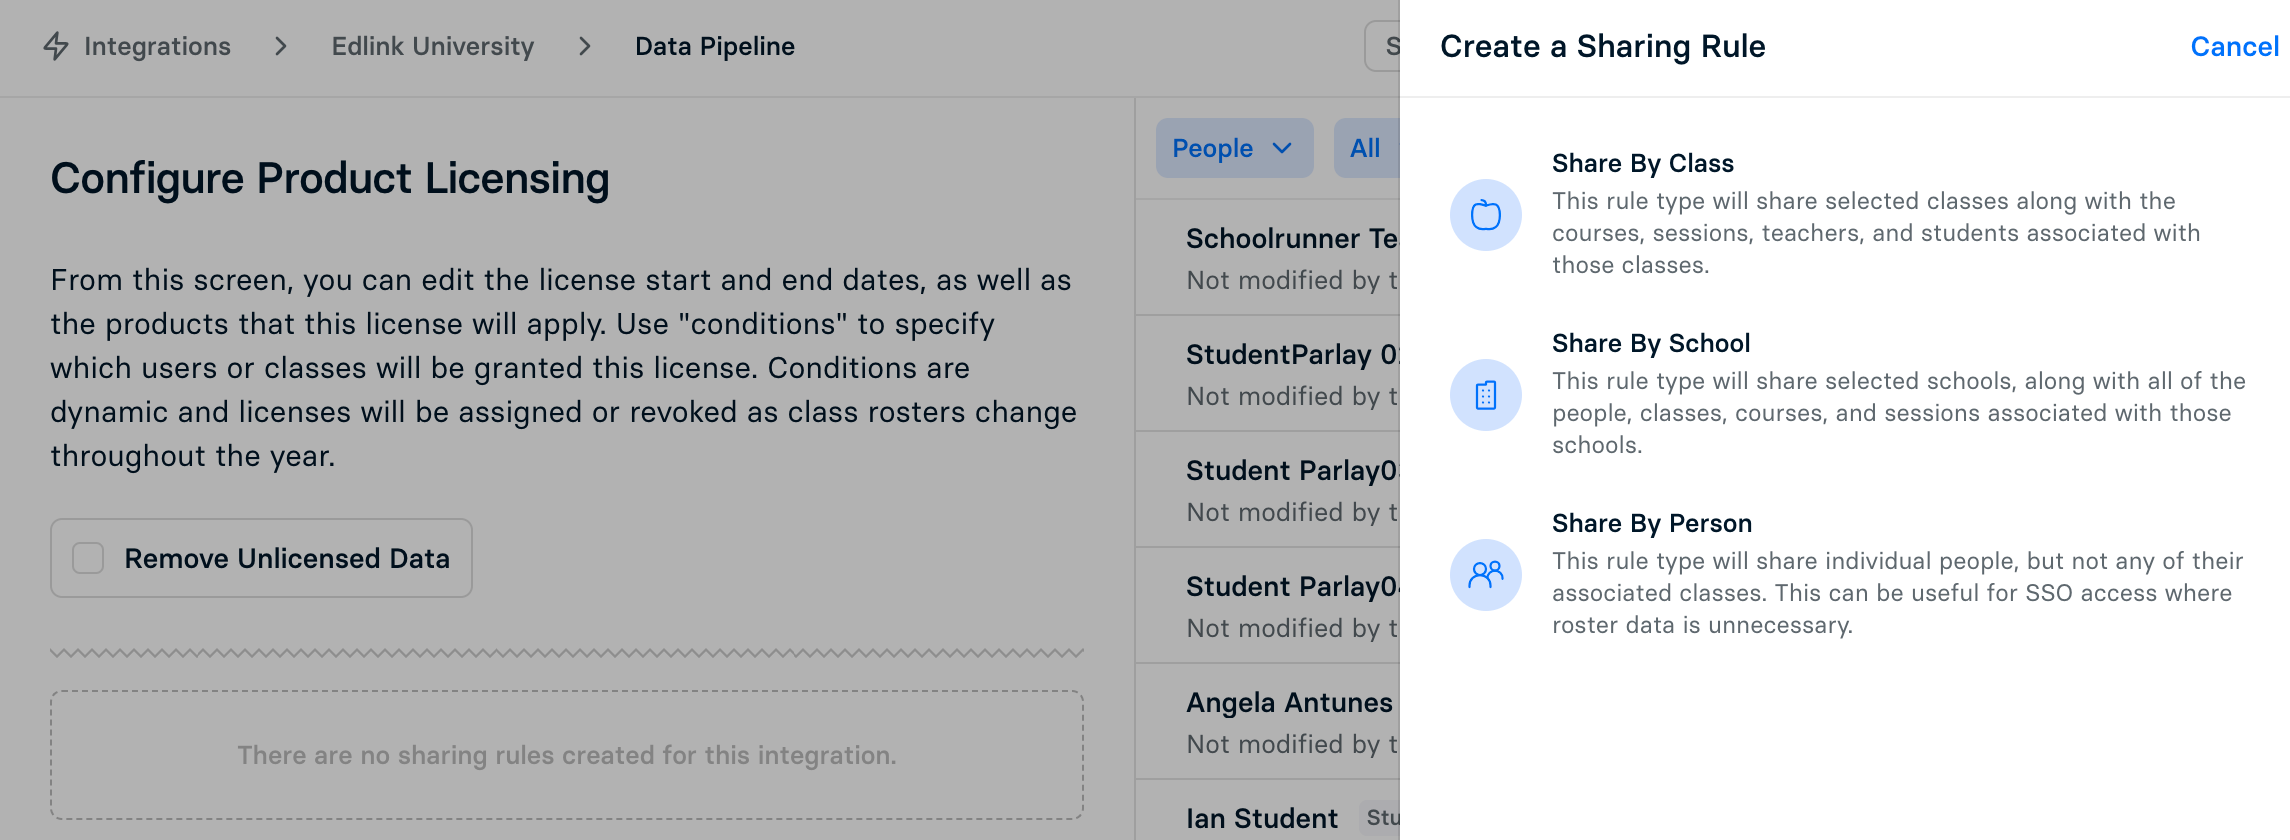
Click Create a New Rule and select Share by Class in the right-hand sidebar that pops up.
You'll see a form that you'll use to create a rule that will limit the data shared with your app.
You can create rules based on different data in your system, such as class and teacher. For example, if you wish to filter by exact class title use the Is any of condition.
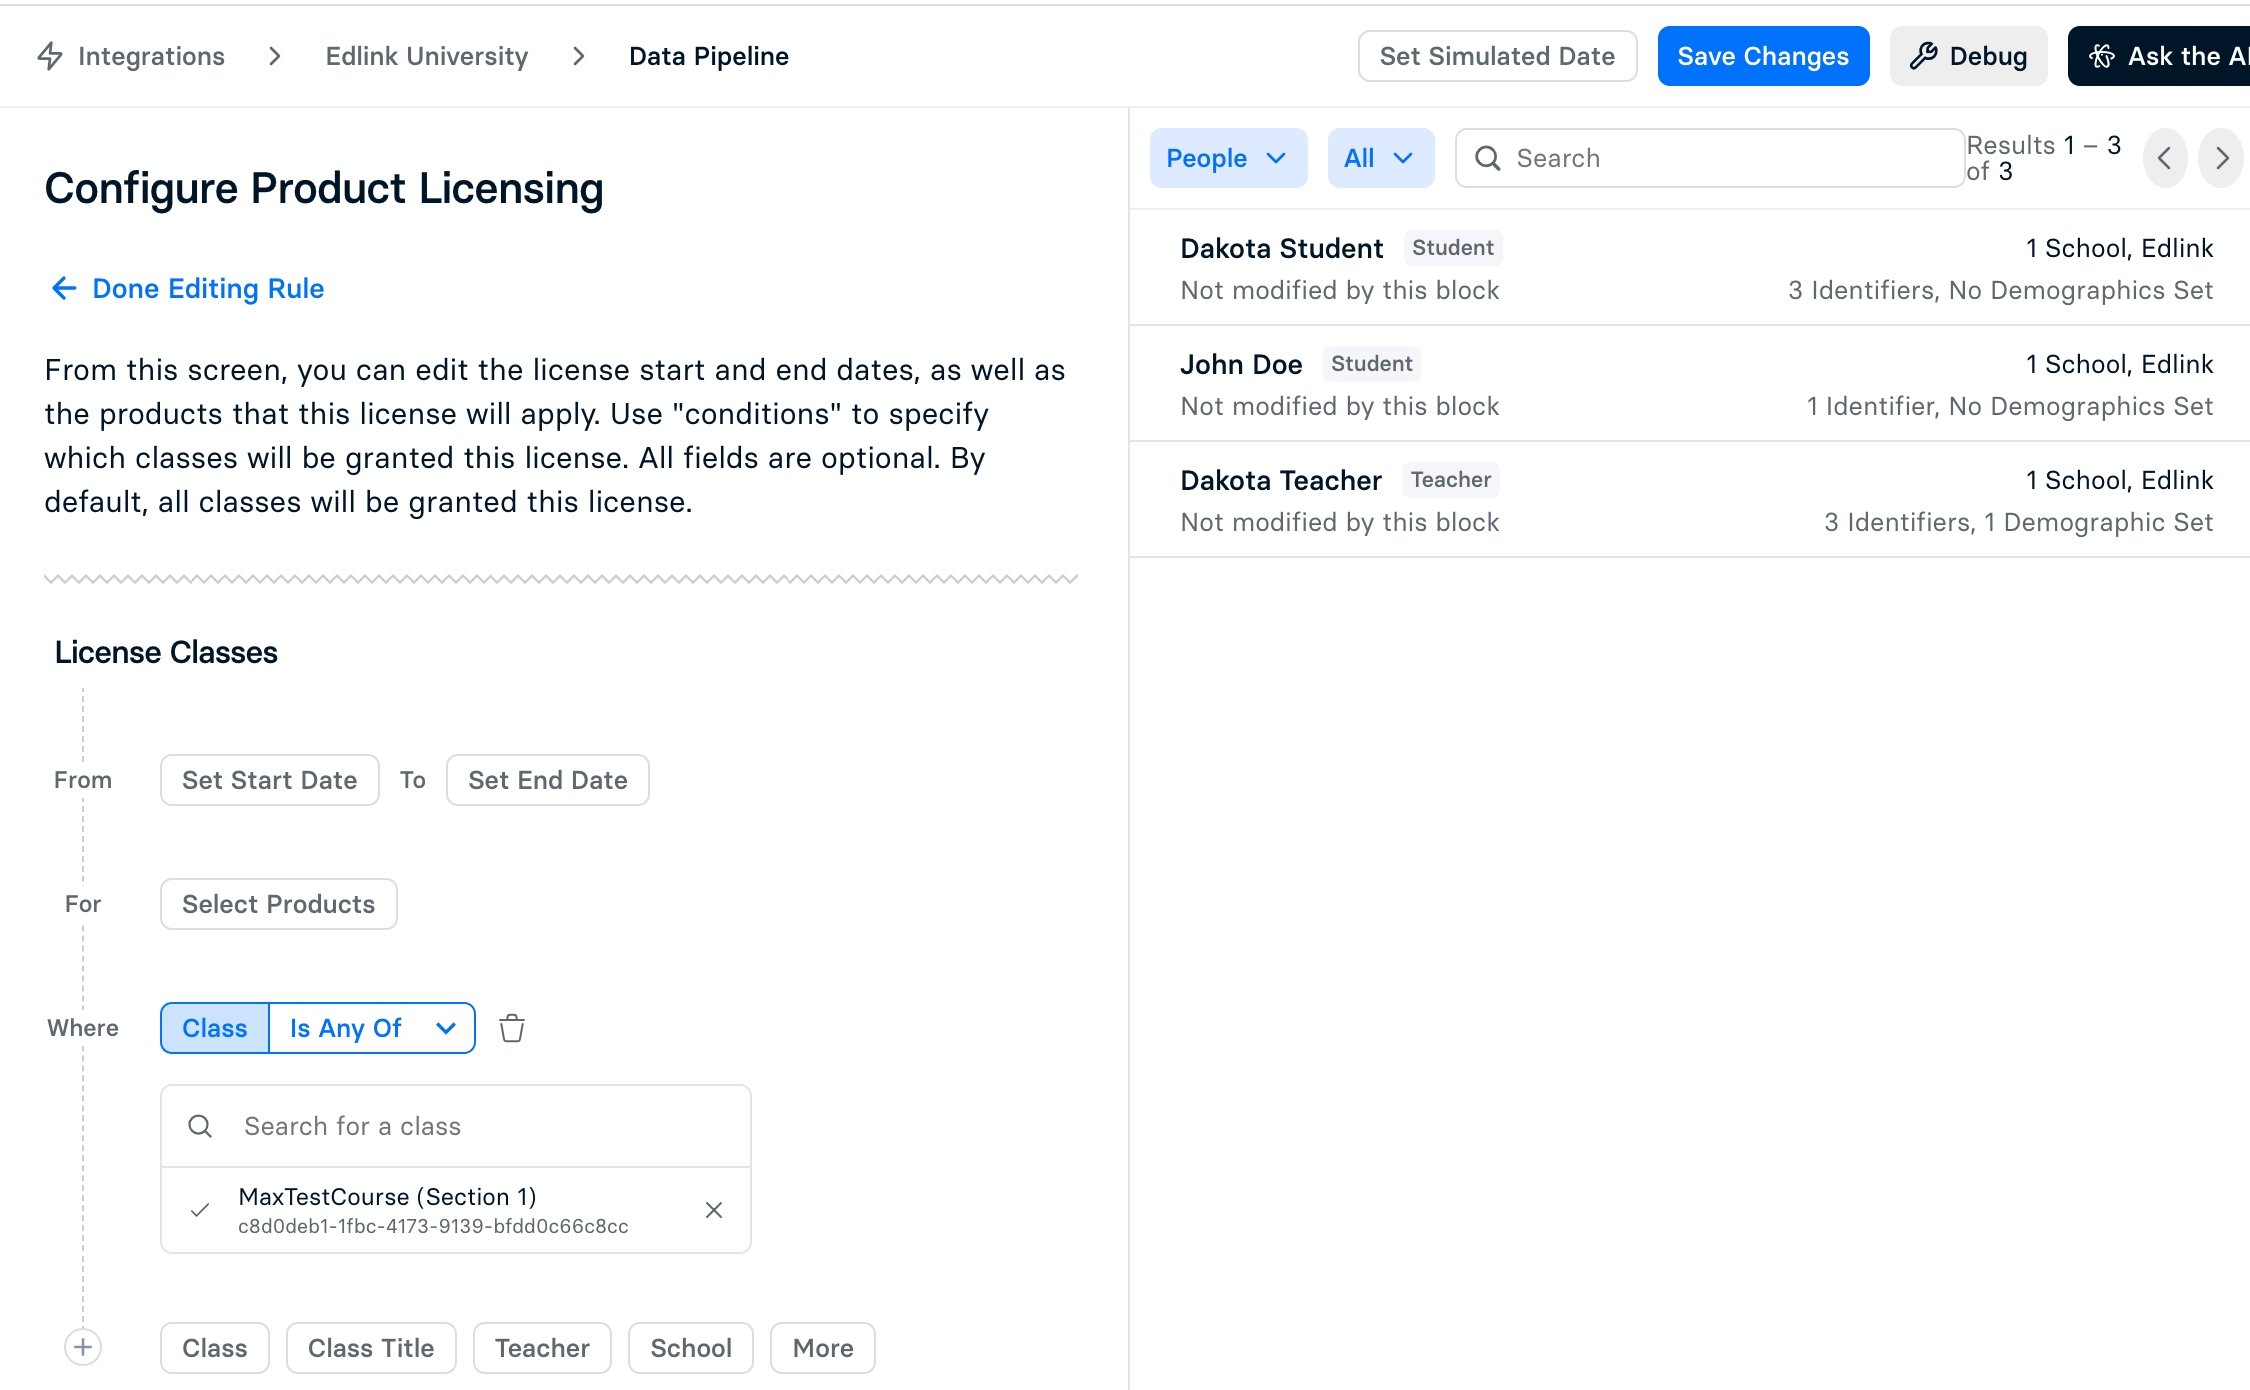
Or, if you wish to share all classes containing the word "Science," in the title, use the condition Contains any of.
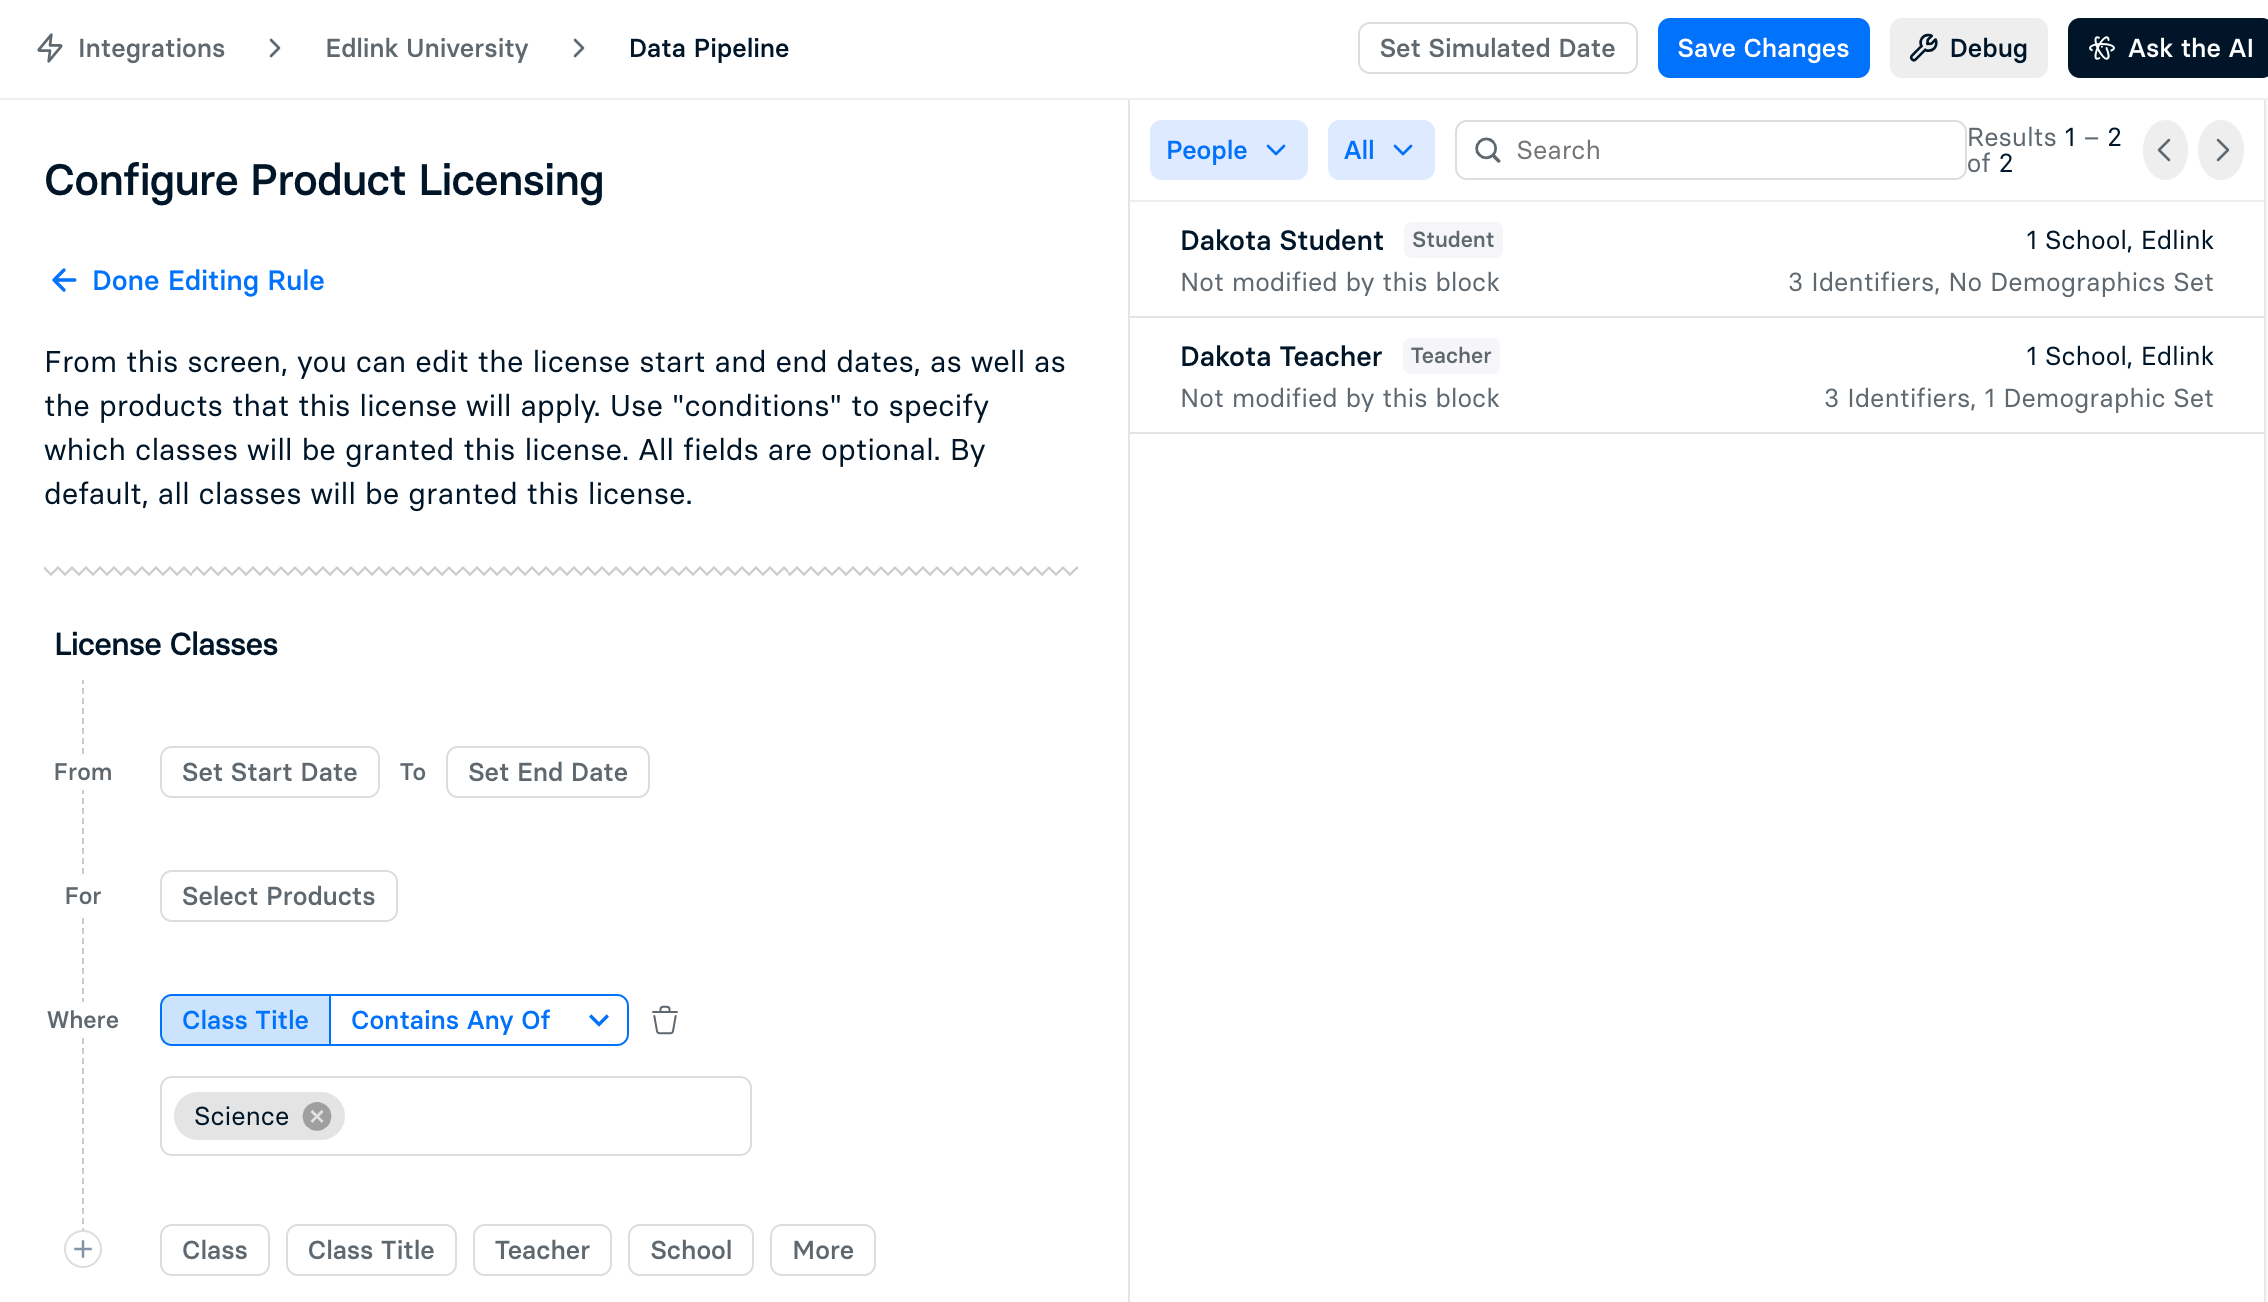
You may use the search bar on the right-hand side of the page to check if a specific user is shared via your new rule.
Step 4: Save your changes
When you're finished setting the rule, click Save Changes and then Done Editing Rule.
To set the rule live, check off the Remove Unlicensed Data check box.
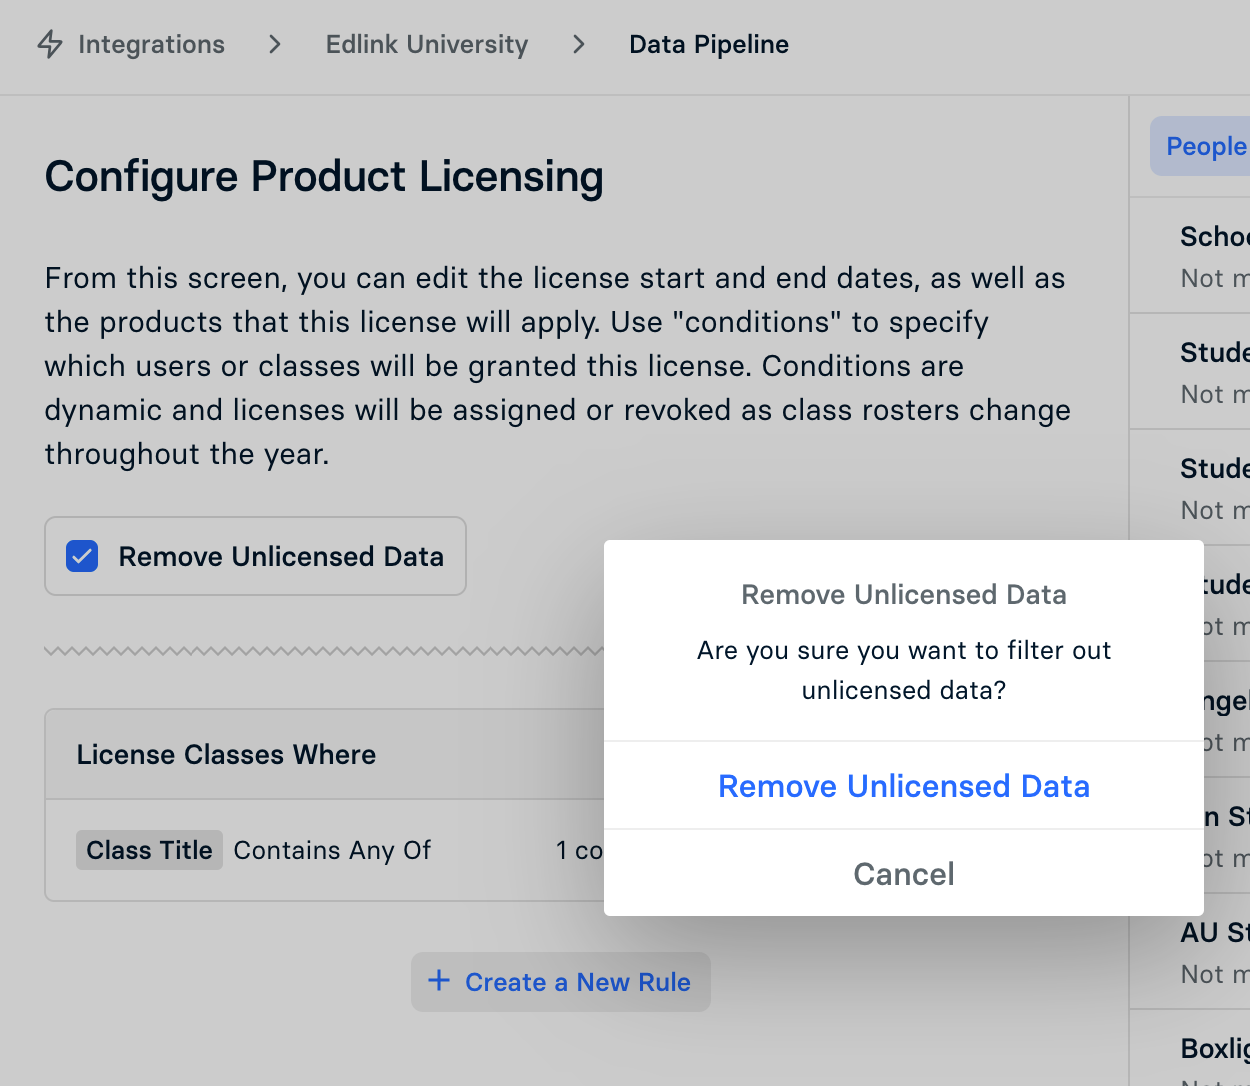
Hit the blue Save Changes button in the top right-hand corner.

Your rule is now live! Please note that the rule must materialize in Edlink, which could take a few minutes.
Once the materialization is complete, you can see the data that's currently being shared to your app via the tabs on the left-hand side of the page.
Having trouble?
If you're having trouble creating a rule, reach out to us at support@ed.link for help. We'll get back to you within 24 hours.